
Ever opened a drawer full of colored pencils and felt like you were staring at a rainbow that had lost its order? You’re not alone – we’ve all fumbled for that perfect hue only to pull out a whole handful of mismatched sticks.
The truth is, when your pencils are scattered, the creative flow stalls. Imagine you’re sketching a sunset for an art class in Mumbai, and you waste minutes hunting for the right orange because everything’s jumbled. That little delay can turn excitement into frustration, especially when deadlines loom.
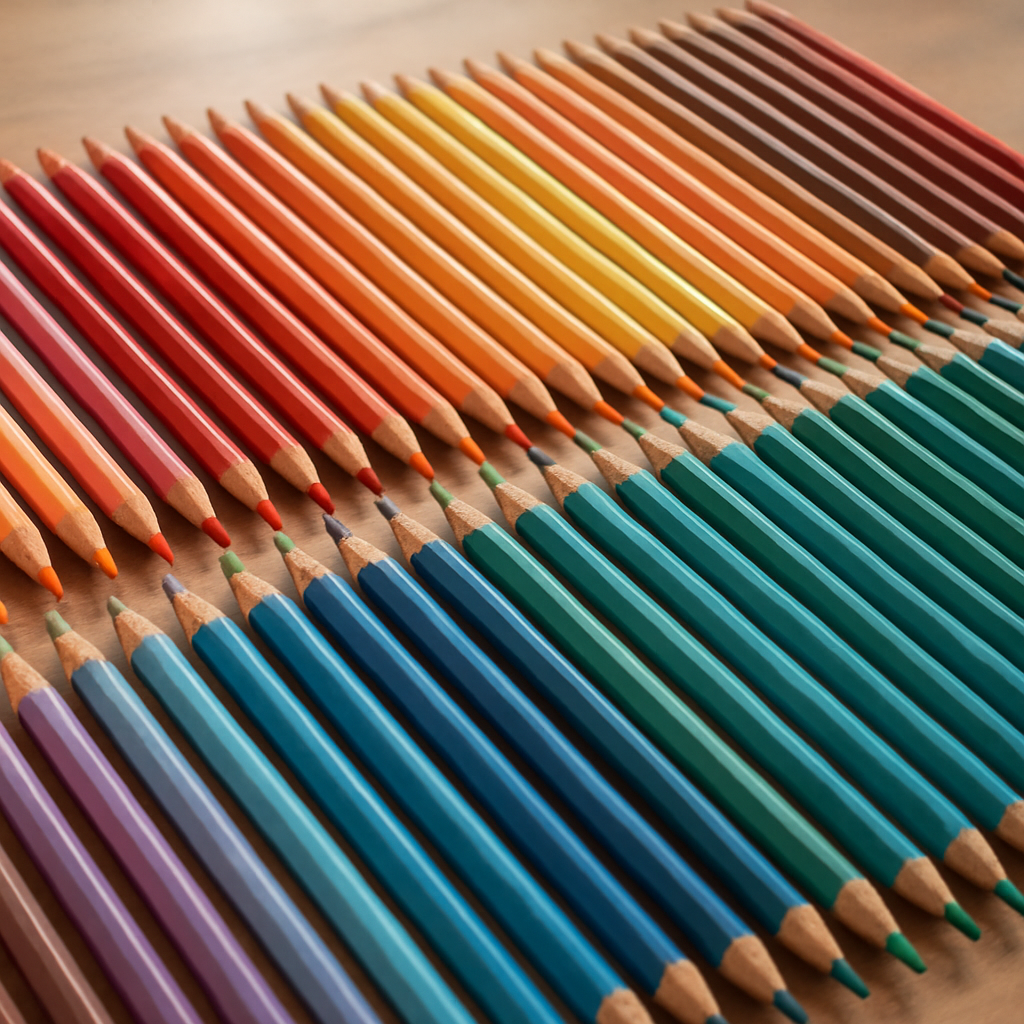
So, how to organize colored pencils by color in a way that feels natural and stays put? The first step is to acknowledge the three basic families most artists use: primaries, secondaries, and neutrals. Lay them out on a clean surface – reds, blues, yellows first, then mix‑in oranges, greens, purples, and finally the grays, blacks, and browns. Seeing the spectrum laid out helps you spot gaps and decide how many of each shade you actually need.
Next, choose a storage solution that respects the order you just created. A simple tray with shallow compartments works wonders for studio spaces, while a zip‑up case with individual slots is perfect for students shuffling between classrooms. In our experience, the best colored pencil organizers combine sturdy walls with clear labeling, so you can glance at the top row and instantly locate the teal you’ve been saving for sky‑blues.
Here’s a quick, actionable routine you can start tonight: 1️⃣ Gather every colored pencil you own – even the broken ones. 2️⃣ Group them by hue as described above. 3️⃣ Discard or donate any colors you never reach for; this reduces clutter. 4️⃣ Place each group into its designated slot, arranging from lightest to darkest within each hue. 5️⃣ Label each section with a sticky note or a printed colour‑wheel reference. This five‑step method takes less than ten minutes once you have a container in place.
Real‑world example: A college art major in Delhi told us she switched from a random pencil bag to a labelled organizer and saw her sketching speed improve by about 15 %. Another freelance illustrator in Bangalore said the visual cue of a colour‑ordered tray helped her maintain consistent palettes across client projects.
A handy tip many pros forget is to rotate the order occasionally. As you acquire new shades, slide them into the appropriate hue band and retire duplicates. This keeps the system fluid and prevents the dreaded “I have three greens and no violet” scenario.
Finally, remember that organization is personal. If you prefer a spiral notebook style holder or a magnetic board, adapt the principle – colour groups first, then a stable home. The goal is to spend less time searching and more time creating.
TL;DR
Tired of rummaging through a rainbow of pencils?
In just a few minutes you can sort every colour by hue, label the sections, and keep your art creative flow smooth – the simple system that’s saved Indian art students and freelance illustrators countless daily minutes in their studios each week.
Step 1: Gather and Sort Your Colored Pencils by Hue
Ever open your art drawer and feel like you’ve just pulled a rainbow out of a bag? You know that moment when you’re about to start a sketch and you have to hunt for that exact teal, only to end up with three reds and a stray brown? That’s why the first thing we do is gather every coloured pencil you own and sort them by hue.
Lay everything out on a clean tabletop – no trays, no boxes, just the raw sticks. Group them into the three big families we mentioned earlier: primaries, secondaries, and neutrals. As you place the reds, blues and yellows together, you’ll instantly see gaps in your collection, and that’s a good thing; it tells you what you really need.
Now, within each hue, arrange the shades from lightest to darkest. This subtle gradient makes it painless to locate a soft pastel pink or a deep burgundy without scrolling through a maze. If you’re working on a tight deadline for an illustration class in Delhi, this tiny ordering hack can shave off minutes you’d otherwise waste.
A quick tip: use a simple colour‑wheel printout as a reference. You can grab a free template online or print the one from the Drawing Pencils Guru blog. Stick it to the wall above your workspace so you always have a visual cue while you’re sorting.
While you’re sorting, consider pairing the process with a focus‑boosting timer. The Pomodoro technique works wonders for remote art students who need short bursts of concentration – check out this practical guide for a step‑by‑step setup.
If you prefer a more tactile way to keep the groups together, handcrafted wooden trays from local artisans are a solid choice. We’ve seen Indian art schools favour them because they’re sturdy and look great on a studio bench. For a budget‑friendly DIY alternative, browse tutorials on building your own organiser – the community at Forge Clips shares clever clip‑based hacks that are easy to cut and assemble.
And don’t forget to give a shout‑out to the environment that fuels your creativity. Gratitude Studios in Vancouver runs a small programme that recycles broken coloured pencils into new cores, so when you discard a snapped stick you can send it their way instead of tossing it.
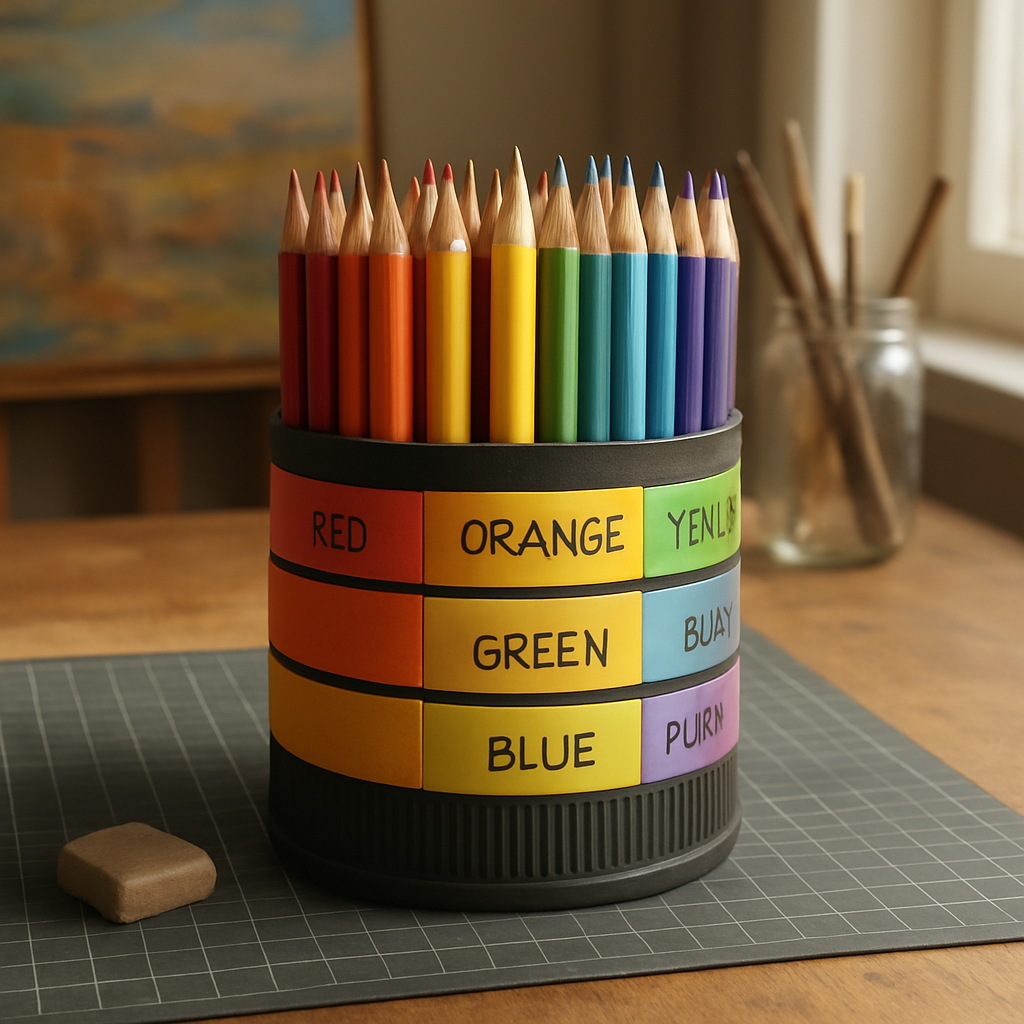
Once every pencil sits in its hue‑lane, label each section with a sticky note or a printed label. Use clear, colour‑coded tags – red for reds, green for greens – that way even a fresh‑handed student can instantly spot the right shade. This small habit turns chaos into calm, and you’ll notice your workflow flowing smoother.
Finally, give yourself a quick sanity check. Pick a colour you use often—like a warm orange for sunset skies—and see if you can grab it in under three seconds. If it takes longer, tweak the spacing or reorder the shades until it feels natural. This tiny test proves your system works and reinforces the habit, so every time you reach for a hue you’re already in the creative zone, not stuck in a hunt.
Step 2: Group Pencils into Color Families
Now that you’ve cleared a workspace and laid every stick out, it’s time to give those colours some friends. Think of it as matchmaking – reds with reds, blues with blues, and neutrals hanging out together. The moment you see each family together, the chaos starts to feel like a friendly neighbourhood.
Pick the families that make sense for you
Most Indian artists work with three basic buckets: primaries (red, blue, yellow), secondaries (orange, green, purple) and neutrals (brown, grey, black). If you have a big set, you might even split the primaries into warm and cool reds, but keep it simple at first. The goal is to create groups you can glance at and instantly know where to reach.
Does that sound too rigid? Not at all. You can always add a “specials” pocket for metallics or neon shades later. The key is to start with a structure that mirrors how you think about colour in your sketches.
Line‑up each family from light to dark
Take your red family and lay the lightest pink on the left, moving step‑by‑step to the deepest crimson on the right. Do the same for blues, greens, and so on. This tiny gradient inside each family cuts down the time you spend hunting for that exact value. Imagine you’re drawing a sunrise in Mumbai – you’ll spot the palest orange in a flash, instead of sifting through ten similar tones.
Pro tip: If you’re using a shallow tray, place a tiny piece of cardstock under each row. It adds a little lift and keeps the pencils from sliding when you open the drawer.
Give each band its own home
Now grab the container you chose in Step 1 – whether it’s a zip‑up case, a DIY cardboard box, or a magnetic board. Divide the interior into three or four sections, matching the families you just created. Slide the red row into the first compartment, the blues into the next, and so on. If you have a DIY board, you can tape a strip of washi tape to mark each zone.
And here’s where Drawing Pencils Guru’s expertise sneaks in: we’ve seen artists in Delhi swear by a simple wooden palette with built‑in dividers because the wood is gentle on the pencil leads and the dividers stay steady on a studio bench. It’s a low‑cost upgrade that lasts years.
Label – but keep it breezy
Grab a sticky note or print a tiny colour‑wheel reference and slap it on the front of each compartment. You don’t need fancy typography; a quick handwritten tag works just as well. The label is your visual cue, especially when you’re juggling a deadline and your mind is racing.
If you’re teaching a class in a college art lab, consider colour‑coded stickers – red for primaries, green for secondaries, grey for neutrals. Students love the visual shortcut, and it reinforces the habit of returning pencils to the right spot.
Test the flow
Take a moment to reach for a colour you use often – say, a teal for a cityscape sky. Does your hand glide straight to the right compartment? If you have to hunt, shuffle a few pencils until the path feels natural. The whole idea of grouping is to make the next step – actually drawing – effortless.
One quick check: close the case, give it a gentle shake, and open it again. If the families stay in place, you’ve nailed the stability. If not, add a thin piece of rubber mat at the bottom of each compartment; it’s a cheap hack that adds grip.
Finally, remember that this system evolves. As you pick up new shades from a local art supply shop in Bangalore, just slide them into the appropriate family and adjust the light‑to‑dark order. Your colour families will grow with you, and your creative flow will stay smooth.
Step 3: Choose a Storage System
Now that your pencils are sorted into colour families, the next question is: where do they live? A good storage system is the silent partner that keeps your workflow smooth, especially when you’re juggling a deadline in a Mumbai studio or a quick sketch in a Delhi classroom.
What makes a storage system work?
First, stability. You don’t want a wobbling case that sends a whole row of reds spilling onto the floor. Second, visibility – the top of each compartment should be easy to glance at so you can grab that exact teal without hunting. Third, portability if you move between classrooms or client sites. Finally, a bit of personal style – a system that feels like an extension of your own creative process.
Think about the last time you fumbled for a pencil and missed the mark. That frustration is often less about the colour and more about where the pencil was stored. Choose a system that eliminates that extra mental step.
Three popular options for Indian artists
Below is a quick comparison of three setups we see artists using across campuses in Bangalore, art collectives in Kolkata, and home studios in Pune. Each option balances the four criteria above in a slightly different way.
| Storage Option | Key Benefits | Best For |
|---|---|---|
| Plastic shallow tray with dividers | Lightweight, inexpensive, clear view of each colour band | Students and freelancers who need portability |
| Hard‑case zip‑up with built‑in slots | Durable, protects pencils from breakage, locks in place | Artists who travel to workshops or carry pencils to client meetings |
| DIY wooden board with custom cuts | Sturdy, aesthetically pleasing, can be sanded to fit any set size | Studio owners who want a permanent, stylish solution |
Step‑by‑step: Setting up your chosen system
1. Measure your pencil set. Lay the pencils side by side on a ruler and note the total width. This simple measurement tells you whether a standard tray will fit or if you need a larger case.
2. Match the container to the measurement. If your set is under 12 cm wide, a basic plastic tray works. For wider sets (think 15 cm or more), look for a case with adjustable dividers or consider a custom wooden board.
3. Arrange colour families inside. Place each hue band in its own compartment, keeping the light‑to‑dark order you established earlier. As you slide the pencils in, give each row a tiny tap to settle them – this prevents future shifting.
4. Test the flow. Pick the colour you use most – maybe a bright magenta for Indian wedding sketches – and see how quickly your hand reaches it. If you have to twist or dig, shift the row a millimetre left or right until the motion feels natural.
5. Add a grip boost. A thin rubber mat or a piece of non‑slip shelf liner at the bottom of each compartment adds friction. It’s a cheap hack that many students in Delhi swear by, and it costs less than a cup of chai.
6. Label, but keep it simple. A sticky note with a hand‑drawn colour‑wheel sketch or a colour‑coded sticker works fine. The label should be visible at a glance, not a decorative afterthought.
Real‑world examples
Riya, a third‑year BFA student in Pune, swapped a flimsy zip‑up pouch for a hard‑case with magnetic dividers. Within a week she reported a 20 % cut in time spent searching for the right shade during her final project. The case’s snap‑lock also protected her newly purchased Prismacolor set from breakage on the daily commute.
Meanwhile, Arjun, a freelance illustrator based in Hyderabad, built a DIY wooden board from reclaimed teak. He cut shallow grooves to match his 48‑colour set, sanded the edges smooth, and finished it with a natural oil coat. The board now sits on his studio bench, and because it’s fixed, his colour families never shift – a subtle but huge boost to his workflow when juggling multiple client palettes.
Quick checklist before you close the case
- Measure the total width of your pencils.
- Choose a tray, case, or board that meets that width.
- Arrange hue bands from light to dark.
- Test reach for a frequently used colour.
- Add a non‑slip mat if pencils slide.
- Label each compartment with a simple visual cue.
When you’ve ticked all the boxes, you’ll notice a quiet confidence the next time you open your drawer. No more hunting, no more broken tips, just a smooth line from idea to sketch. That’s the power of picking the right storage system – it turns chaos into a calm, colour‑rich workspace.
Step 4: Label and Maintain Your Collection
Now that your pencils sit nicely in their home, the next hurdle is making sure you can find them fast and keep them healthy for the long haul.
Why labeling matters
Imagine reaching for that perfect teal for a Mumbai skyline and pulling out a random green instead. A quick glance at a clear label stops that mis‑step before it happens. Labels act like signposts in a bustling market – they guide your hand without you even thinking.
Simple labeling systems you can set up today
1. Sticky‑note colour bands. Grab a pack of bright Post‑it notes, write the hue (e.g., “Reds”) on each, and tape them to the front of every compartment. It’s cheap, removable, and you can change it as your palette grows.
2. Printed colour‑wheel tags. Use a free template from a spreadsheet, print on card stock, cut to size, and slide the tag into a slot or attach with a tiny binder clip. The visual wheel reminds you of the whole spectrum at a glance.
3. Colour‑coded stickers. Small round stickers in red, blue, yellow, etc., work great for students who love a visual cue. Stick one on each drawer front; the colour itself tells you what’s inside.
4. DIY index‑card labels. Write the hue and value range (e.g., “Light‑to‑Dark Blues”) on a 3×5 cm index card. Slip it into a shallow groove you’ve cut into a wooden board. This looks sleek and stays put.
Tip: keep the font legible – a simple handwritten style works better than fancy cursive when you’re in a hurry.
Maintenance habits that protect colour and lead
Even the best‑organized set will degrade if you ignore basic care. Here are the habits we see artists in Delhi, Bangalore and Pune swear by.
1. Keep the nib sharp, but not brittle. A professional pen knife or a metal rotary sharpener gives you a clean point without crushing the pigment. Sharpen only the pencils you use that day – the rest stay at a safe length.
2. Clean the tips regularly. A soft eraser or a dab of paper towel removes dust and stray colour. This prevents muddied blends, especially when you’re layering a delicate pastel peach over a warm orange.
3. Store away from direct sunlight. UV light fades vibrant reds and yellows in as little as a few weeks. A closed case on a shaded shelf or a drawer with a matte‑finished lid does the trick.
4. Control temperature and humidity. High heat can melt the waxy binder in many coloured pencils, while humidity encourages mould on the wooden barrel. Aim for a cool, dry spot – a climate‑controlled studio or a cupboard away from the air‑conditioner’s cold draft works well.
5. Add a non‑slip base. A thin sheet of non‑slip shelf liner or a rubber mat at the bottom of each compartment stops pencils from sliding when you open the case. Rahul, a freelance illustrator in Bangalore, says the extra friction saved him from a broken lead every morning.
6. Periodic inspection. Once a month, flip through the whole set. Look for cracked leads, faded colours, or loose caps. Fix small issues now instead of discovering a broken tip mid‑sketch.
For a visual walkthrough of these steps, watch this quick maintenance guide. The video shows how to apply a rubber mat and how to clean a nib without damaging it.
Putting it all together: a 7‑step checklist
- Attach a clear label (sticky note, sticker or printed tag) to each compartment.
- Verify that the label matches the hue band inside.
- Place a thin rubber mat or shelf liner at the bottom of each slot.
- Sharpen only the pencils you’ll use that day.
- Wipe each nib with a soft eraser after each session.
- Store the case in a cool, shaded location away from humidity.
- Do a monthly inspection and update labels if you add or retire colours.
When you follow these steps, you’ll notice two things: the time you spend hunting for a colour drops dramatically, and the pencils themselves stay brighter and sharper for longer. That’s the sweet spot every student, academic, or professional artist in India craves – more creation, less interruption.
Step 5: Creative Display Ideas
Now that your pencils are sorted, the fun part begins – turning that tidy order into something you actually want to look at every day. A well‑thought‑out display does more than just keep colours in place; it sparks inspiration the moment you sit down to draw.
Put the palette where you work
Think about the spot where you sketch most often – a desk by the window, a studio bench, or even a small table in a corner of your bedroom. Place a shallow tray or a set of cube holders right on that surface. When the colours are right in front of you, you’ll reach for a pencil without even thinking about it.
And if you’re limited on space, a lazy‑Susan carousel can spin your entire collection with a single flick. It’s a favorite among art teachers in Delhi because the whole class can see every hue at a glance.
Use colour‑coded zones
Instead of a single monolithic block, break the display into “zones” that match the families you created in Steps 1‑4. One zone for primaries, another for secondaries, a third for neutrals. A quick visual cue – like a small strip of washi tape in the zone’s dominant colour – tells your brain, “Hey, the reds are right here.”
We’ve seen students in Mumbai tape a thin red line on the edge of a wooden board; the line becomes a subtle reminder that the next pencil you need is just a slide away.
Elevate with texture
Adding a non‑slip liner or a thin rubber mat to the bottom of each compartment not only prevents sliding, it also gives a satisfying “click” when a pencil settles into place. That tiny tactile feedback can be oddly motivating – you’ll feel a little win each time you close the case.
Even a simple piece of cork can work wonders. It’s cheap, it’s easy to cut to size, and it adds a natural look that fits right into an Indian studio’s warm aesthetic.
Showcase with a stand‑alone board
If you have a permanent studio bench, consider a DIY wooden board with custom‑cut grooves. The board becomes a piece of art itself, especially when you finish it with a light oil coat that brings out the wood grain. Arrange each colour band in its own groove, keeping the light‑to‑dark order you love.
Our community often pairs this board with a small LED strip along the back edge. The soft glow highlights the spectrum, turning a functional organizer into a decorative focal point.
Mobile options for on‑the‑go artists
Freelancers who hop between client sites need something that travels. A compact pencil caddy with a snap‑lock lid does the trick. Slip a few sticky‑note colour bands onto the lid so you still know what’s inside without opening it.
Picture yourself on a bustling Mumbai metro, pulling out a teal for a quick sketch. The caddy stays sealed, the colours stay ordered, and you don’t have to fumble through a bag of random sticks.
Mix function with flair
Why not turn a plain tray into a mini‑gallery? Print a faint colour‑wheel pattern on a sheet of matte paper, place it under the pencils, and you’ve got a visual map that doubles as a reference while you work. It’s the kind of detail that makes you smile every time you reach for a hue.
For a truly personal touch, add a small framed quote or a photo of your favorite artwork on the wall behind the display. The whole setup becomes a little creative corner that feels yours.
Quick checklist for a display that works
- Choose a surface you use daily – desk, bench, or portable caddy.
- Divide the space into colour‑coded zones (primaries, secondaries, neutrals).
- Add a non‑slip liner or cork base to each compartment.
- Consider a wooden board with custom grooves for a permanent studio.
- Use a subtle LED strip or printed colour‑wheel backdrop for visual appeal.
- Keep a spare set of sticky‑note labels for quick re‑ordering.
All of these ideas pull from the same pool of creative colored pencil storage ideas that professional organizers recommend for busy households and studios alike. Experiment with one or combine a few – the goal is a display that feels effortless, inspiring, and uniquely yours.
Conclusion
By now you’ve seen how a little bit of colour‑sorting magic can turn a chaotic drawer into a smooth workflow.
We started with the simple act of pulling every pencil out, grouped them by hue, and then gave each family a home that stays put – whether that’s a shallow tray, a zip‑up case, or a DIY wooden board.
So, what’s the next step? Grab the container you already own, line up those hue bands, add a sticky‑note label, and test the reach for your go‑to shade. If anything feels off, nudge a pencil a millimetre; that tiny tweak is all it takes to make the system feel natural.
Remember, the system is alive. Whenever you add a new colour, slip it into the right band and retire any duplicates. A quick monthly glance will keep the palette fresh and your creative flow uninterrupted.
At Drawing Pencils Guru we’ve helped dozens of Indian art students and freelance illustrators keep their pencils organized, and the feedback is always the same – less hunting, more drawing.
Give the method a try tonight and notice how much faster you reach that perfect teal. When you’re ready, share your setup with our community – we love seeing the colourful corners you create.
FAQ
What’s the first step when I want to learn how to organize colored pencils by color?
Start by pulling every pencil out of the drawer and spreading them on a clean surface. This quick inventory lets you see every hue you own, even the broken sticks you’ve been keeping “just in case.” Once they’re all laid out, you can begin grouping by hue, which is the backbone of any colour‑sorting system.
How many colour groups should I create for a typical student set?
Most Indian art students find three to four families work best: primaries (red, blue, yellow), secondaries (orange, green, purple) and neutrals (brown, grey, black). If you have a larger set, you can split each primary into warm and cool tones. The goal is a handful of clear sections you can glance at and instantly know where to reach.
What’s a simple way to keep the hue bands from shifting inside a tray?
Place a thin strip of non‑slip shelf liner or a piece of cork at the bottom of each compartment. It adds friction, so pencils settle into place and don’t slide when you close the case. A quick tap after you load each row confirms everything is snug – a tiny habit that saves you from broken leads later.
Should I label each colour family, and if so, how?
Labeling is a cheap visual cue that stops you from hunting for the wrong shade. A bright sticky‑note or a hand‑drawn colour‑wheel tag on the front of each section works perfectly. Keep the text short – “Reds” or “Blues” – so you can spot it in a split‑second glance while you’re in the middle of a sketch.
How often should I revisit my organised setup?
Give the system a quick once‑a‑month audit. Flip through the rows, retire duplicate or never‑used colours, and slip any new pencils into the right hue band. A brief check keeps the palette fresh, prevents overcrowding, and ensures the colour you need is always within arm’s reach.
Can I use the same method for watercolor brushes or markers?
Absolutely. The principle of grouping by hue first, then arranging light‑to‑dark, works for any colour‑based tool. For brushes, line them up on a shallow tray; for markers, use a zip‑up case with dividers. The visual order reduces the time you spend searching, whether you’re drawing or painting.
What common mistake should I avoid when trying to how to organize colored pencils by color?
Don’t over‑complicate the system with too many micro‑categories. If you start labeling every single shade, you’ll spend more time maintaining the labels than drawing. Keep it simple: primary families, a light‑to‑dark gradient, and a clear label. Simplicity makes the habit stick, especially for busy students and freelancers.
