
Most artists find that lighting can make or break a sketch.
Under harsh fluorescent lights, a soft 2B can look muddy, while a hard HB may stay too light. In dim rooms, a dark 4B can flood the paper, hiding subtle lines. The key is matching the pencil grade to the light you have.
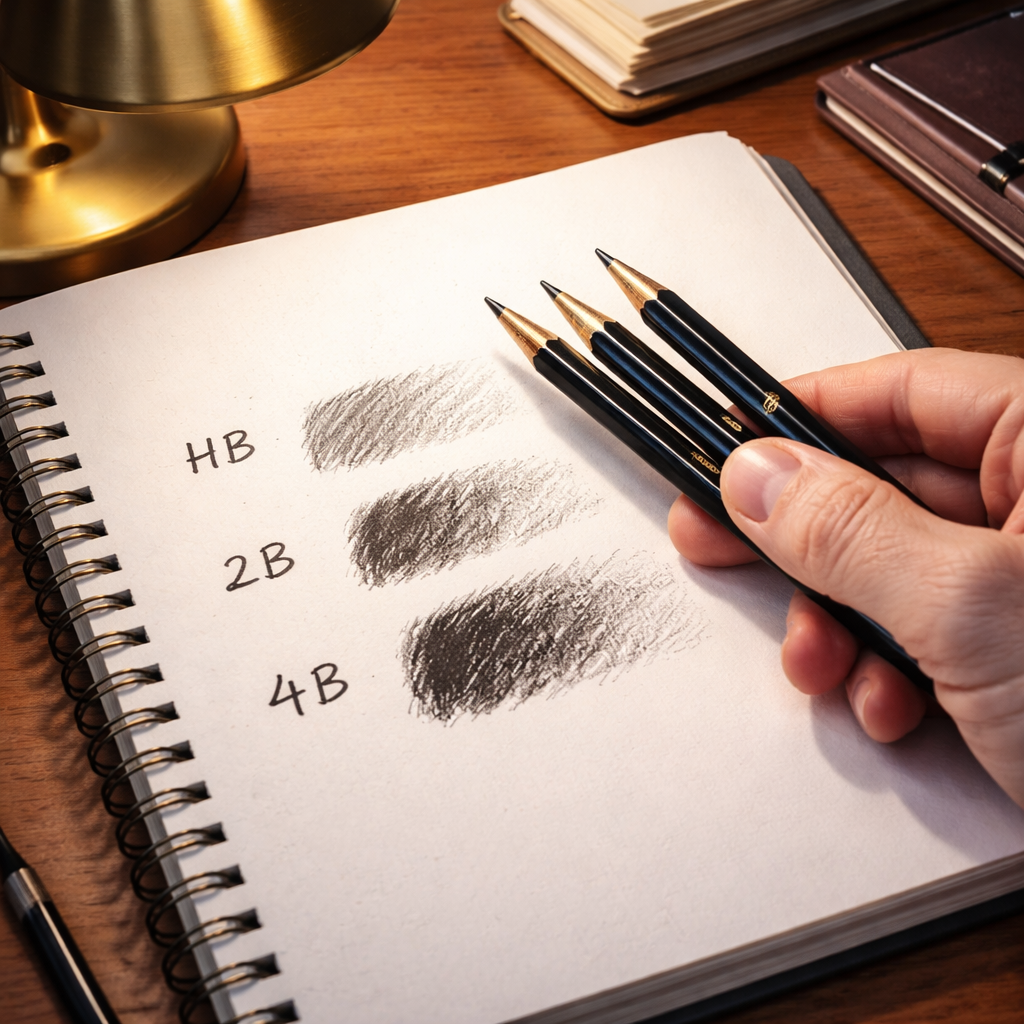
Here’s a quick way to test: grab a sheet of standard sketch paper, hold a 2B and a 4B side by side, and shine a desk lamp on them. Notice how the 4B creates a richer shadow in the same spot. That shadow tells you the pencil is strong enough for low‑light work.
When you work near a window, natural light is bright and even. A medium‑hard 2H or HB lets you keep control without smudging. If you’re drawing in a coffee shop with mixed bulbs, a 2B gives you enough darkness to stand out but still lets you lift marks with a kneaded eraser.
Practical tip: keep a small set of three grades – HB, 2B, 4B – in your pencil case. Switch grades as the lighting changes throughout the day. This avoids buying many pencils you’ll only use once.
For more on how each grade behaves, check out our guide on the difference between 2B and 4B pencils. Understanding this will help you pick the right tool no matter the lighting.
Step 1: Choose the Right Pencil Hardness for Different Lighting
Now that you know how light can hide or boost a line, it’s time to pick the right pencil grade for each spot.
In a bright window, a hard HB or even a 2H will keep your strokes light and clean. The graphite won’t melt into the paper.
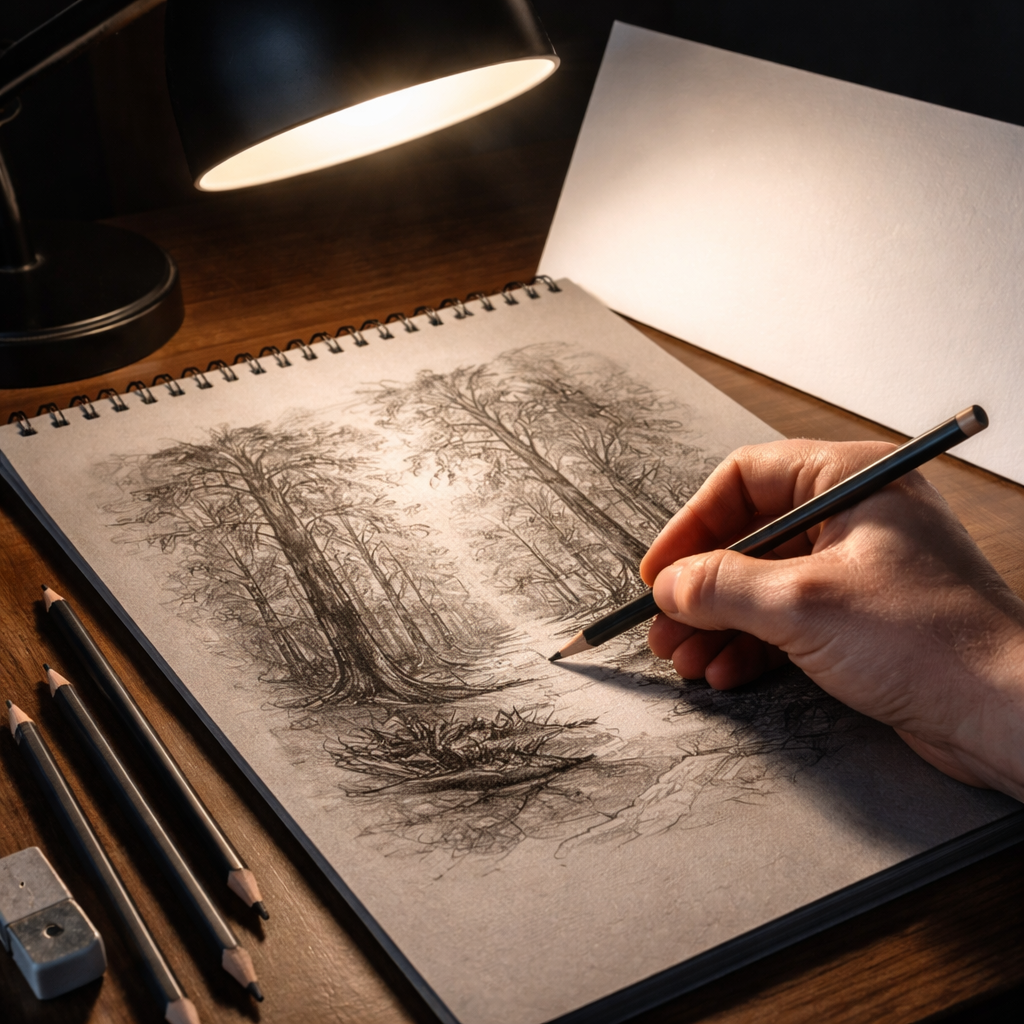
When the lamp is low, reach for a soft 4B. Its dark lead gives you depth without pressing hard, so the paper stays smooth.
A quick test you can do at your desk is to draw two lines side by side, one with HB and one with 4B, then shine a lamp from a 45 degree angle. Notice which line stays visible as the light dims.
Watch this quick demo to see the difference in action.
You can see how the 4B shadows fill the page while the HB stays faint. That visual cue helps you match grade to glow.
A simple trick is to keep those three grades in a small tin. As the sun moves, swap the pencil and the line stays clear.
If you set up a studio at home, you might follow an event lighting guide from Captured Celebrations to keep glare low.
A quick studio safety checklist from ClearCheck Compliance can also help you avoid bright spots that wash out soft lines.
Teachers in India often use classroom art resources from Classiqaz to show students how different pencils react under fluorescent lights.
When you store them, keep the tips covered with a soft cloth or a pencil case that blocks dust. This stops the lead from drying out and keeps the darkness consistent no matter the room’s brightness.
By matching hardness to light, you keep your sketches clear and your hand relaxed. That’s the first step to finding the best pencils for drawing under lighting conditions.
Step 2: Test Pencil Performance Under Various Light Sources
Your sketches can look completely different depending on the light you work under.
Grab a fresh sheet, a 2B and a 4B, and set a lamp to three positions.
First, place the sheet by a sunny window. Then, move it under a cool fluorescent tube. Finally, switch on a warm desk lamp.
Now draw a short line with each pencil in each light.
Do the lines stay visible? The darker 4B should still show under the fluorescent glow, while the HB may fade.
If a line disappears, you know that grade is too light for that source.
Adjust pressure, too. Light presses with a 2B work well in bright daylight, but a firm press with a 4B rescues a dim room.
Artists in India often face harsh noon sun on a balcony. A 2B keeps the line crisp without washing out.
When the sun moves, swap pencils. The same three‑grade set lets you stay in control all day.
A quick checklist: 1) Test each pencil in each light. 2) Note which stays darkest. 3) Keep that grade handy for the next session.
Doing this simple test once a week helps you build a reliable toolbox. It’s the secret many sketchers use to avoid guesswork.
Give it a try tomorrow. You’ll see exactly which pencil shines in each lighting condition.
If you have a cheap light meter, set it to 500 lux for the window, 300 lux for the fluorescent, and 200 lux for the lamp. Match the numbers to the pencil you chose.
Store your pencils with the tips up. This stops breakage and keeps the lead ready for the next lighting test.
Try the same test on a mid‑tone paper. Dark pencils pop more on gray, while light grades blend into the background. Knowing this helps you pick the right paper for the room’s light too.
Step 3: Apply Techniques to Boost Contrast When Light Is Limited
When the room feels like a cave, your lines can look flat. The trick is to make the dark parts stand out even if the lamp is weak.
First, grab a 4B or even a 6B if you have one. Press a bit firmer than you would in bright light. The extra pressure pushes more graphite onto the paper, giving you a richer shadow that the eye can catch.
Second, think about the paper itself. A mid‑tone gray sheet or a slightly off‑white pad will let a dark pencil pop more than a bright white sheet. Many artists in India swap to a gray pad for night‑time sketching.
Third, add a simple reflector. A small white card placed opposite your light source bounces a soft glow onto the drawing area. It doesn’t need a fancy diffuser – a sheet of printer paper works fine.
Fourth, use a phone light‑meter app. Aim it at the surface and note the lux reading. If it’s under 250 lux, stick with your softest grade; if it’s around 400 lux, a 2B will still show enough depth.
Fifth, layer your strokes. Start with a light outline, then go back over it with a darker mark. A blending stump can smooth the edges, but keep a few raw graphite bits for texture.
Quick checklist: 1) Choose a dark grade. 2) Press a touch harder. 3) Pick a mid‑tone paper. 4) Add a reflector or white card. 5) Verify light level with a phone app. Follow these steps and the contrast will jump even in dim corners.
Step 4: Maintain Your Drawing Pencils and Compare Top Options
Keeping your pencils sharp and clean makes a big difference when the light is low. A dull tip will spread graphite and lose contrast, especially with the best pencils for drawing under lighting conditions.
Quick care checklist
1. Test the point before you start. If the tip feels rounded, give it a fresh shave with a single‑edge razor or a good quality sharpener.
2. Brush off any graphite dust with a soft brush. A quick sweep stops buildup that can dull your lines.
3. Store pencils upright in a drawer that stays between 60°F and 75°F and 40‑60% humidity. The Haobin guide notes that these ranges keep wood from warping.
4. Rotate lead in a mechanical pencil often. The Wirecutter review says the Blick Premier’s double‑click design helps avoid breakage.
Comparing top options
Below is a short table that lines up three popular choices. Each one works well in dim rooms, but they differ in feel, cost, and how easy they stay sharp.
| Option | Type | Key note |
|---|---|---|
| Standard 4B wood | Wooden pencil | Great dark line, needs regular sharpening. |
| Blick Premier | Mechanical (0.5 mm) | Lead cushion stops breaks; easy to keep tip sharp. |
| rOtring 600 | Metal mechanical (0.7 mm) | Heavy feel gives steady hand; fixed sleeve holds lead steady. |
Pick the option that matches how you work. If you like to change pressure often, a wooden 4B gives you full control. If you draw long sketches and hate sharpening, a mechanical model saves time. The rOtring 600 is worth the extra weight when you need precise, repeatable lines.
Action steps you can try today
First, grab the pencil you use most and give it a fresh point. Then, run a soft brush along the barrel and check the storage spot for temperature spikes.
Next, if you own a mechanical pencil, click the lead release twice and see if the tip feels loose. If it does, switch to a model with a cushioning system – the Blick Premier is a solid budget pick.
Finally, write a short test line in the lighting you plan to work in. Compare the darkness of each option. The one that stays darkest without smudging is your go‑to for the best pencils for drawing under lighting conditions.
Conclusion
When light shifts, the pencil you hold should shift too. You now know that a hard HB shines in bright rooms, a soft 4B saves a sketch in dim corners, and a reliable mechanical lead keeps your line steady when you can’t keep sharpening.
Pick the tool that fits your workflow: wooden 4B for full control, Blick Premier for quick, break-free notes, or the rOtring 600 when you need weight and precision. Test each in the lighting you use most and note which stays dark without smudging. A quick line test each week keeps your kit ready for any lamp or window.
Ready to upgrade your set? Visit Drawing Pencils Guru for deeper guides and product picks that match Indian studios, classrooms, and home desks. With the right pencil in hand, the right light will never hold you back.
FAQ
What pencil grade works best in bright daylight?
In bright daylight an HB or 2H gives you a light line that won’t wash out. The hard lead stays pale even when the sun shines straight on your paper, so you can build up tone without smudging. Try a quick test: draw a short stroke with an HB, then step outside. If the line stays clear, that grade is your go‑to for sunny rooms or a well‑lit studio.
Which pencil should I use when I draw in a dim room?
When you work under a lamp or in a night‑time corner, a soft 4B or 6B will give you the darkness you need. The soft lead deposits more graphite, so the line stays visible even if the light is low. A simple trick is to press a little harder than you would in bright light; the extra pressure helps the mark stay deep without breaking the tip.
Are mechanical pencils good for low‑light sketching?
If you prefer a mechanical pencil, look for a model that holds 0.5 mm or 0.7 mm lead and has a cushioned clutch. The clutch keeps the lead from snapping when you press hard in low light, and the thicker lead gives a darker line similar to a 4B wood pencil. Brands like Blick Premier or rOtring 600 are popular choices for Indian artists who move between bright studios and dim rooms.
How does the paper I use affect pencil darkness?
The paper you draw on changes how a pencil looks under any light. Mid‑tone gray paper reflects some light back to the eye, making dark grades pop even in a dim lamp. White paper can make a soft 2B look too light under fluorescent tubes. If you sketch at night, try a gray pad or a slightly off‑white sketchbook to keep the contrast strong.
What maintenance steps keep my pencils performing in low light?
Keeping your pencils sharp helps you see the true darkness of each grade. A dull tip spreads graphite and can look lighter than it really is, especially under weak light. Use a single‑edge razor or a good quality sharpener to get a fine point. After each session, brush off dust and store the pencils upright so the tips stay ready for the next lighting test.
How do I choose the best pencils for drawing under lighting conditions?
To pick the best pencils for drawing under lighting conditions, start with a three‑grade set: HB for bright spots, 2B for mixed light, and 4B for dark corners. Test each grade in the room where you usually work and note which one stays darkest without smudging. Once you know the right match, you can add a mechanical pencil for quick notes or a wooden 4B for heavy shading.
