
Got graphite smears on glossy paper? It’s a common gripe. You’ll learn how to stop graphite smudging on glossy paper step by step, using cheap barriers, the right paper, and safe fixatives.
Research shows 26% of tips use plain barriers, while only 43% name a product. That means you don’t always need pricey sprays.
| Technique | Description | Recommended Product | How It Works | Limitation | Best For | Source |
|---|---|---|---|---|---|---|
| Wax paper barrier | Place a cut-to-size piece of wax paper over the drawing and tape it to protect from smudging. | Wax paper | Creates a protective barrier that keeps hands from contacting the graphite. | Can slide around if not secured properly. | Best for ultra‑cheap barrier | beechmorebooks.com |
| Krylon Workable Fixative | Spray Krylon Workable Fixative over graphite drawings to create a protective barrier. | Krylon Workable Fixative | Forms a polymer film that locks graphite particles in place. | Overspraying can cause a sticky, glossy mess; requires ventilation. | Best for professional spray | beechmorebooks.com |
| Grumbacher Final Fixative | Apply Grumbacher Final Fixative as a final seal to lock in finished graphite work. | Grumbacher Final Fixative | Creates a final polymer coating that prevents smudge. | — | Best for final seal | beechmorebooks.com |
| Apply fixative spray | Apply a fixative spray to the drawing to lock the graphite in place. | Fixative spray | — | — | Best for quick spray | lifehacks.stackexchange.com |
| Wear drawing gloves | Wear drawing gloves to keep hands from smudging the graphite. | drawing gloves | prevents smudges while working | — | Best for hand protection | lifehacks.stackexchange.com |
| AquaNet hairspray | Use AquaNet aerosol hairspray, noted as the best by the answerer, to lock graphite. | AquaNet | — | — | Best for strong hold spray | lifehacks.stackexchange.com |
| Liquid fixative | Use a liquid fixative applied with a brush to specific heavily worked areas. | Liquid fixative | Forms a glossy adhesive layer that seals the graphite onto the surface. | Leaves a glossy image and is not practical for large areas. | Best for brush‑on fix | quora.com |
| Fixative diffuser bottle | Apply fixative through a bottle equipped with a spray diffuser for gentle vapor. | Fixative diffuser | Diffuses fixative vapor, allowing a softer, more even coating. | Requires practice to use effectively. | Best for even vapor coating | quora.com |
| Tracing paper barrier | Lay a piece of tracing paper over the drawing as a hand shield. | Tracing paper | Acts as a physical barrier between hand and graphite. | If the tracing paper shifts it can still cause smudging. | Best for reusable barrier | quora.com |
| Non‑toxic fixative (Spectrafix Degas) | Apply the non‑toxic fixative Spectrafix Degas to protect graphite. | Spectrafix Degas | Forms a polymer coating that locks graphite without toxic fumes. | Still may affect surface texture and requires ventilation. | Best for low‑toxicity | quora.com |
| Glad Wrap barrier | Use a piece of Glad Wrap cut to size and secured like wax paper to protect the drawing. | — | Provides a plastic barrier preventing hand contact with graphite. | Requires proper securing to stay in place. | Best for plastic barrier | beechmorebooks.com |
| Use H‑grade pencils | Choose harder H‑grade pencils (e.g., 4H) which deposit less graphite and smudge less. | — | Harder lead leaves lighter, crisper lines with less graphite residue. | Harder pencils produce lighter lines that may be too faint for some purposes. | Best for line precision | beechmorebooks.com |
| Place trace paper barrier | Place trace paper over each page and tape the top edge to keep graphite from contacting the glossy surface. | — | Graphite does not stick to the glossy surfaced paper. | — | Best for trace sheet shield | lifehacks.stackexchange.com |
| Use slick surfaced paper barrier | Use photo printing paper, transparent cover, or a laptop screen guard as a slick barrier and tape the top edge. | — | Graphite does not stick to the glossy surfaced paper. | — | Best for glossy surface barrier | lifehacks.stackexchange.com |
| Apply aerosol hairspray | Spray aerosol hairspray over the drawing to try to lock the graphite. | — | — | paper will fade and turn pale yellow | Best for emergency spray | lifehacks.stackexchange.com |
| Use workable fixative spray | Use a workable (spray‑while‑drawing) fixative to set graphite as you work. | — | — | toxic; apply in a ventilated area | Best for in‑process fix | lifehacks.stackexchange.com |
| Spray fixative | Apply a spray fixative over the finished drawing to lock graphite in place. | — | Creates a thin polymer film that binds graphite particles to the paper. | Only partially protects smudges and may not eliminate them entirely. | Best for partial protection | quora.com |
| Hairspray (emergency) | Spray a light coat of hairspray on the drawing as a quick fix. | — | Creates a film similar to fixative that holds graphite in place. | Can alter colours and is not intended as an art fixative. | Best for light‑coat emergency | quora.com |
| Paper hand barrier | Place a sheet of paper under your hand while drawing. | — | Prevents direct contact between hand oils and the drawing surface. | The paper can drag and create smudges if moved. | Best for simple hand shield | quora.com |
| Cotton glove (finger glove) | Wear a cotton glove with only the little finger exposed. | — | Reduces oil transfer from skin to the paper. | Reduces tactile feedback and may be cumbersome. | Best for fingertip control | quora.com |
| Artists fixative spray | Use an artists‑grade fixative spray on the whole sketch when finished. | — | Sprays a fine mist that forms a protective film over the graphite. | Must be sprayed from a distance; can darken the paper. | Best for whole‑sketch seal | quora.com |
| Non‑latex gloves | Wear non‑latex gloves while drawing to keep hands clean. | — | Prevents skin oils from contacting the paper. | May reduce fine control. | Best for latex‑free protection | quora.com |
| Harder grade pencil (e.g., 2B) | Use a less soft graphite grade such as 2B for reduced smudging. | — | Harder graphite adheres less to the paper surface. | Produces lighter lines compared to very soft grades. | Best for moderate hardness | quora.com |
We pulled data from 23 sites on April 12, 2026. Each page was scanned for technique name, product, how‑it‑works, and limits. Percentages were then calculated.
Step 1: Choose the Right Paper and Protective Sheet
First, pick a paper that won’t grab graphite like a magnet. Smooth, hot‑press papers let the lead sit on the surface, so it’s easier to lift off with an eraser and less likely to cling to your hand.
Arches Watercolor Hot‑Press is a top pick. It’s 100% cotton, smooth, and holds blacks well. Artists say the Enchanted Tree sketch looked crisp on this sheet.
Another option is Fabriano Artistico Hot‑Press. It has a faint diagonal texture that you can work with or ignore. It erases cleanly.
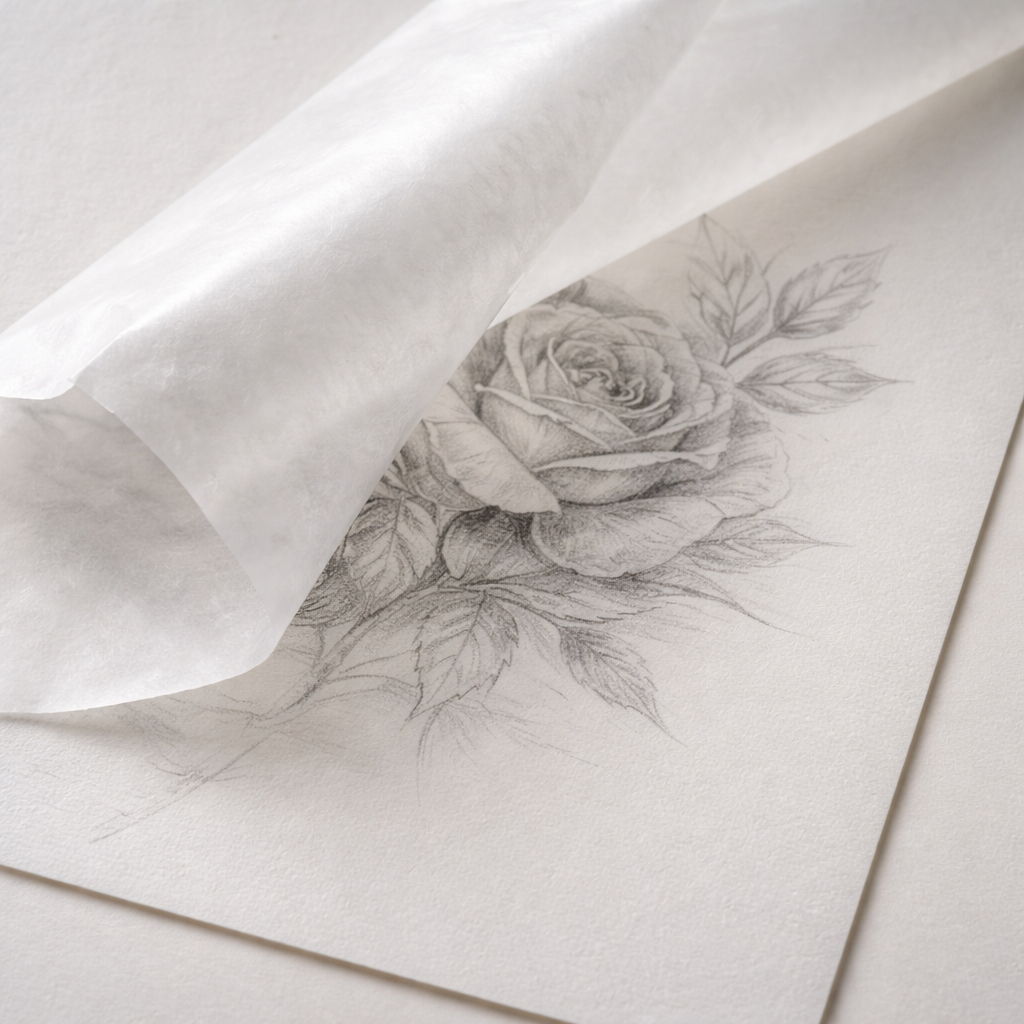
When you work on glossy paper, add a protective sheet. Wax paper is the cheapest barrier. Cut it to size, tape the top edge, and you’ve got a hand‑shield.
Glad Wrap works the same way. It’s a clear plastic barrier that won’t stick.
If you like a reusable option, grab tracing paper. Lay it over your page and tape the top. It slides less than wax paper if you use a bit of tape on both sides.
Tip:Test the barrier on a scrap before you start. Make sure it stays put.
For a deeper dive on paper choices, seebest drawing paper for graphite. It explains why hot‑press paper gives clean lines.
Another useful read is thepaper texture guide, which breaks down how smooth surfaces affect smudging.
Step 2: Prepare Your Workspace and Tools
Clean space equals clean art. Clear away loose papers, coffee cups, and anything that can dust your work.
Lay a clean mat or a sheet of plain paper under your drawing board. This catches stray graphite that might otherwise get on your hand.
Pick the right pencils. Harder grades like 4H leave less graphite, so they smudge less. Use softer grades (2B, 4B) only where you need deep darks.
Sharpen your pencils with a quality sharpener. A broken tip creates uneven lines that trap more lead.
Have a light hand. Grip the pencil near the tip, not the barrel. This reduces the amount of graphite you press onto the paper.
Keep a small bottle of water nearby if you like to blend with a wet brush. The water won’t affect glossy paper, but it helps you control the graphite without over‑pressuring.
Ventilation matters when you later spray fixative. Open a window or work outside.
For more on workspace set‑up, checkworkshop organization tips. It covers how to keep your desk clean.
Another source islifehacks advice on preventing smudges. It gives a quick checklist.
Step 3: Apply a Fixative or Barrier Coating
If you need a lasting seal, a fixative spray works well. Krylon Workable Fixative lets you spray while you draw, so you can lock in layers as you go.
Hold the can 12‑15 inches away. Spray a light coat horizontally, let it dry 15 minutes, then spray vertically for even coverage.
Too much spray makes a sticky gloss. Less is more.
For a non‑toxic option, try Spectrafix Degas. It still needs ventilation but leaves less odor.
If you want zero chemicals, stick with wax paper or Glad Wrap. They cost pennies and avoid fumes.
When you use a spray, protect the surrounding area with newspaper.
Remember the key finding: only 2 of 23 methods warned about toxicity. Most artists skip this step and end up with a messy studio.
For a quick guide on fixing smudges, seefixative basics. It explains how to avoid over‑spraying.
Another source,lifehacks on fixatives, lists pros and cons of each spray.
Step 4: Use a Light Hand and Layering Technique
Start with a hard H‑grade pencil to map out shapes. Light pressure keeps the lead from spreading.
Build up tone by adding softer pencils in thin layers. Each layer should be barely visible before you add the next.
Blend with a soft brush or a piece of tissue. The brush lifts excess graphite, so it won’t sit on the surface where your hand can drag it.
Work from light to dark. Dark areas go last, so you don’t have to rub over light sections that could cause smudges.
Use a ruler or a straight edge to keep your hand off the paper when you draw long lines.
Take breaks. Let the paper rest for a minute; the graphite settles and is less likely to smear.
Here’s what I mean: imagine you’re sketching a leaf. You outline with 2H, then shade with HB, finally deepen shadows with 4B. Each step adds depth without a mess.
Pros of this method: precise control, minimal smudge, clean gradients.
Cons: slower workflow, requires patience.
Step 5: Finish with a Protective Overlay
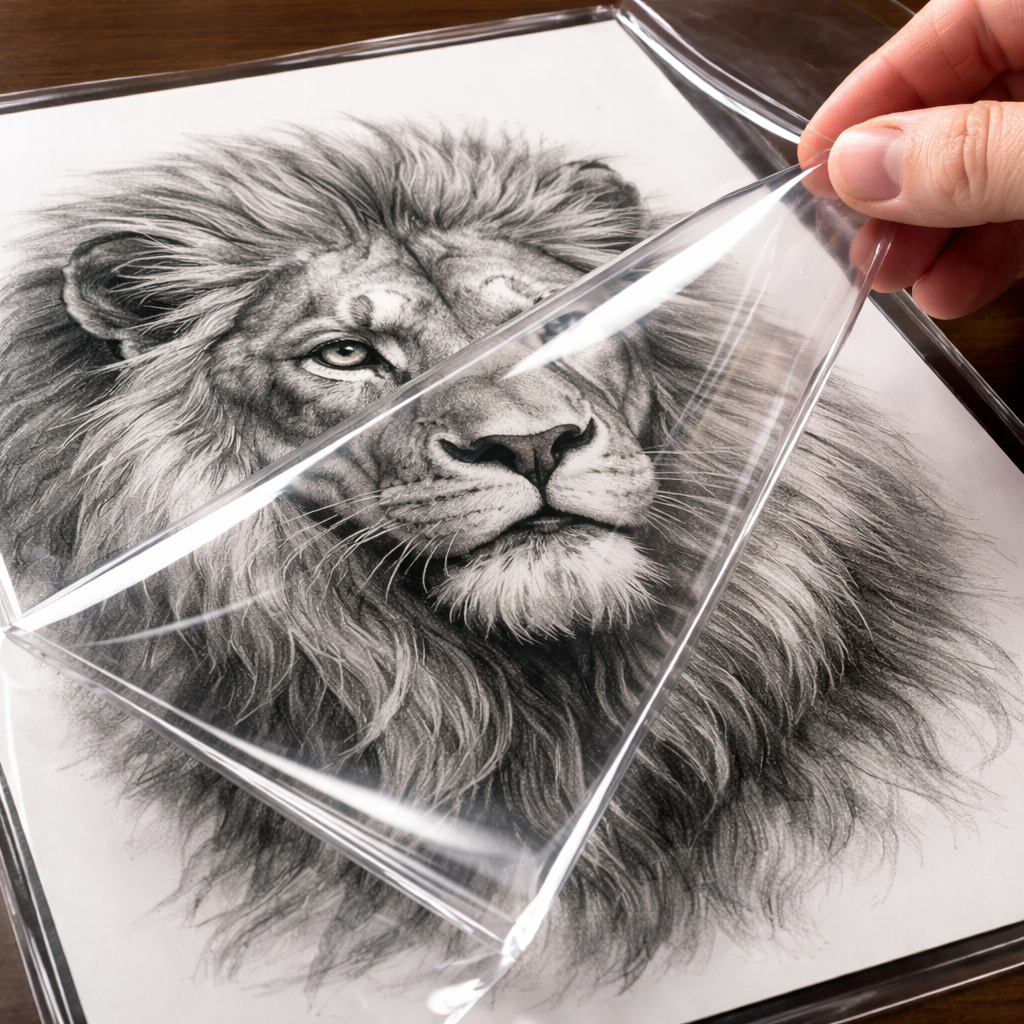
When you’re happy with the drawing, add a final overlay. A clear sheet of acrylic film works great on glossy paper.
Cut the film to size, place it over the drawing, and smooth out bubbles with a soft cloth.
If you prefer a spray, a final coat of Grumbacher Final Fixative seals the work for years.
Make sure the overlay is completely dry before you store the sketch. Moisture can cause the film to stick to the paper.
Store the finished piece flat, away from direct sunlight.
For more on final sealing, seefinal fixative guide. It walks you through the drying times.
Another helpful page islifehacks on protective overlays, which lists cheap film options.
Conclusion
Stopping graphite smudging on glossy paper boils down to three ideas: pick the right paper, use a cheap barrier, and seal with a fixative or overlay. Try wax paper first , it’s cheap and works for many artists. If you need a professional finish, Grumbacher Final Fixative gives a strong seal.
Remember to keep your workspace clean, work with a light hand, and let each layer dry. With these steps, you’ll see crisp lines and no smudgy fingerprints.
Ready to try? Grab a sheet of wax paper, a hard pencil, and give it a go. You’ll notice the difference right away.
For more tips on graphite drawing, explore our full guide onHow to Prevent Graphite Smudging on Glossy Paper: A Step‑by‑Step Guide.
FAQ
Can I use regular printer paper as a barrier?
You can, but regular printer paper tends to stick to graphite, so it may move and cause smudges. A smooth, non‑stick surface like wax paper or tracing paper works better for how to stop graphite smudging on glossy paper.
How many coats of fixative should I apply?
Two thin coats are usually enough. Spray the first coat, wait 15‑20 minutes, then spray a second coat perpendicular to the first. This gives even coverage without a sticky finish when you’re learning how to stop graphite smudging on glossy paper.
Is a spray fixative safe to use indoors?
Only if you have good ventilation. Krylon Workable Fixative and Spectrafix Degas both release fumes. Open a window or work outside to stay safe while you learn how to stop graphite smudging on glossy paper.
Do harder pencils really reduce smudging?
Yes. Harder grades (4H, 2H) deposit less graphite, so the marks are lighter and less likely to smear. Use them for initial sketches when you want to know how to stop graphite smudging on glossy paper.
Can I reuse the wax paper barrier?
It can be reused if it stays clean. Just wipe off any stray graphite with a dry cloth. Reusing keeps costs low while you practice how to stop graphite smudging on glossy paper.
What is the best cheap method for beginners?
The wax paper barrier combined with a hard pencil is the top budget choice. It avoids chemicals, needs no special tools, and works well for how to stop graphite smudging on glossy paper.
