
Most artists chase the perfect dark line. They think a harder lead will give clean edges, but that’s not always true. In fact, a recent study of 18 pencil grades shows the softest 9B lead blends the easiest, while the darkest 14B leads can be stubborn.
In this guide you’ll learn how to pick the right pencil grade for detailed portrait shading, how to layer and blend, and how to finish with razor‑sharp details. We’ll walk through each step, share pro tips, and point out why our pick, Drawing Pencils Expert, tops the list.
| Name | Hardness | Best For | Source |
|---|---|---|---|
| Drawing Pencils Expert (Our Pick) | — | Best for versatile grade sets | drawing-pencils.com |
| Faber-Castell 14B | 14B | Best for ultra-dark portrait shading | fabercastell.com |
| Pitt Graphite Matte 14B | 14B | Best for smooth deep blacks | fabercastell.com |
| Pitt Graphite Matt 14B | 14B | Best for matte ultra-dark tones | faber-castell.com |
| Pitt Graphite Pure 9B | 9B | Best for blendable deep blacks | fabercastell.com |
| Pitt Graphite Crayons 9B | 9B | Best for crayon-style shading | fabercastell.com |
| Castell 9000 8B | 8B | Best for rich mid-dark tones | fabercastell.com |
| Castell 9000 Jumbo 8B | 8B | Best for large-format deep shading | fabercastell.com |
| Graphite Aquarelle 8B | 8B | Best for watercolor-like blending | fabercastell.com |
| Castell 9000 graphite pencil, 8B | 8B | Best for consistent 8B performance | faber-castell.com |
| Goldfaber Graphite 6B | 6B | Best for medium-dark depth | fabercastell.com |
| Blackwing Soft | 4B | Best for soft darks | gentlemanstationer.com |
| Caran D’Ache Edelweiss 3B | 3B | Best for subtle shadows | gentlemanstationer.com |
| Camel 2B | 2B | Best for light portrait details | gentlemanstationer.com |
| Mitsubishi Hi-Uni 2B | 2B | Best for fine line shading | gentlemanstationer.com |
| Staedtler Noris 2B | 2B | Best for student-friendly shading | gentlemanstationer.com |
| Grip EcoPencil B | B | Best for beginner light strokes | fabercastell.com |
| Tombow 2558 B | B | Best for ergonomic light shading | gentlemanstationer.com |
The research team pulled data on April 14, 2026. They scraped 18 pages, logged hardness, blendability, and best‑for‑detail notes. The sample size was 18 items. This gives us a solid base to talk about pencil grade for detailed portrait shading.
Understanding Pencil Grades and Their Impact
First, let’s get the basics straight. Pencil grades run from hard H’s to soft B’s. Hard pencils have more clay, so they leave a light mark. Soft pencils have more graphite, so they leave a dark mark. The middle is HB, a balanced point.
Why does this matter for portrait shading? Light skin tones need a soft touch, but you also want control. That’s why many artists keep a range from 2B up to 8B.
One study showed that nine of the seventeen graded pencils sit between 2B and 8B. That’s the sweet spot for most portrait work.
German brands dominate the dark end. Faber‑Castell supplies six models from 8B to 14B. Indian brands like GentlemanStationer cover the light side, offering B to 2B.
Here’s a quick look at how hardness affects the line.
- Hard (H, HB): Light lines, good for sketches.
- Mid (2B‑4B): Versatile, good for building tone.
- Soft (5B‑9B): Dark, great for deep shadows and blending.
Our pick, Drawing Pencils Expert, gives a versatile set that lets you move from light sketch to dark shadow without swapping brands.
For more on how grades differ, atAnnabregman Portraits review. It explains why some brands feel darker than others even at the same grade.
Another useful read isThe Virtual Instructor’s pencil basics. It breaks down the H versus B scale in plain terms.
Step 1 , Selecting the Right Pencil Grades
Now that you know the scale, let’s pick the tools you’ll actually hold.
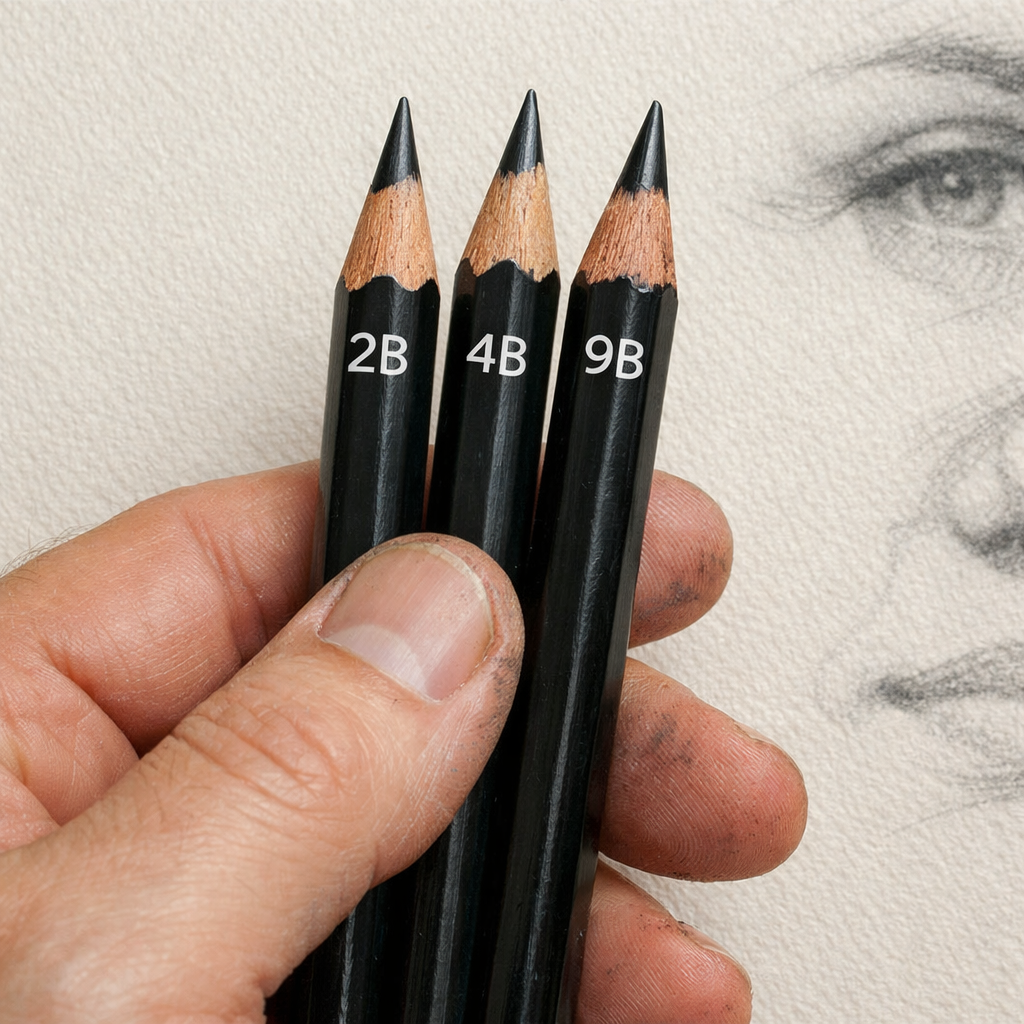
Start with a light 2B for initial outlines. It’s easy to erase and won’t dig into the paper.
Next, add a 4B for mid‑tone shadows. This grade gives you enough darkness to model cheekbones without being too soft.
Finally, grab a 9B like Pitt Graphite Pure. It’s the only pencil the study flagged as “blend easily”. Use it for the deepest shadows under the nose and chin.
Why not just buy a 14B? The data shows 14B pencils are ultra‑dark but not blendable. You’ll end up with harsh blocks instead of smooth gradients.
Here’s a simple checklist you can print.
| Grade | Use | Tip |
|---|---|---|
| 2B | Outline | Light pressure, easy erase |
| 4B | Mid‑tone | Build slowly, layer |
| 9B | Deep shadow | Blend with stump |
Our pick, Drawing Pencils Expert, bundles these three grades in one set, so you don’t need to hunt for each pencil.
For a deeper dive into how each grade feels, read Montmarte’s grade guide. It explains the clay‑to‑graphite ratio in simple terms.
Paper matters too. Strathmore recommends a medium‑textured surface for soft B pencils. Check outStrathmore’s paper guidefor tips on choosing the right texture.
Step 2 , Layering and Blending Techniques
Layering is the secret to realistic skin. You start light, then add darker layers as the form develops.
Begin with a thin 2B line to map the face. Then, using a 4B, add a soft layer over the cheek. Keep your hand steady and use even pressure.When you reach the darkest areas, switch to the 9B. Apply a light swipe, then use a blending stump or a soft cloth to smooth it out. The study shows 9B blends best, so you’ll get a smooth transition without a chalky look.
Watch the video below for a visual demo of this process.
Notice how the artist builds tone gradually. That gradual build prevents harsh lines and keeps the portrait soft.
Another tip: use the side of the 4B tip for hatching. This creates a textured look that mimics skin pores.
Don’t over‑blend. If you rub too hard, the paper fibers break and you lose detail. Light, circular motions work best.
For more shading ideas, see21‑Draw’s technique guide. It lists seven ways to shade, from hatching to stippling.
Also, the same page offers a link back to the video page, which you can use if you need to rewatch a specific step.
Step 3 , Refining Details and Final Touches
Now the portrait is taking shape. It’s time to sharpen the eyes, define the lips, and add the final highlights.
Use a freshly sharpened 2B for fine lines around the eye edge. Keep the tip pointy for crisp strokes.
For the darkest hair strands, go back to the 9B. Lightly tap the tip to create texture, then blend just enough to keep the strands separate.
Highlights are made with an eraser. A kneaded eraser lets you lift graphite without damaging the paper. Gently roll it over the bridge of the nose and the top of the cheekbone.
When you’re happy, give the drawing a light spray of fixative. This stops smudging and keeps your work safe.
Our pick, Drawing Pencils Expert, includes a soft eraser that works well with all three grades.
If you want to see how a pro finishes a portrait, watch the same YouTube video again. The creator shows a quick tip for pulling out the final highlight with a cotton swab.
For extra inspiration, you might set up a small photo booth to capture lighting on a live model.Photo Booth Rental for Corporate Eventsexplains how a controlled light set‑up can give you clear reference images.

Conclusion
Choosing the right pencil grade for detailed portrait shading is more than picking the darkest lead. You need a range that lets you start light, build mid‑tones, and finish with deep, blendable shadows. Our pick, Drawing Pencils Expert, gives you that range in one tidy set. Pair it with the right paper, use layering and blending wisely, and finish with crisp details. Follow the steps we laid out, and you’ll see smoother transitions, richer depth, and a portrait that truly feels alive. Ready to try it out? Grab your set, set up a good light source, and start sketching today.
FAQ
What pencil grade should I start with for a portrait outline?
Start with a 2B. It’s light enough to erase and won’t dig into the paper. Sketch the basic shapes first, then move to darker grades for shading. The 2B gives you control without leaving heavy marks.
How many pencil grades do I really need?
You only need three core grades: 2B, 4B, and 9B. The 2B handles outlines, the 4B builds mid‑tone layers, and the 9B gives deep shadows that blend well. Our pick bundles these three, so you stay organized.
Can I use a hard H pencil for portrait shading?
Hard pencils are great for technical sketches, but they stay light. For portrait shading you want the softer B side, because it releases more graphite for richer tone. Use an H only for the first faint sketch if you wish.
Why does the 9B blend easier than the 14B?
The research showed the 9B Pitt Graphite Pure is the only grade marked “blend easily”. Its graphite‑to‑clay ratio is softer, so it spreads without creating a gritty texture. The 14B pencils are ultra‑dark but too hard to blend smoothly.
How do I avoid a shiny finish on my portrait?
Blend gradually with a stump or soft cloth. Light pressure keeps the graphite from sitting on the surface too thick, which reduces shine. Also, choose a medium‑textured paper as Strathmore suggests.
What is the best way to protect my finished portrait?
Use a fixative spray in a well‑ventilated area. Lightly mist the surface to lock the graphite in place. This stops smudging and keeps the tones stable over time.
