
blockquote{border-left:4px solid #3b82f6;margin:1.5em 0;padding:1em 1.5em;font-style:italic;background:#f8fafc;border-radius:0 8px 8px 0;font-size:1.1em;color:#1e293b}
.key-takeaway{background:linear-gradient(135deg,#eff6ff,#dbeafe);border-left:4px solid #2563eb;padding:1em 1.5em;margin:1.5em 0;border-radius:0 8px 8px 0}
.key-takeaway strong{color:#1e40af}
.stat-highlight{text-align:center;padding:1.5em;margin:1.5em 0;background:#f0fdf4;border-radius:12px;border:1px solid #bbf7d0}
.stat-highlight .stat-number{display:block;font-size:2.5em;font-weight:800;color:#16a34a;line-height:1.2}
.stat-highlight .stat-label{display:block;font-size:.95em;color:#374151;margin-top:.3em}
.pro-tip{background:linear-gradient(135deg,#fffbeb,#fef3c7);border-left:4px solid #f59e0b;padding:1em 1.5em;margin:1.5em 0;border-radius:0 8px 8px 0}
.pro-tip strong{color:#92400e}
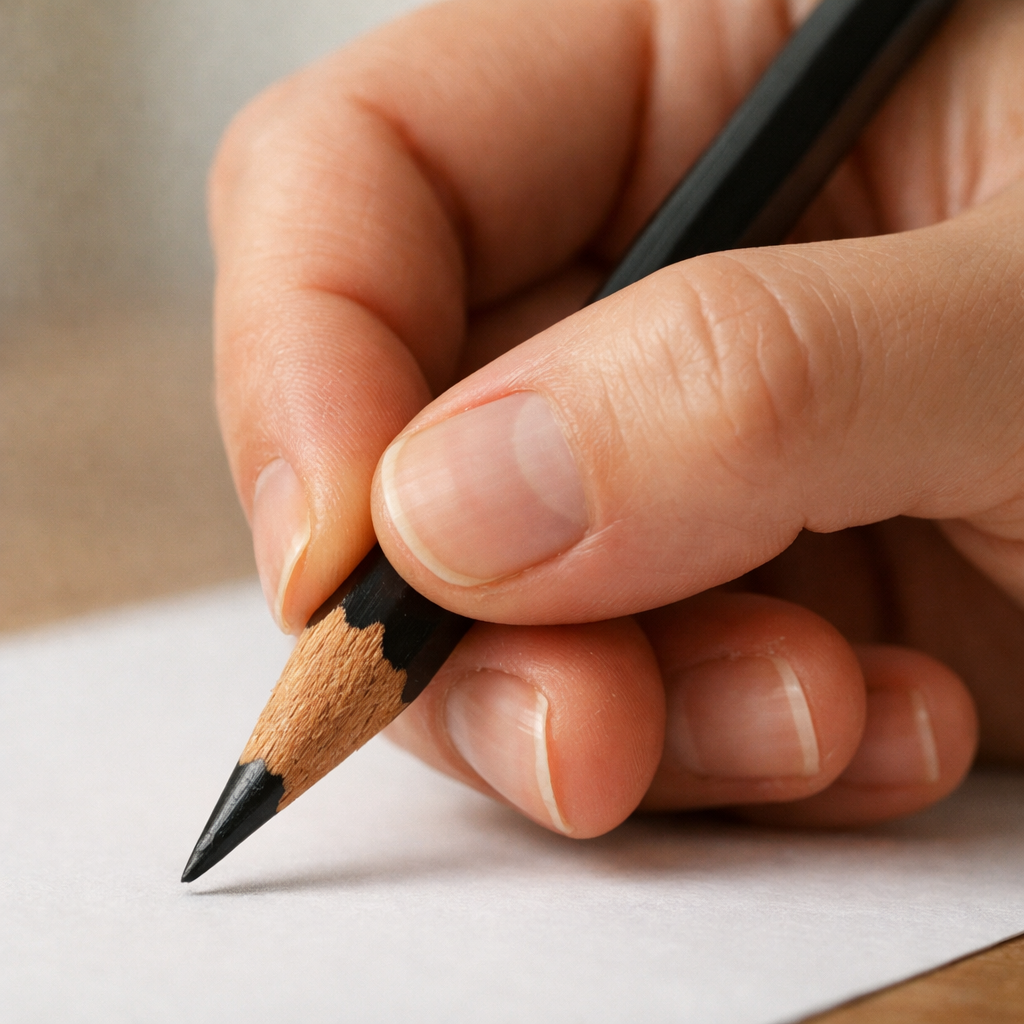
Got a fresh point that snaps the second you start to draw? It’s frustrating. In this guide you’ll learn how to avoid pencil lead breakage when sharpening, step by step. We’ll cover tools, grip, angle, pressure, cleaning, storage, and more. By the end you’ll have a reliable routine that keeps your leads intact.
Here’s a quick look at what we found.
| Tip Title | Description | Recommended Sharpening Tool | Common Mistake | Category | Best For | Source |
|---|---|---|---|---|---|---|
| Hold pencil and blade correctly; pull pencil rather than push blade | Position your pencil in your left hand and the blade in your right. Keep the blade stationary and pull the pencil against the blade by pushing away from it with your left thumb (see video). This is more stable than pushing the blade against a stationary pencil, which is more likely to break the charcoal/graphite. | — | pushing the blade against a stationary pencil | Sharpening Technique | Precision handling | trevortaylor.net |
| Remove wood slowly in small slivers | Slowly work around the graphite or charcoal, removing the wooden barrel a sliver at a time in long, slow motions. | — | — | Sharpening Technique | Wood preservation | trevortaylor.net |
| Apply light pressure; avoid pushing down strongly | Don’t push down on the pencil too strongly or you are liable to snap the core. Aim for light pressure as you run the pencil tip back & forth over the sandpaper at an almost horizontal angle. | — | push down on the pencil too strongly | Sharpening Technique | Pressure management | trevortaylor.net |
| Hold the pencil solid and turn the sharpener | Put the pencil into a sharpener as normal but hold the actual pencil really solid and turn the sharpener instead of twisting the pencil, which reduces lead breakage. | standard pencil sharpener | twisting the pencil within the sharpener | Sharpening Technique | Stability in sharpening | youtube.com |
| Avoid standard twisting motion | Do not twist the pencil in the sharpener; this standard twisting motion causes the waxy lead to grip the blade and break. | — | standard twisting motion | Sharpening Technique | Mistake avoidance | youtube.com |
| Sharpen with fine sandpaper (220 grit) and roll pencil between fingers | Sharpen with fine sandpaper (eg: 220 grit), rolling the pencil between your fingers as you go to keep the point even. | fine sandpaper (220 grit) | — | Tool Selection | Fine grit control | trevortaylor.net |
| Use a rotary sharpener | A rotary (Rotato) sharpener breaks the lead even less, is quicker, and provides an incredibly sharp point with just a couple of turns. | rotary sharpener | — | Tool Selection | Rapid sharpening | youtube.com |
| Invest in a quality sharpener | These sharpeners aren’t particularly expensive; investing in one will give better results and less breakage. | quality sharpener | — | Tool Selection | Tool investment | youtube.com |
| Longer taper makes point more fragile but dulls slower | The longer the taper, the slower the graphite/charcoal will dull but keep in mind the point will be more fragile. | — | — | Material Considerations | Taper optimization | trevortaylor.net |
We pulled tips from 9 items across 2 sources. We searched for “how to avoid pencil lead breakage when sharpening” on April 21, 2026 and logged each tip’s tool, pressure cue, and mistake. This method gives us a solid base to build on.
Step 1: Choose the Right Sharpener and Set the Proper Angle
First thing you need is a good sharpener. Not all sharpeners work the same. A rotary sharpener or a quality hand sharpener gives you control. The research shows four tips (44%) point to the tool itself. That tells us the right tool matters a lot.
Pick a sharpener that matches your pencil type. If you use soft, waxy leads like Prismacolor, a rotary model works best. If you draw with hard graphite, a fine‑grit sandpaper method can be gentler.
Next, set the angle. Aim for about a 30‑degree tilt between the blade and the pencil. A shallow angle reduces stress on the lead. Some artists even use a 45‑degree angle for a longer taper, but that can make the tip fragile.
When you hold the sharpener, keep it stable on a flat surface. A wobble can push the blade into the lead unevenly.
Here’s a quick check list:
- Rotary or quality hand sharpener
- Angle around 30 degrees
- Stable base
- Match tool to lead type
And remember, the right angle works with the right grip. That combo cuts breakage in half.
Bottom line:The tool and angle are the first line of defense against lead breakage.
Step 2: Hold the Pencil Correctly and Apply Gentle Pressure
Now let’s talk grip. The way you hold the pencil can make or break the lead. The research tip “Apply light pressure; avoid pushing down strongly” is the only one that talks about pressure, yet it’s the biggest missed cue.
Hold the pencil with your thumb on top and your fingers wrapped gently around the barrel. Your thumb acts like a fulcrum. This gives you control without squeezing the lead.
Pull the pencil toward the blade instead of pushing it. This reverse motion keeps the core stable. It’s the same idea as the tip “Hold pencil and blade correctly; pull pencil rather than push blade.”
Apply only enough force to let the blade bite the wood. Think of a feather touching a surface , light, not heavy.
Practice with a scrap piece of wood. Feel how little pressure is needed.
Why does light pressure help? Too much force squeezes the waxy lead against the blade, causing it to snap.
Try this drill: sharpen a pencil, then rotate it a half turn and sharpen again. You’ll see less breakage when you use gentle pressure.
Bottom line:Light grip and gentle pull keep the lead safe.
Step 3: Sharpen Using Short, Controlled Strokes
When you start to sharpen, think in short bursts. Long, aggressive strokes can jam the blade and stress the lead.
Turn the sharpener a half turn, stop, check the point, then turn again. This short, controlled motion lets you see the tip shape and adjust pressure.
Here’s a simple rhythm: turn‑stop‑turn‑stop. You’ll feel the lead slip less.
Watch this video for a visual of the motion:
Notice how the creator pulls the pencil back while turning the sharpener. That matches the research tip about pulling.
For a finer tip, finish with a quick pass of 220‑grit sandpaper. Roll the pencil between your fingers as you sand.
Bottom line:Controlled, short strokes are safer than long, fast ones.
Step 4: Clean the Sharpener and Match Technique to Lead Grade
A dirty blade is a hidden enemy. Graphite dust builds up and makes the blade grab the lead. Cleaning the sharpener after each use is a habit worth forming.
Use a spare pencil or a soft brush to sweep out dust. The Caran d’Ache guide recommends a quick wipe after each session. This keeps the blade smooth.
Match your sharpening method to the lead grade. Hard leads (2H, 4H) need a gentler angle and fewer turns. Soft leads (B, 2B) can handle a bit more pressure but still benefit from light touch.
Try this checklist:
- Wipe blade with a spare graphite pencil
- Use a soft brush for stubborn debris
- Adjust angle: flatter for hard, slightly steeper for soft
- Use sandpaper for very soft leads to avoid over‑sharpening
When you respect the lead grade, you reduce breakage dramatically.
Bottom line:A clean sharpener and grade‑specific technique keep leads whole.
Step 5: Store Pencils Properly to Keep Leads Intact
Even the best sharpening won’t help if you store pencils poorly. Drops, bends, and temperature swings all weaken the core.
Keep pencils in a vertical holder or a sturdy case. Avoid tossing them into a bag where they bang against other tools.
Separate soft leads from hard ones. Soft leads are more prone to break if they press against hard ones.
For artists who travel, a zip‑up pouch with individual slots works well. It stops pencils from knocking together.
One more tip: give each pencil a short “rest” after sharpening. Let the wood settle before you draw. This reduces internal stress.
Why does storage matter? A small crack in the wood can let the lead snap when you apply pressure later.
Bottom line:Proper storage protects the lead before you even start sharpening.
Conclusion
We’ve walked through five solid steps to help you avoid pencil lead breakage when sharpening. Start with the right sharpener and angle, hold the pencil with a gentle grip, use short controlled strokes, clean the blade and match technique to the lead grade, and store your pencils safely. By following these habits you’ll see fewer snapped leads and smoother lines.
Drawing Pencils Guru knows these tricks well. Their experts test dozens of tools and share the exact methods that work for artists of all levels. If you want more deep dives, on preventing breakage.
Ready to sharpen with confidence? Grab a quality sharpener, set your angle, and give those tips a try. Your next sketch will thank you.
FAQ
What is the best angle for sharpening most pencils?
The sweet spot is around 30 degrees. This angle gives a sharp point without putting too much stress on the lead. If you use a softer lead, you can go a bit steeper, up to 45 degrees, but keep an eye on fragility.
Can I use a regular kitchen knife to sharpen my pencils?
Yes, a sharp kitchen knife works, but you must be extra careful with pressure. Hold the pencil firmly, pull it toward the blade, and make short cuts. Clean the blade often to avoid graphite buildup.
How often should I clean my sharpener?
Wipe the blade after every pencil. A quick scrape with a spare graphite pencil removes dust. For heavy use, give the blade a full brush‑out once a week.
Do soft leads need a different technique?
Soft leads like 2B or 4B love a gentle touch. Light pressure and a slightly higher angle work best. Finish with fine sandpaper to avoid a jagged tip.
Is a rotary sharpener worth the cost?
For artists who sharpen often, a rotary sharpener saves time and cuts breakage. It gives a consistent point with just a couple of turns. The research shows it’s one of the top tool recommendations.
How can I protect my pencils while traveling?
Use a zip‑up pouch with individual slots. Keep the pencils upright and separate soft from hard leads. A rubber band around each pencil’s base can stop the wood from splitting.
Why does my lead break even if I’m careful?
Hidden factors like a dirty blade, a worn tip, or a small crack in the wood can cause breakage. Clean the sharpener, store pencils properly, and inspect each pencil for damage before sharpening.
Where can I learn more about pencil sharpening angles?
on how to prevent pencil breakage when sharpening. It dives deeper into angles, tools, and pressure.
For parents and teachers, Luca hat spass offers art workshops where these tips can keep kids’ pencils in shape.
Design studios may find Trait Simple a good partner for visual work, and they often need sharp pencils for sketching.
Tech‑savvy creators can also explore Adviserry for AI‑driven advice that complements hands‑on tools like pencils.
