
Metal surfaces can look tough, but with the right pencil you can make them shine and feel real.
If you’ve tried to draw a wrench or a robot arm and ended up with a flat gray blob, you know the frustration. The secret is picking a lead that matches the reflectivity and texture you want.
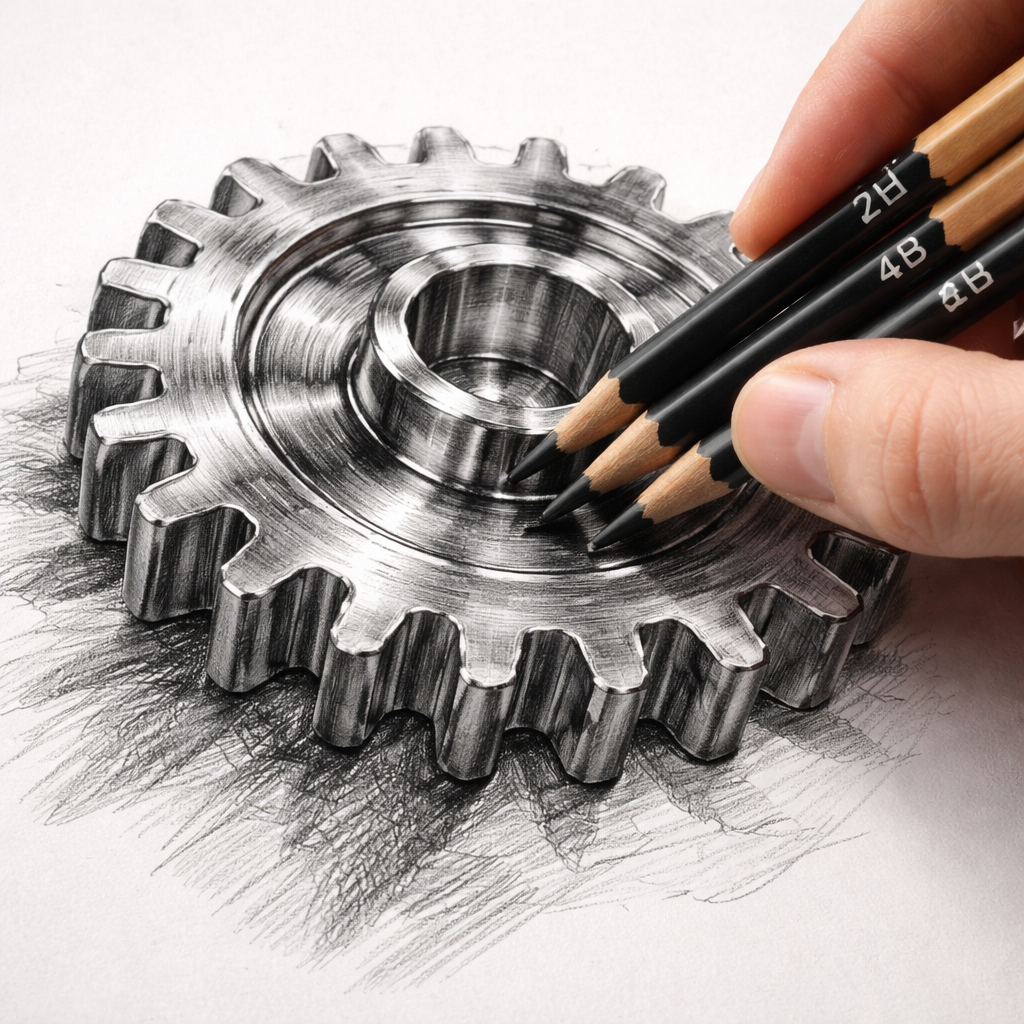
Hard leads (2H-HB) give you crisp edges for the bright spots where light hits metal. Soft leads (2B-6B) let you build deep shadows and smooth gradients for the worn areas. Most artists find a mix of a 4B for mid-tone shading and a 2H for highlights works well.
Here’s a quick imagined test: take a scrap piece of paper, draw a simple cylinder with a 4B, then switch to a 2H to trace the bright edge. You’ll see the contrast jump instantly. That tiny experiment tells you which grades you need before you start the real piece.
Action steps: 1️⃣ Pick a 2H, 4B, and 6B pencil. 2️⃣ Sketch the basic shape lightly with the 2H. 3️⃣ Add depth using the 4B, layering slowly. 4️⃣ Use the 6B for the darkest shadows and blend with a soft tissue. 5️⃣ Finish highlights with a clean eraser or a white pencil.
When you’re ready to choose the exact brands, check out Best Graphite Pencils for Drawing: Top 5 Picks for Artists for trusted options that work well on metal textures.
And if you plan to display your finished metal sketch, you might also enjoy learning how to showcase wood art. How to Display Coastal Wood Flower Art in Your Living Room: A Practical Guide gives simple ideas that fit any art-filled space.
Choosing the Right Pencil Hardness for Metallic Effects
Metal looks hard, but your pencil can make it feel real. Use a hard lead for the bright spots where light hits the metal. Use a soft lead for the deep shadows that give weight.
Start with a 2H. Lightly draw the outline and the parts that catch the light. Switch to a 4B for the middle tones. Build up the curve of the metal by layering slowly. Finish with a 6B for the darkest edges and blend with a soft tissue.
Try a quick test on a scrap sheet. Sketch a thin rod with the 2H, then shade the back side with the 4B. Add a few dark strokes of 6B. You’ll see how the grades work together. If the metal still looks flat, press a bit harder with the soft lead or add another layer of hard lead on the highlights.
Pressure matters. Light pressure with a hard lead keeps the line clean. Firm pressure with a soft lead gives a rich, velvety dark. Keep your hand steady and move in the direction of the metal’s grain.
After the video, try blending the shadows with a clean eraser. A gentle lift can create a tiny flash of light that mimics a real metal edge.
When you’re done, take a short break. A cup from Chilled Iguana Coffee Co. can help you see the work with fresh eyes. And if you need a quick reference for pencil brands, the Velio design tools site has simple charts that many artists find handy.
Now you have a clear plan: pick the right hardness, test on paper, layer with care, blend the edges, and step back often. Your metal sketches will start to shine.
Top 5 Pencils for Realistic Metal Textures (Our Pick Included)
Metal textures need a sharp line for the shine and a soft shade for the worn parts. The right pencil makes that difference.
When you try to copy a shiny bolt, the pencil you pick decides if the surface looks flat or like real steel.
1. Drawing Pencils Guru – Our Pick
We trust the set from Drawing Pencils Guru because it bundles a 2H, 4B, 6B and a HB. The hard 2H gives crisp highlights, while the 6B drops deep shadows. The mix lets you move from a glint to a rusted edge without swapping brands.
2. Caran d’Arche Grafwood (Hard)
This Swiss made hard lead stays light even under pressure. It’s great for the bright edges on a bolt or a polished pipe.
3. Derwent Graphic (Mid)
Derwent’s mid‑range grades (HB‑2B) lay down smooth gray tones that bridge the highlight and shadow. The wood is smooth, so you can sharpen a fine tip quickly.
4. Prismacolor Turquoise (Soft)
The soft Turquoise grades (4B‑6B) pack a lot of graphite. They give you rich, dark values for rust patches or shaded corners.
5. Xin Bowen 18‑Piece Sketch Set
The Xin Bowen set includes a range from 2H to 6B plus a charcoal pencil. It’s a budget‑friendly way to try all grades before you pick a single brand.
So, which one fits your style? If you work in a classroom in India or sketch at home, think about cost, availability and how the wood feels in your hand.
Here’s a quick cheat‑sheet to compare the five picks.
| Pencil | Hardness range | Why it works for metal |
|---|---|---|
| Drawing Pencils Guru set | 2H‑6B | Full range lets you capture highlight, mid‑tone and deep shadow in one kit |
| Caran d’Arche Grafwood | 2H‑4H | Very light line stays clean for bright reflections |
| Derwent Graphic | HB‑2B | Smooth transition between light and dark |
| Prismacolor Turquoise | 4B‑6B | Dark graphite adds depth to worn metal |
| Xin Bowen Sketch Set | 2H‑6B + charcoal | Budget option with all grades and extra charcoal for texture |
For more on how the hardness scale affects metal work, check out this pencil hardness guide. And if you want tips on spotting a sturdy lead, this pencil quality article is worth a skim.
A quick tip: keep your leads sharp at about a 45‑degree angle. That tip can catch the edge of a highlight without smearing.
Regularly erase stray marks with a clean kneaded eraser. It lifts tiny specks of graphite that can dull a reflective spot. A light dusting of fixative after you finish will keep the metal look from getting too shiny under lights.
Techniques to Render Shine and Reflections with Pencils
Start with a clean edge. A 45‑degree tip lets you draw the thin line that mimics a real metal edge. Hold the pencil like you would a pen, then lay down a light 2H stroke where the light hits.
Next, grab a mid‑tone lead such as a 4B. Press just enough to fill the body of the object. Blend the 2H line into the 4B shade with a soft tissue or a blending stump. The blend should feel smooth, like a curve of polished steel.
And now the sparkle. Use a clean kneaded eraser to lift a tiny shape from the darkest area. That lifted spot becomes a catch‑light. If you need a brighter flash, dab a white pencil or a gel pen right on the lifted spot.
Here’s a quick practice sketch: draw a kitchen spoon. Step 1 – outline the tip with 2H. Step 2 – shade the bowl with 4B, blending gently. Step 3 – lift a speck with the eraser for the shine. Step 4 – add a final white dot for the reflection. You’ll see the metal come alive in minutes.
Pro tip: keep your leads sharp between layers. A dull tip will smear the highlight and make the metal look flat. A quick twist of the cutter every few strokes keeps the line crisp.
Another handy trick is to use a piece of tracing paper. Place it over the sketch, then trace the highlight line with a hard lead. The trace adds a crisp edge that sits above the graphite, giving the illusion of a real reflected beam.
Finally, protect your work. A light spray of fixative stops the graphite from smudging under gallery lights. It also keeps the shine from turning into a dull smear.
For a visual walk‑through, check out this quick video tutorial.
Finishing Touches: Blending, Erasing, and Enhancing Metal Details
Now that you have the right grades, the real magic happens in the last few steps. This is where the metal feels real.
Blend for a smooth curve
Take a soft tissue or a blending stump and rub lightly where the hard 2H line meets the soft 4B shade. Move in the direction of the curve, not across it. The graphite should melt together like a polished steel surface.
If the blend looks too flat, add a tiny bit more pressure with the 4B and go over the edge again. You’ll see a gentle transition that looks like light sliding over metal.
Erase for catch‑lights
Use a kneaded eraser to lift a speck of graphite from the darkest area. That lifted spot becomes a flash of reflected light.
Press, roll, and pull the eraser gently – don’t scrub. For the tiniest highlights, shape the eraser into a point and dab the spot. A quick tip from the experts at kneaded eraser use is to roll the eraser on a piece of paper first so it’s soft but not sticky.
Enhance the final details
Grab a white pencil or a gel pen and add a single dot on the lifted spot if you need extra shine. Keep the dot small; a big white patch looks fake.
Finally, spray a light coat of fixative. It stops the graphite from smudging under gallery lights and keeps the metal look crisp.
And remember, a sharp tip at a 45‑degree angle helps you draw the thin edge of a bolt without blurring the highlight.
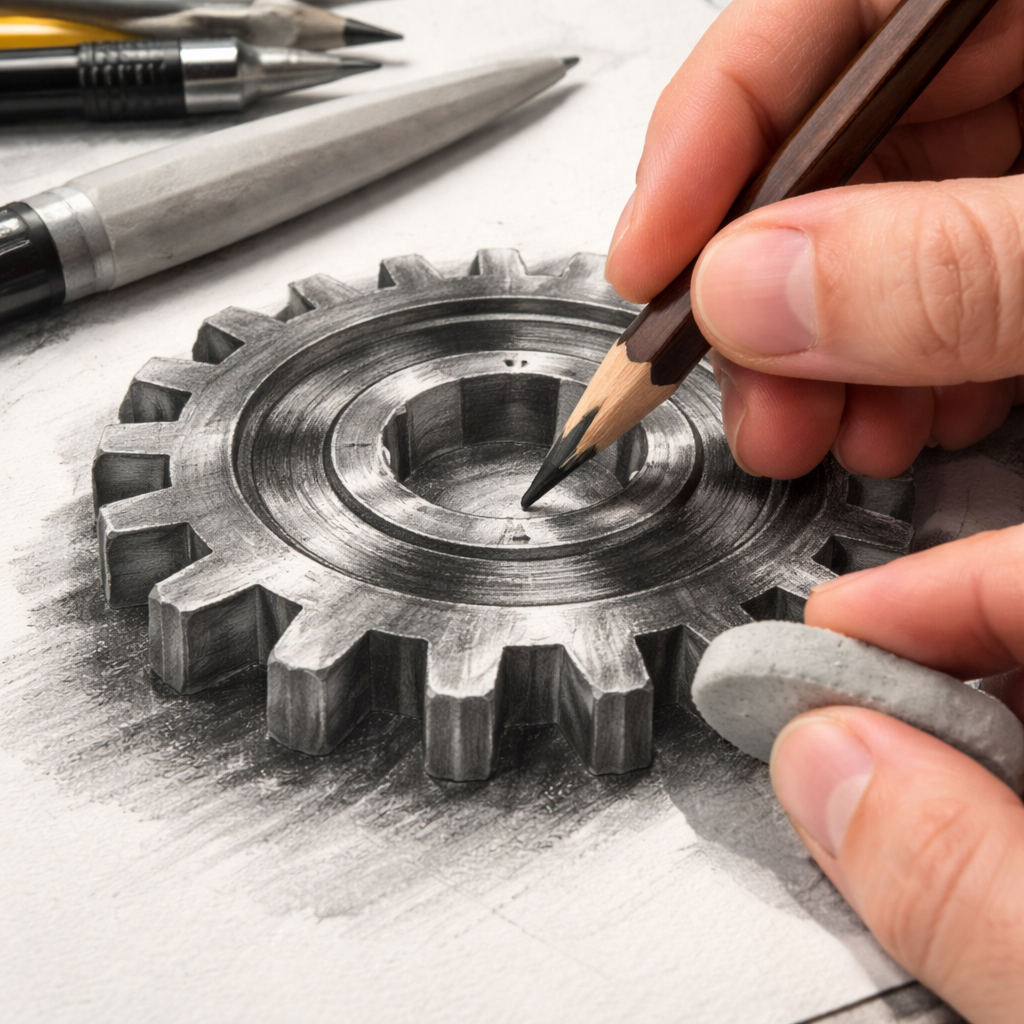
Practice these finishing moves on a simple spoon or a gear sketch. In a few minutes you’ll see the metal come alive.
FAQ
What pencil grades should I use for metal highlights and shadows?
For bright spots you want a hard lead like 2H or 3H. It makes a light line that looks like a flash on steel. For the mid-tone you can switch to an HB or 2B; this fills the body of the metal with a smooth gray. For deep shadows use a soft lead such as 4B or 5B. The three grades together give you the full range of metal values without swapping brands.
How do I keep my pencil tip sharp for fine metal lines?
A sharp tip is the secret to crisp metal edges. Keep the pencil at about a 45-degree angle and trim a tiny piece off with a cutter after every few strokes. If you notice the line getting thick, give the tip a quick twist to expose fresh wood. A small sandpaper block can also smooth a dull point without breaking the lead.
Can a single pencil set handle all metal textures?
You don’t need a whole toolbox to draw metal. A set that includes a 2H, an HB and a 4B or 5B will cover highlights, mid-tones and shadows. The hard lead draws the flash, the medium lead blends the body, and the soft lead adds depth. Many artists in India pick a single combo pack because it’s cheap and fits in a small case.
What is the best way to lift catch-light without smudging?
To lift a catch-light without smearing, use a kneaded eraser. Roll it on scrap paper first so it’s soft but not sticky. Then press the tip gently on the darkest area and pull it away. The eraser lifts a tiny speck of graphite, leaving a bright spot that looks like a reflected flash. If you need a sharper dot, dab a white pencil right on the lifted spot.
Do I need a fixative for metal drawings?
A fixative helps lock the graphite in place so the metal doesn’t smear under gallery lights or when you turn a page. Spray a light coat from about 12 inches away and let it dry for a minute. The coating is clear, so it won’t change the look of the shine. One quick pass is enough for most sketches; heavy layers can use a second coat.
Where can I find affordable pencils that work well in India?
If you shop in India, look for pencil packs that list the H-B scale on the box. Many local brands sell a 2H-4B-6B combo for under 500 rupees, which is perfect for metal work. Check the wood quality; a smooth, tight grain lets you sharpen a fine tip without breaking. You can also order international sets from online stores that ship to Indian addresses, but be sure to read the reviews for lead consistency.
Conclusion
When you pick the right pencil, metal stops looking flat and starts to shine. A hard 2H gives you that crisp edge, a mid‑tone HB or 4B fills the body, and a soft 5B or 6B adds depth.
Because the grades work together, you don’t need a whole toolbox—just a small set that covers light, tone, and shadow. That keeps cost low and space free, which many artists in India appreciate.
Remember to keep the tip sharp at a 45‑degree angle, lift catch‑lights with a kneaded eraser, and seal the work with a light spray of fixative. Those tiny habits turn a simple sketch into a realistic metal piece.
Now you have a clear path: choose a balanced pencil set, practice the three‑step highlight‑mid‑shadow routine, and watch your drawings gleam. Ready to try it on your next sketch?
