
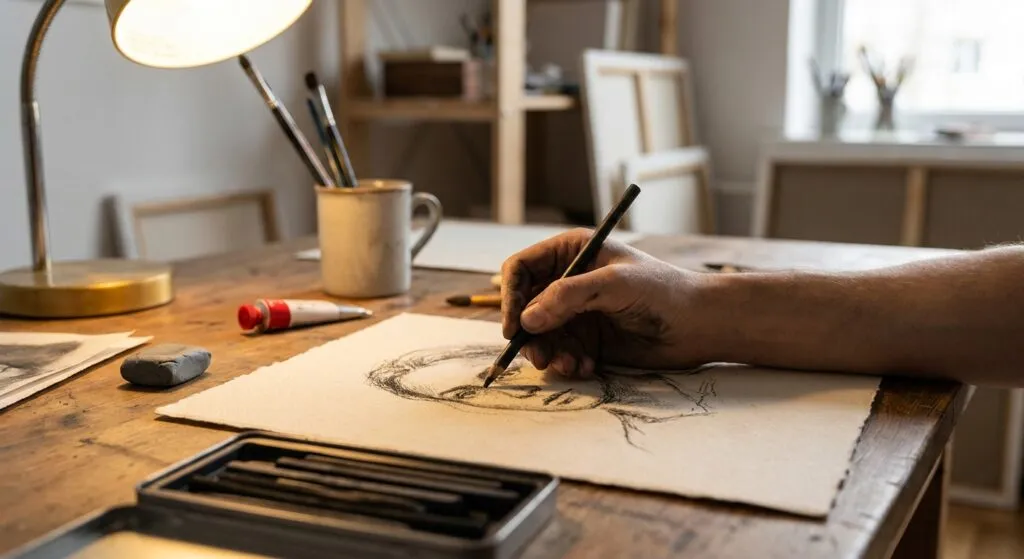
Charcoal pencils can give you the richest blacks and the softest grays in a single stroke. If you want to make drawings that pop on the page, you need more than just a stick of charcoal. In this guide you’ll learn how to pick the right pencils, set up your space, sharpen safely, draw with confidence, and protect your work for the long run.
Step 1: Selecting the Right Charcoal Pencil
Choosing a pencil feels personal, but a few objective tests can keep you from buying a set that will frustrate you. First, feel the barrel. A comfortable grip means you can work longer without cramping. Second, check the lead hardness. Soft leads (like 6B) give deep blacks, while harder leads (like 2H) let you sketch light values without smudging. Third, look for a range of grades in the same box. A set that spans at least four grades lets you move from the darkest shadows to the faintest highlights without swapping tools.
General’s charcoal pencils are a popular choice among many teachers because they cover a full range from 6B to 2H. Conte Pierre Noire offers a slightly waxier feel, which some beginners find easier to control. Both brands meet the three criteria above, so they’re a solid place to start.
When you compare pencils, think about the paper you’ll use. A softer lead will sit better on textured paper, while a harder lead works well on smoother surfaces. That match‑up saves you time and keeps your lines clean.
For a deeper look at what makes a good charcoal pencil, see the Wikipedia entry on charcoal. It breaks down the chemistry and history, which helps you understand why some pencils feel different.
And if you’re looking to share your finished pieces online, the marketing team at Sly Collective offers advice on building an artist portfolio that attracts commissions.
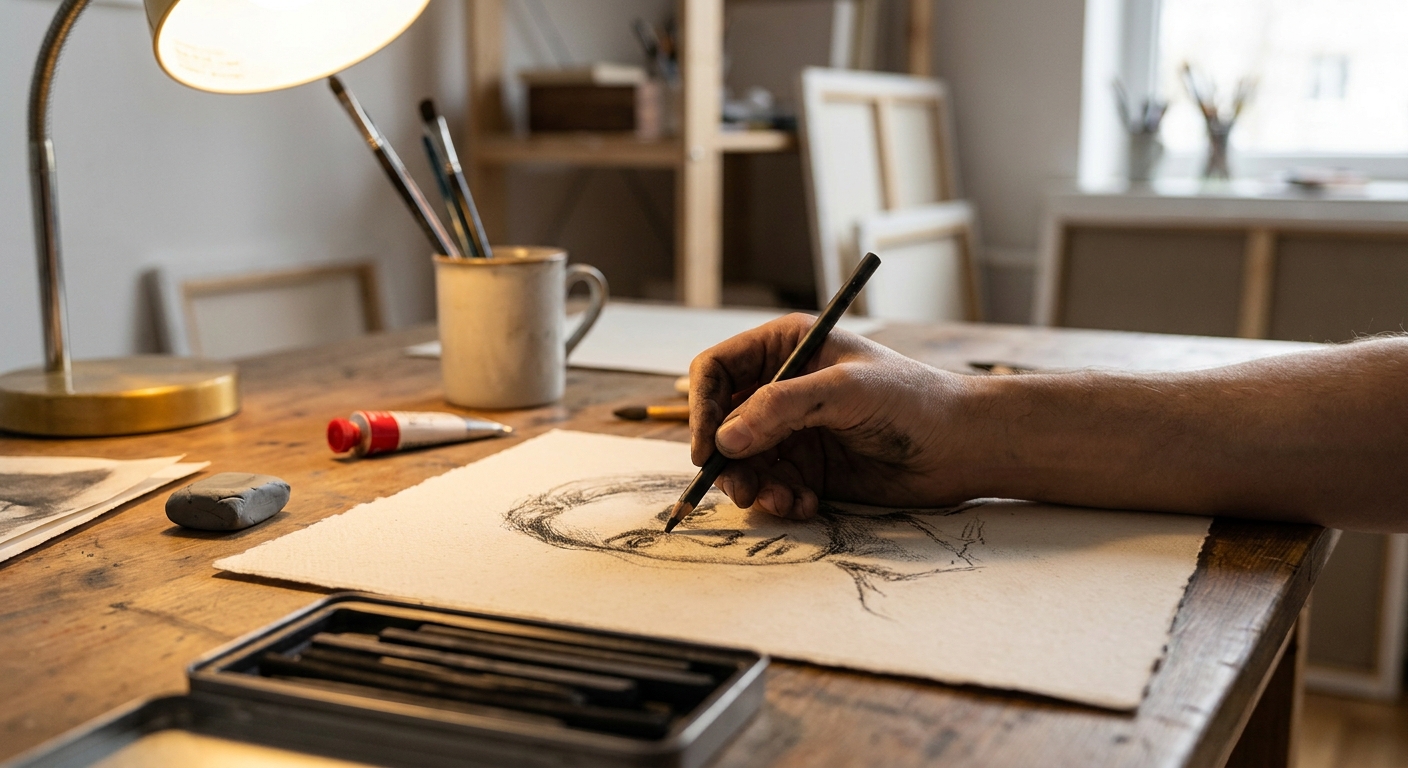
Bottom line: Pick a brand that feels good, offers a range of hardness, and matches the texture of your preferred paper.
Step 2: Preparing Your Workspace and Paper
A tidy space makes a clean drawing. Start by clearing a flat surface and covering it with a sheet of newsprint to catch stray dust. Then choose a paper that holds charcoal without crumbling. Vellum has a smooth finish, but it can get dusty fast. A fine‑toothed surface like Canson Mi‑Teintes gives the charcoal something to grip, reducing smudge while still letting you blend.
Stonehenge paper is a favorite among many artists because it’s heavy enough to survive multiple erasures and can even take a light wash of watercolor without buckling. Lanaquarelle, though pricier, offers a textured surface that works well for mixed‑media projects.
When you buy paper, check the label for “archival quality.” That means the paper is acid‑free and will last decades without yellowing. This matters if you plan to sell or exhibit your work.
Arrange a small container of fixative nearby so you can spray a light layer after a few passes. That stops the charcoal from turning into a cloud of dust on your desk.
And remember to keep a clean brush or soft cloth handy to wipe away excess powder before it settles on your drawing.
For official guidance on art materials, the National Endowment for the Arts provides resources on choosing safe, archival‑grade supplies.
Key Takeaway: Use a textured, archival‑grade paper and keep your work area dust‑free for the best results.
Step 3: Sharpening Techniques and Tools
Sharp points let you draw fine details, while a blunt tip gives you broad, expressive strokes. The trick is to switch between them without breaking the lead.
Start with a simple sandpaper block. Rub the tip gently on a fine‑grit side to shape it into a point. If you need a super‑sharp tip, a metal hand‑held sharpener works well, but be careful not to apply too much pressure.
Some artists prefer a rotary cutter. It spins the lead, giving a perfectly round point that’s great for hatching. The rotary also lets you pull back material, creating a chisel shape for bold lines.
When you sharpen, do it over a sheet of scrap paper. That catches any stray charcoal particles and keeps your desk clean.
And always sharpen in a well‑ventilated area. The dust can be irritating if you inhale it.
Pro Tip: After sharpening, tap the pencil lightly against the edge of your desk to knock off any loose dust before you resume drawing.
Bottom line: Use sandpaper for everyday shaping, a metal sharpener for precision, and a rotary cutter for specialty points.
Step 4: Basic Drawing Techniques and Shading
With your pencils ready, it’s time to lay down values. Start with light hatching to map the basic shapes. Then build depth by adding cross‑hatching, where you draw a second set of lines over the first at an angle.
Contour hatching follows the curve of the object, giving it a three‑dimensional feel. For broader areas, use the side of the pencil or a charcoal stick to create a soft, crayon‑like wash.
Stippling works well for texture. Tap the tip of a sharp pencil to make tiny dots; cluster them tightly for dark areas and space them out for light tones.
Blend with your finger, a soft tissue, or a small paintbrush. The tool you choose changes how smooth the transition looks. A finger adds warmth, while a brush gives a cooler, even blend.
Use a kneaded eraser to lift charcoal for highlights. Mold the eraser into a point, press gently, and watch the white of the paper emerge.
And remember to step back often. Viewing your work from a distance reveals where values need balancing.
Key Takeaway: Combine line‑based techniques with blending and erasing to control light and dark across the page.
Step 5: Fixatives, Preservation, and Finishing Touches
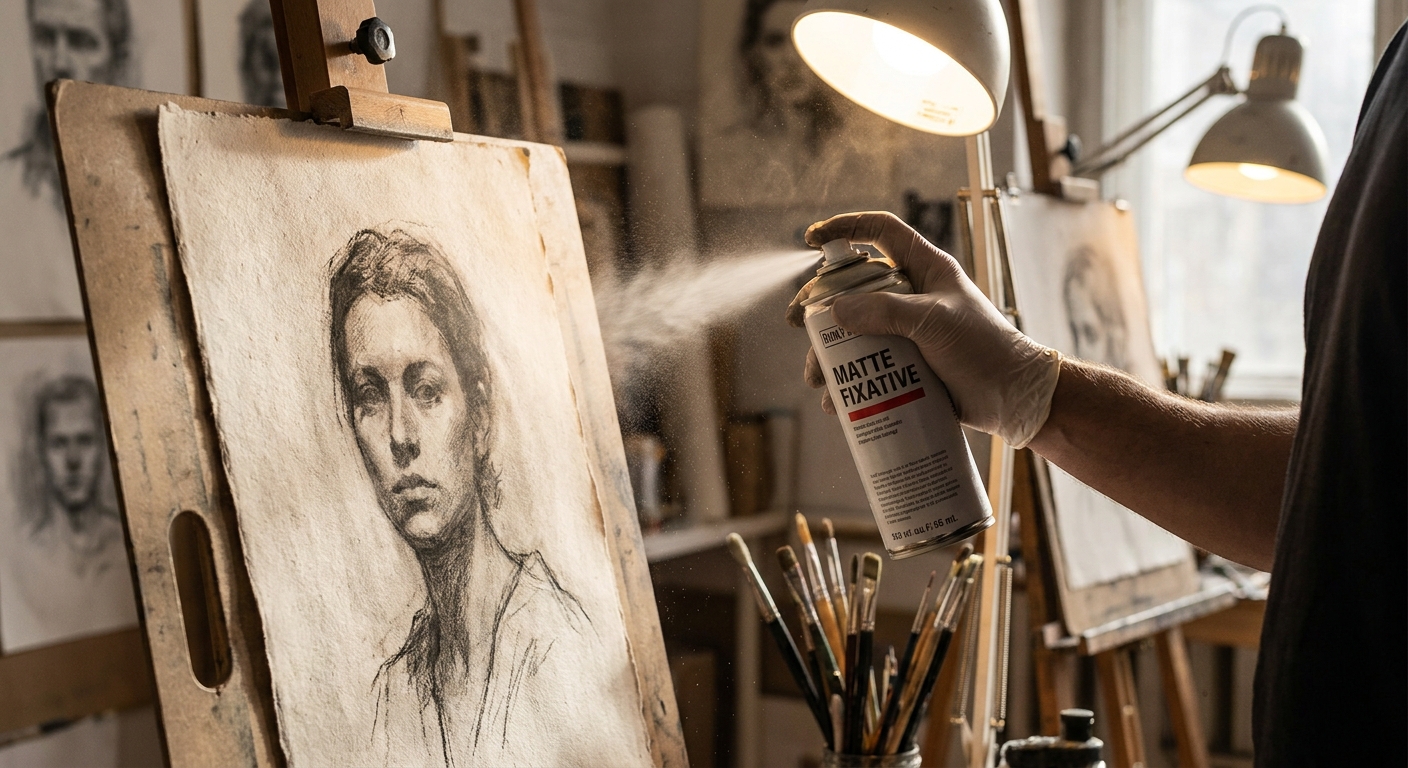
When you’re happy with the drawing, think about protecting it. A fixative spray creates a thin film that locks charcoal in place. Choose a matte fixative if you want to keep the paper’s texture; a gloss finish will add a subtle shine.
Work in a well‑ventilated space and hold the can about 12 inches from the surface. Spray in light, even passes, don’t dump a lot of product at once. Let each coat dry fully before adding another.
Some artists prefer a “workable” fixative that lets them add more charcoal after the first layer. That gives flexibility for late‑stage adjustments.
Once sealed, store the artwork flat in a portfolio or frame it behind UV‑filtering glass. This guards against dust and fading.
If you travel with your pieces, consider a protective sleeve made of archival‑grade plastic.
Artists who sell their work often wonder how to protect their supplies. The renters‑insurance guide at Insurance Services Chuck explains how a policy can cover art tools and finished pieces in a rented studio.
Pro Tip: Apply the final fixative layer on a humid day; the moisture helps the film settle without cracking.
Bottom line: Use a suitable fixative, let it dry fully, and store the finished piece in a dry, flat, protected environment.
FAQ
What type of paper works best with charcoal pencils for artists?
Paper that has a fine tooth and is archival‑grade works best. A textured side holds the charcoal, while a smoother side lets you blend without too much dust. Brands like Canson Mi‑Teintes, Stonehenge, and Lanaquarelle are popular choices because they balance grip and smoothness, and they last for years without yellowing.
How do I keep charcoal from smudging my hands?
Use a kneaded eraser to lift excess charcoal from your fingers. You can also wear a thin cotton glove on your drawing hand. Keep a brush or soft cloth nearby to sweep dust off the surface before you continue shading. These habits keep the charcoal where you want it.
Can I use charcoal pencils on glossy paper?
Glossy paper doesn’t hold charcoal well; the marks will slide off or smudge excessively. Stick to matte, vellum, or textured papers. If you need a glossy finish, apply a matte fixative first, then add a thin coat of a glossy sealant on top of the finished piece.
How often should I spray fixative while working?
Spray a light coat after you finish a major tonal area. This prevents the charcoal from moving when you add new layers. Most artists use 2‑3 coats total: one after the initial sketch, another after adding mid‑tones, and a final coat once the drawing is complete.
What’s the difference between soft and hard charcoal pencils?
Soft pencils (e.g., 6B) lay down deep, velvety blacks with little pressure. Hard pencils (e.g., 2H) produce lighter, finer lines that are easier to erase. A good set includes both so you can create a full range of values without swapping tools.
Is a charcoal pencil suitable for beginners?
Yes, especially a slightly waxy brand like Conte Pierre Noire. The wax reduces dust and makes it easier to control light values. Start with a hard grade to practice light lines, then move to softer grades for shadows. Practice blending with a tissue to get comfortable.
How can I protect my charcoal drawings for long‑term display?
Seal the drawing with a matte or archival‑grade fixative, let it dry completely, and frame it behind UV‑filtering glass. Store any unframed work flat in a portfolio with acid‑free sleeves. Avoid direct sunlight, which can fade the paper over time.
Do I need special tools to erase charcoal?
A soft kneaded eraser works best because it lifts charcoal without tearing the paper. You can shape it into a point for precise highlights. A vinyl eraser can also be used for larger areas, but it may leave small indentations.
Conclusion
Learning charcoal pencils for artists is a mix of good tools, a tidy workspace, steady technique, and proper preservation. Start by picking a comfortable brand that offers a range of hardness. Set up a dust‑free surface and choose textured, archival‑grade paper. Sharpen with sandpaper or a rotary cutter, then practice hatching, cross‑hatching, and blending to build depth. Finish each piece with a suitable fixative and store it safely.
When you follow these steps, you’ll see your sketches turn into bold, lasting artworks that capture the full spectrum from pure white to pitch black. If you want more in‑depth lessons on charcoal drawing, check out the Wikipedia guide on charcoal drawing techniques. It offers extra exercises and historical context that can inspire new ideas.
And remember, great art also needs great exposure. A marketing partner like Sly Collective can help you showcase your charcoal work online, attract commissions, and grow your audience.
