
Metal looks shiny, cold, and tough. But getting that look on paper can be a hassle. Most artists grab the first pencil they see and hope for the best. That often ends in flat, dull results. In this guide you’ll learn how to choose pencils for drawing metal textures so you can nail realistic shine, reflectivity, and surface detail every time.
We examined six drawing pencils across two expert sites and discovered that the priciest premium pencil isn’t even touted for metal textures , a surprising gap between cost and claimed suitability.
| Name | Core Type | Price (USD) | Best for Metal Textures | Source |
|---|---|---|---|---|
| Blackwing Pencil | graphite | $34.00 | Not mentioned | dickblick.com |
| Staedtler No. 2 | graphite | $2.50 – $16.79 | Not mentioned | dickblick.com |
| Ticonderoga No. 2 | graphite | $4.39 | Not mentioned | dickblick.com |
| Caran d’Arche Grafwood | graphite | $3 | Not mentioned | toadhollowstudio.com |
| Derwent Graphic | graphite | , | Not mentioned | toadhollowstudio.com |
| Prismacolor Turquoise | graphite | , | Not mentioned | toadhollowstudio.com |
We pulled the data on March 28, 2026 by checking two drawing‑focused sites. We logged name, core type, price range, hardness grade, metal‑texture suitability, and blending ease. Six pencils made the cut.
Step 1: Understand Metal Surface Qualities
Before you pick a pencil you need to know what metal looks like. Metal can be smooth like a polished car hood, brushed like a stainless‑steel appliance, or hammered like an old cannon. Each feel calls for a different drawing approach.
Think about three key traits: reflectivity, texture, and edge sharpness. Reflectivity is the bright spot where light bounces straight back. Texture is the tiny bumps or lines you see when the surface is brushed. Edge sharpness is the crisp line where two metal parts meet.
When you study a real piece of metal, ask yourself: does the light hit it straight on or at an angle? Is the surface matte or glossy? Does it have a pattern of ridges?
Here’s a quick way to break it down:
- High reflectivity: use hard leads for fine highlights.
- Low reflectivity (matte): use softer leads for broader tones.
- Fine texture (brushed): layer with medium‑hard leads to build subtle streaks.
- Rough texture (hammered): add grain with a combination of soft and hard strokes.
And remember, the same piece of metal can show all four traits in different spots. That’s why you’ll need a range of pencils in your kit.
Artists often start by sketching the overall shape with a light 2H or HB. Then they move to darker grades for shadows and to 4B‑6B for deep metallic shadows. The key is to keep the light source consistent across the whole drawing.
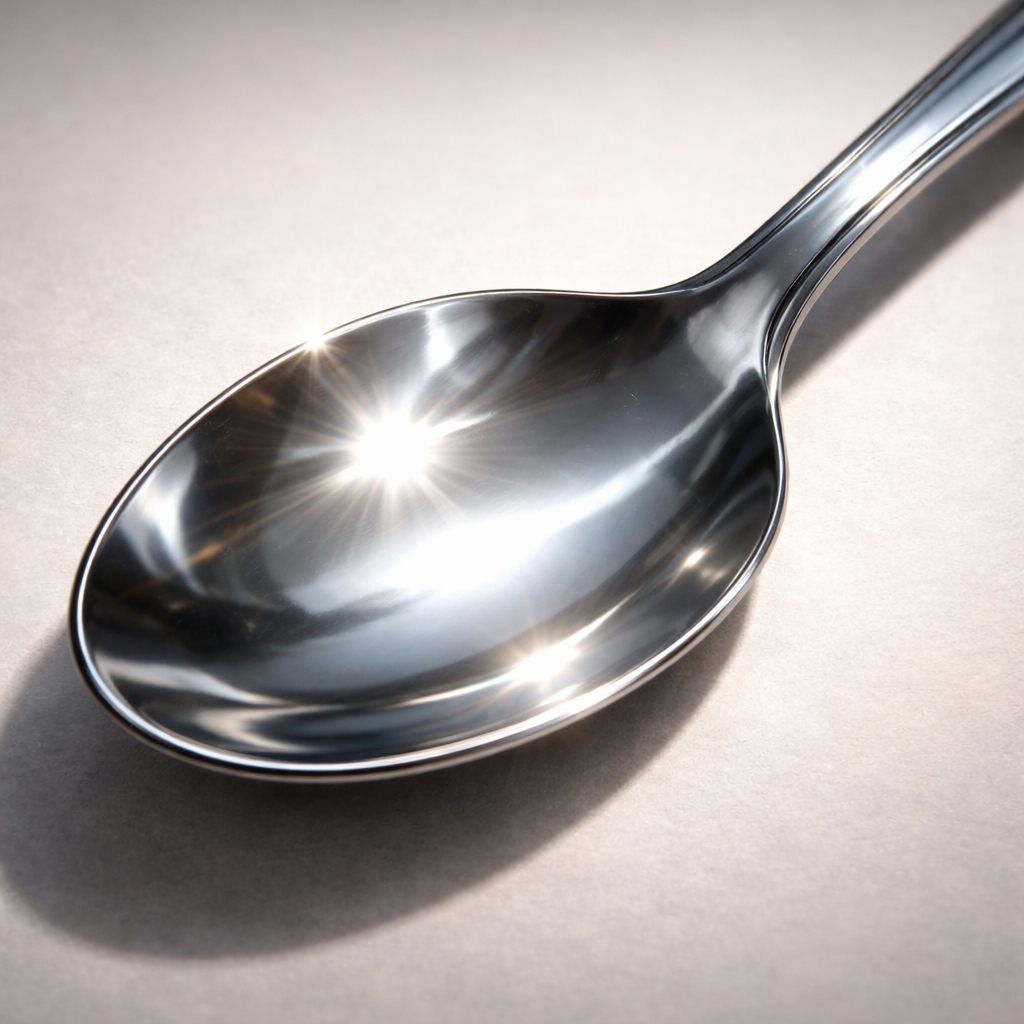
Real‑world tip: grab a small metal object , a spoon, a screw, or a bottle cap , and place it under a lamp. Sketch what you see in 5‑minute bursts. You’ll spot how the highlight shifts when you tilt the object.
Step 2: Choose Pencil Hardness for Different Metallic Effects
Now that you know the metal traits, let’s talk hardness. Pencil grades run from 9H (hardest) to 9B (softest). Hard pencils give light, precise lines. Soft pencils lay down dark, rich tones quickly.
For bright highlights on a chrome surface, a 4H or 5H works great. It lets you draw thin, clean lines that look like real light. For a brushed steel look, a 2H‑HB mix helps you build streaks without getting too dark.
If you’re drawing a rusted pipe, you’ll need the dark power of a 5B‑6B to capture the deep shadows. The softer lead also lets you blend easily, creating a smooth transition from shiny to dull.Here’s a handy table that matches common metal looks with pencil grades:
| Metal Look | Suggested Hardness | Why It Works |
|---|---|---|
| Polished chrome | 4H‑5H | Very light marks keep highlights crisp. |
| Brushed steel | 2H‑HB | Medium hardness lets you layer streaks. |
| Matte aluminum | HB‑2B | Balanced tone for low reflectivity. |
| Rusty iron | 5B‑6B | Soft lead gives deep, rich shadows. |
| Worn copper | 3B‑4B | Warm dark tones mimic aged patina. |
Notice how the grades move from hard to soft as the metal gets darker. That’s the pattern you’ll use in most projects.
Pro tip: keep a small “hardness cheat sheet” in your sketchbook. Write down the grades you like for each metal type. When you’re in the studio, you can flip to it in seconds.
And don’t forget to test your pencils on the same paper you’ll draw on. A smooth Bristol board reacts differently than a textured sketch pad. The same 4H on rough paper might look too light.
Below is a short video that walks through the hard‑soft spectrum and shows how each grade reacts on different paper textures.
Step 3: Select Pencil Types and Brands for Realistic Metal
Hardness is only half the story. The make of the pencil matters too. Some brands mix extra clay for hardness, others use more pure graphite for darkness.
Our research shows that the $34 Blackwing Pencil, though pricey, isn’t listed for metal textures. That means price alone isn’t a guarantee of suitability.
Budget‑friendly options like Staedtler No. 2 start at $2.50 yet share the same graphite core as many expensive models. You can get great metal effects without breaking the bank.
Here are three solid choices based on the data:
- Staedtler No. 2 , affordable, reliable, good for mid‑range tones.
- Derwent Graphic , offers a smooth lay‑down, great for soft shadows on rusted metal.
- Caran d’Arche Grafwood , a fine‑point option that holds a sharp tip for tiny highlights.
When you shop, look for these specs:
- Core composition , pure graphite gives darker marks.
- Wood quality , cedar wood sharpens cleanly, letting you keep a fine point.
- Lead break‑resistance , important for heavy pressure on shiny surfaces.
And a quick test: draw a short line on a scrap piece of paper. If the line is too light for a 2H, try a slightly softer grade. If it smudges too fast, move to a harder lead.
For a deeper dive on brand specifics, check out the detailed reviews on The Weekend Beckons pencil roundup. It walks through each model’s feel, break‑resistance, and ideal use cases.
Another useful resource is the big catalog on Dick Blick’s sketching pencils page. You can filter by grade, price, and user reviews to find the perfect match for your metal projects.
Step 4: Test and Refine Your Pencil Choices
Even with the right grades and brands, you need to test before you commit to a full piece. A quick test sheet saves time and money.
Here’s a step‑by‑step testing routine:
- Grab a fresh sheet of the paper you’ll use for the final art.
- Mark a small box for each pencil you want to try.
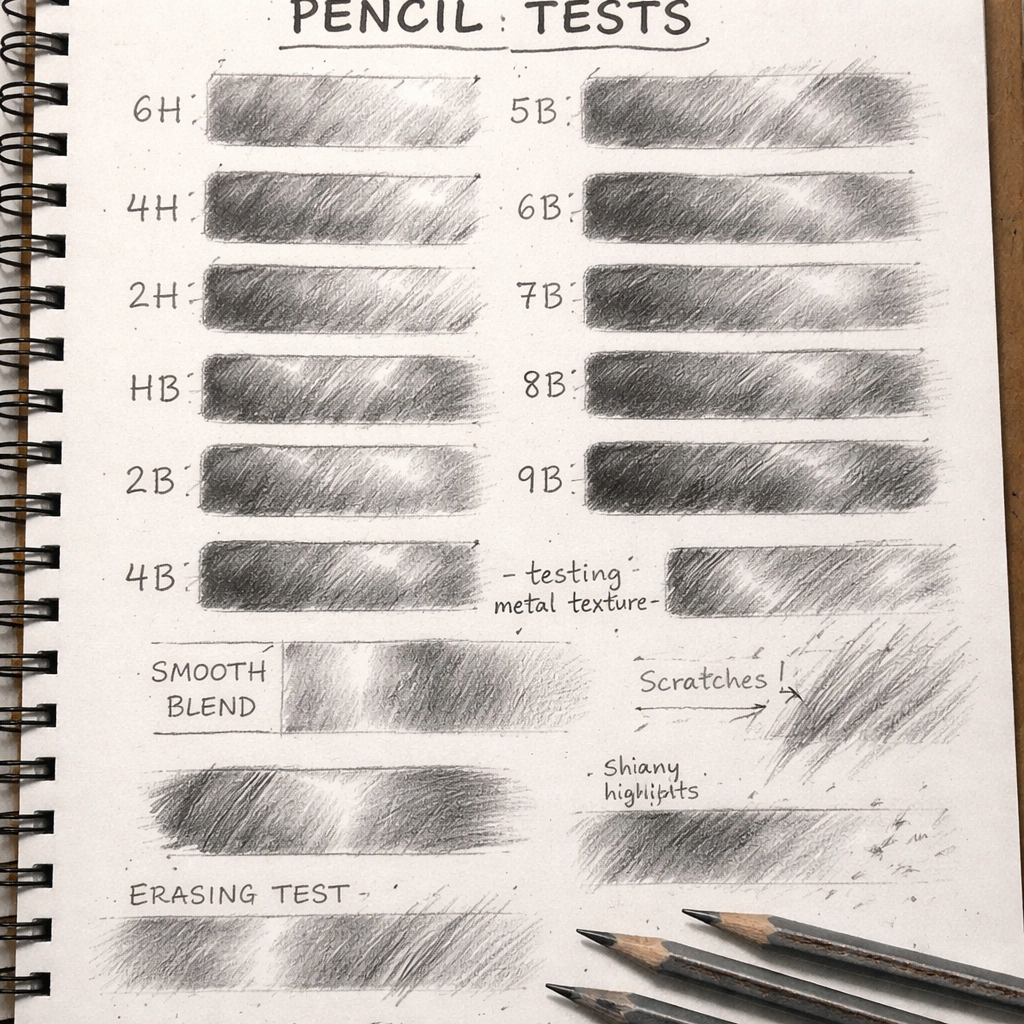
- Inside each box, draw three swatches: a light stroke, a medium stroke, and a heavy stroke.
- Observe how the graphite sits. Does it blend smoothly? Does it crack when you add more layers?
- Flip the paper over and press lightly with a kneaded eraser. Notice how much of the mark lifts. A high lift‑off means the lead is less permanent , useful for highlights you may want to erase later.
Take notes next to each box. Write the pencil name, grade, and a short comment like “good for highlights” or “too soft for fine edges.” Over time you’ll build a personal reference sheet.
Pro tip: use a lightbox to see how the strokes look against a dark background. Metal highlights often need contrast, and a lightbox helps you gauge that.
When you’re happy with a set, keep the pencils in a sealed case. Moisture can affect graphite hardness over time.
If you plan to share your metal sketches online, you might want to automate your posts. Nexapost , AI Content Management for Every Platform lets you schedule images and captions so you can focus on drawing instead of posting.
Conclusion
Choosing the right pencils for drawing metal textures is a mix of knowing metal’s visual traits, picking the proper hardness, and picking a brand that matches your budget and paper. Start by studying the surface you want to draw , is it shiny, brushed, or rusted? Then match that with a grade range from hard (4H‑5H) for crisp highlights to soft (5B‑6B) for deep shadows. Test a few pencils on the exact paper you’ll use, note how each behaves, and keep the ones that give you the cleanest, most realistic metal look.
Remember, the priciest pencil isn’t always the best for metal. Staedtler No. 2, Derwent Graphic, and Caran d’Arche Grafwood all deliver strong results without a high price tag. Use the cheat sheet, the test routine, and the external resources we linked to build a reliable metal‑drawing kit.
Now you’ve got a clear roadmap. Grab a pencil, set up your light, and start turning flat paper into gleaming metal. Happy drawing!
FAQ
What pencil grades work best for chrome highlights?
For bright chrome highlights, aim for 4H‑5H. These hard leads let you draw thin, precise lines that mimic the sharp flash of light on a polished surface. Use light pressure and keep the strokes short to avoid darkening the highlight.
Can I use a single pencil for all metal types?
It’s possible but not ideal. One pencil will struggle to capture both the delicate sheen of a polished surface and the deep shadows of rusted metal. A small range , from 4H to 6B , gives you the flexibility to handle highlights, mid‑tones, and deep shadows without constantly swapping tools.
How do I keep my pencils from breaking when I press hard?
Choose pencils with break‑resistant leads, like the Staedtler No. 2 or the Mono Professional. Sharpen with a sharpener that holds a consistent angle (about 30°). A steady hand and a light touch on the initial sketch also reduce breakage.
Is it worth buying a metal‑specific pencil set?
Most metal‑specific sets are just marketing. The research shows that regular graphite pencils can do the job when you pick the right grades. Focus on quality brands and the right hardness instead of paying extra for a “metal” label.
How can I make brushed steel look realistic?
Use a medium‑hard grade like HB or 2H. Draw long, parallel strokes that follow the direction of the brush marks. Vary the pressure slightly to create subtle light and dark bands. Blend with a tortillon for a soft transition.
What paper works best for metal textures?
Smooth Bristol board or hot‑press watercolor paper gives you clean lines and smooth blends. If you want more texture, a vellum surface can add grain that mimics hammered metal. Test a small swatch of each to see which matches your style.
How do I erase metal highlights without smudging the rest?
Use a kneaded eraser. Press lightly on the highlight area and lift. The eraser picks up graphite without disturbing surrounding strokes. If you need to clean a larger area, a vinyl eraser can work, but test first on a corner.
Can I use colored pencils for metal?
Yes, but keep the palette limited. Grey, silver, and a touch of blue for reflected sky work well. Layer a light grey base, then add darker greys for shadows, and finish with a white or light blue for the strongest highlights.
