
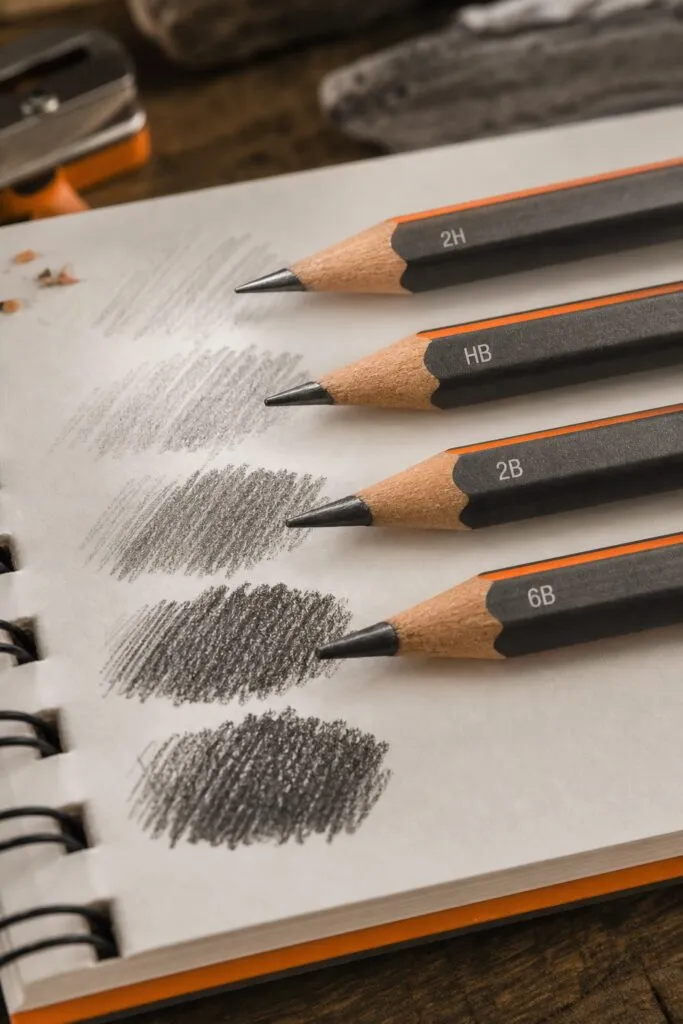
Picking the right pencil for sketching can feel like a guessing game. Walk into any art store and you’ll see rows of pencils marked H, B, HB. What do they all mean? And which one should you use first? This pencil guide for sketching beginners cuts through the confusion. It’s written for anyone who wants to draw but doesn’t know where to start. You’ll learn how pencil grades work, which ones to buy, and the basic techniques to get you sketching with confidence. No jargon. No fluff. Just usable steps to help you make your first marks on paper.
Even experienced artists sometimes recommend ultra-hard 9H pencils for beginners. That’s surprising because 9H leaves a very light line. But it shows that the pencil world is full of mixed messages. This guide will give you a clear path forward.
Step 1: Understand Pencil Grades and Types
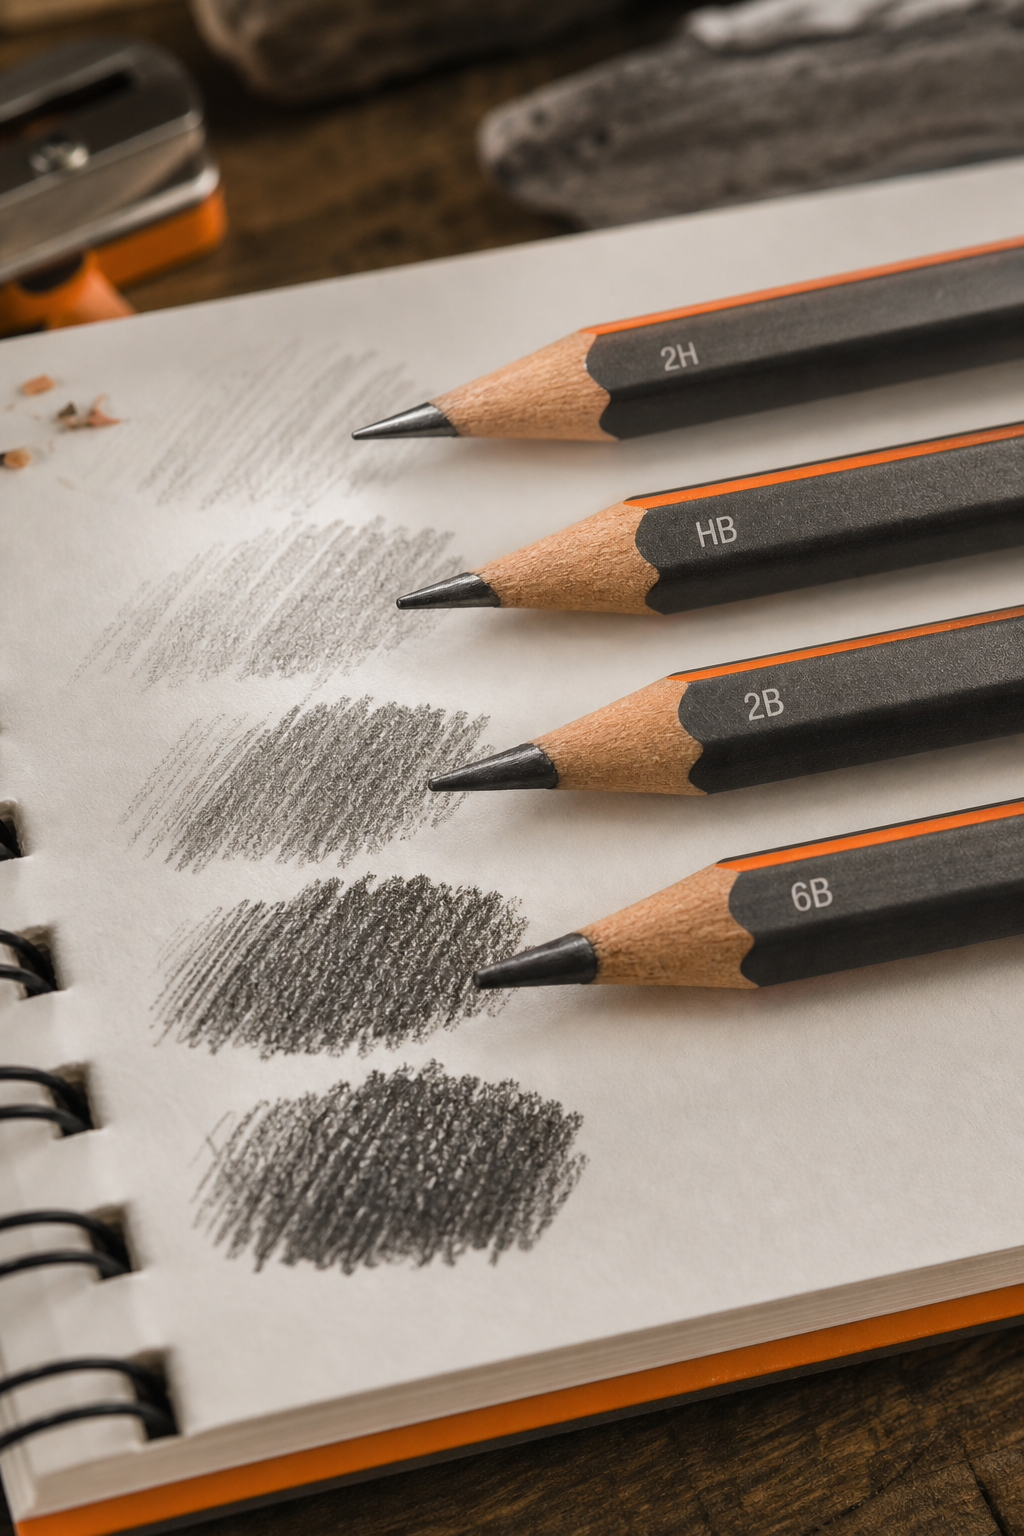
Every sketching pencil has a grade stamped on it. The grade tells you how hard or soft the lead is. Hard leads make light lines. Soft leads make dark lines. The scale goes from 9H (hardest) to 9B (softest). HB is right in the middle.
Most beginner pencils are graphite. In fact, graphite dominates 94% of beginner pencil listings. That’s good news because graphite is easy to erase and blend. But here’s the catch: only about 28% of products list their hardness range. So when you buy a set, check the individual grades. A good starter set includes 2H, HB, 2B, 4B, and 6B. That covers everything from light sketching to dark shading.
For more on choosing your first set, on graphite pencils for beginners.
The hardness scale has been standard for over a century. You can read more about its history on an online encyclopedia’s pencil hardness page.
Step 2: Choose the Right Pencil for Your Sketching Style
Your sketching style determines which grades you’ll use most. If you love detailed line art, harder pencils (H to 2H) give you control. If you want rich shading and deep contrast, softer pencils (4B to 6B) are your friends. For general sketching, a medium like HB works for everything.
Consider mechanical pencils too. They have consistent line width and save you from sharpening. But they can’t create the broad strokes of a wooden pencil. For a thorough comparison, you can find pencil brand reviews online that explain the pros and cons of each type.
Additionally, an article on pencil lead hardness helps you match grades to your drawing style.
Watch the video above for a visual breakdown of how different grades perform on paper. It shows real examples of 2B versus 6B shading.
Step 3: Master Basic Sketching Techniques
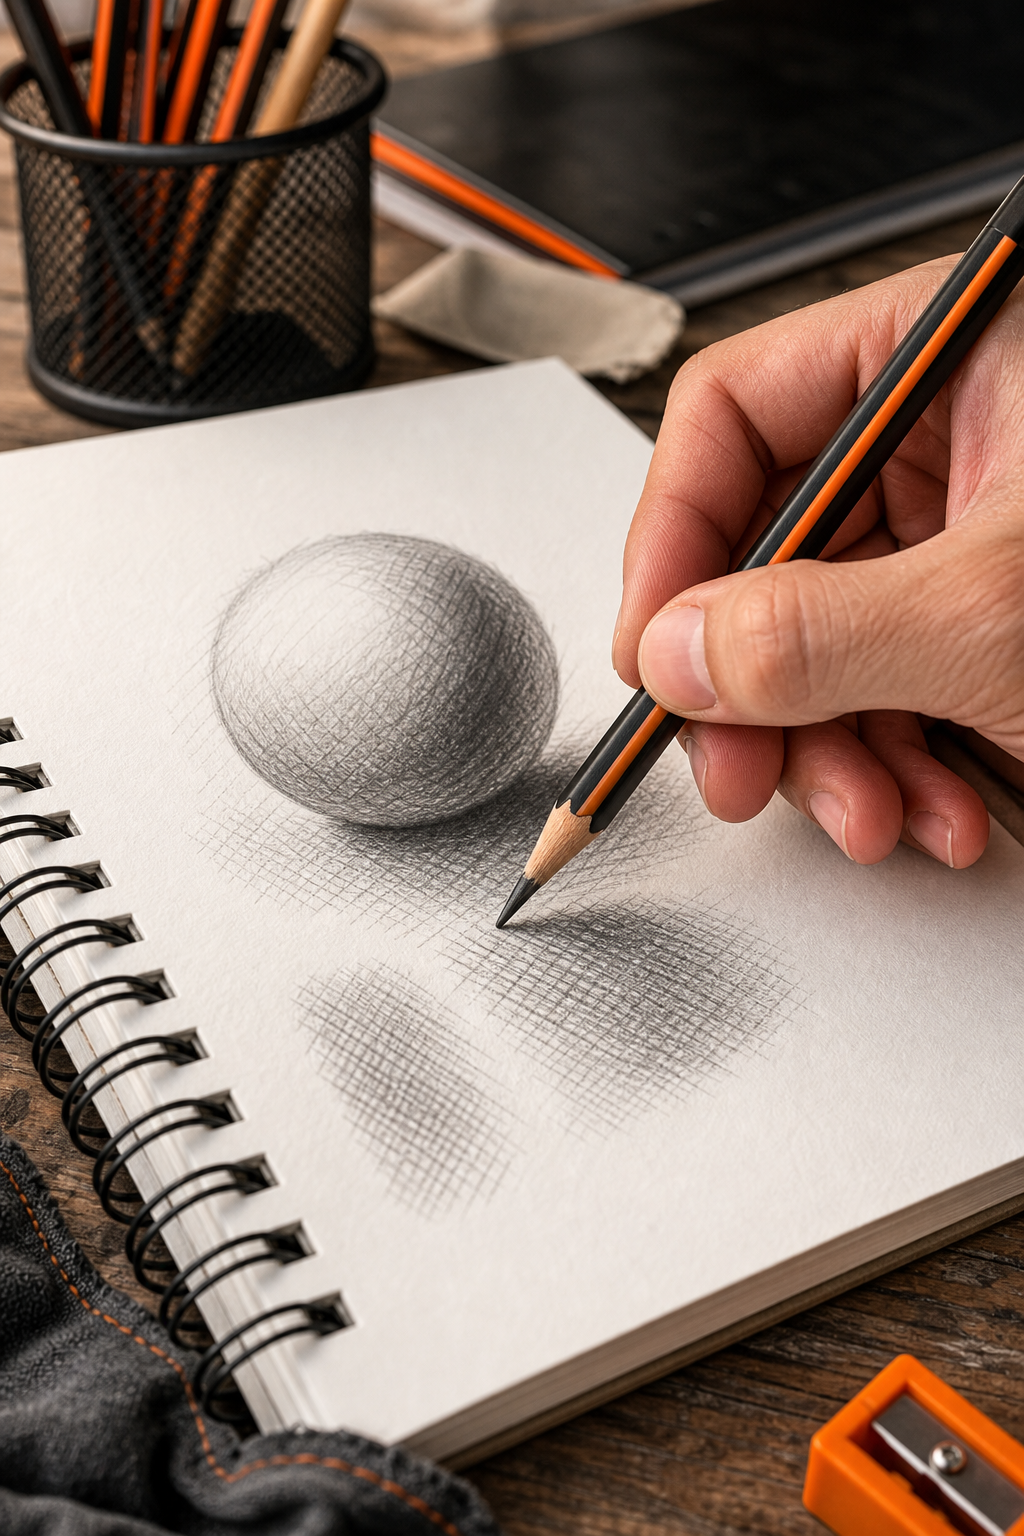
Technique matters just as much as the pencil. Start with three fundamental methods: hatching, cross-hatching, and blending. Hatching is making parallel lines. The closer they are, the darker the tone. Cross-hatching adds a second layer of lines at an angle. Blending uses a tool (like a tortillon or your finger) to smooth graphite into an even shade.
“The pencil is the most forgiving tool , you can erase and start over. That’s why it’s perfect for beginners.”
Pressure control is key. Practice drawing a line that starts light, gets darker in the middle, then fades. Use a 2B pencil for this exercise. Hold the pencil at a shallow angle for broad strokes, or close to the tip for fine lines. Spend 10 minutes a day just making gradients from white to black.
For a detailed demonstration, you can watch the video embedded above. It shows step-by-step how to shade a sphere.
Step 4: Gather Essential Sketching Tools
You don’t need a lot of gear. At minimum, get a good eraser (kneaded erasers are great for lifting graphite without smudging), a sharpener (handheld or prism), and a sketchbook with medium-texture paper (110gsm or higher). Blending stumps help create smooth transitions. A soft brush keeps eraser crumbs off your work.
Price information for pencils is often missing in product listings. Two products with clear prices are a mechanical pencil (about £10) and a premium pencil (around $3). For most beginners, a budget set of 12 pencils for $10-15 offers good value. Check reviews before buying.
Learning any new skill takes patience. As you practice sketching, remember that other hobbies also require step-by-step effort. For instance, how to train a dog to walk on a leash uses the same principles of repetition and reward. Stick with it, and you’ll improve.
Step 5: Practice with Simple Subjects
Start with basic shapes: a sphere, a cube, a cylinder. Draw them from different angles. Then move to simple objects like an apple or a coffee mug. Focus on light and shadow, not perfect outlines. Use your hardest pencil for the initial sketch, then switch to softer grades for shading.
Keep a practice log. Each day, draw the same object but use a different pencil grade. You’ll quickly learn which grades give you the effects you want. After a week, try a still life with two or three objects. Remember, every artist started with basic shapes. Be patient and practice every day.
Frequently Asked Questions
What pencils do I need as a beginner?
Start with a set of graphite pencils covering grades 2H, HB, 2B, 4B, and 6B. This gives you enough variety to try different techniques. Add a kneaded eraser and a sketchbook. You don’t need more than five pencils to begin. Many artists stick with these five for years.
What’s the difference between H and B pencils?
H stands for hard, meaning the lead is firm and leaves a light gray mark. B stands for soft , the lead is softer and produces darker, bolder lines. HB is in the middle. The number next to the letter shows how extreme it is. 2H is harder than H, and 2B is softer than B.
How do I hold a pencil for shading?
For broad shading, hold the pencil sideways with an overhand grip. For detailed lines, hold it like a writing pencil but closer to the tip. Practice switching between grips to see how it affects your marks. A loose wrist gives smoother strokes; a locked wrist creates more control.
Should I buy a mechanical pencil or a wooden pencil?
Mechanical pencils give consistent line width and never need sharpening. Wooden pencils allow for varied strokes because you can sharpen them to different points and use the side. Many beginners prefer wooden pencils for their flexibility. If you like fine details, a mechanical pencil is a good option.
What paper is best for pencil sketching?
Look for a sketchbook with medium-tooth paper, around 100-120gsm. Tooth means the paper has slight texture, which grabs graphite for better shading. Smooth paper (like printer paper) works but doesn’t hold graphite as well. Avoid glossy paper. A spiral-bound sketchbook is convenient and lies flat.
How do I prevent smudging?
Place a scrap piece of paper under your drawing hand. Use a fixative spray after you finish to set the graphite. Work from left to right if you’re right-handed (or right to left if left-handed) to avoid dragging your hand over fresh marks. A kneaded eraser can lift smudges gently.
What is the best way to sharpen a pencil for sketching?
Use a quality handheld sharpener or a craft knife for more control. For detailed work, sharpen to a long, sharp point. For shading, leave the point slightly blunt or use the side of the lead. Sharpen over a trash can to avoid mess. A sharp pencil gives fine lines; a dull one creates soft strokes.
How many pencils should I have in my kit?
Start with five: 2H, HB, 2B, 4B, and 6B. As you progress, you might add a 9B for extreme darks or a 4H for very light lines. Some artists carry 12 pencils, but fewer is fine. Quality matters more than quantity. A small kit that you know well is better than a huge set you never touch.
Conclusion
This pencil guide for sketching beginners covers the basics: understanding grades, choosing tools, learning techniques, and practicing. The journey from shaky lines to confident shading takes time, but now you have a clear path. Start with a simple set of pencils. Practice the exercises daily. Don’t worry about mistakes , every eraser mark is a lesson. For more detailed recommendations and side-by-side comparisons, s of specific brands and complete spec breakdowns. Keep sketching, and you’ll amaze yourself with how fast you improve.
