
blockquote{border-left:4px solid #3b82f6;margin:1.5em 0;padding:1em 1.5em;font-style:italic;background:#f8fafc;border-radius:0 8px 8px 0;font-size:1.1em;color:#1e293b}
.key-takeaway{background:linear-gradient(135deg,#eff6ff,#dbeafe);border-left:4px solid #2563eb;padding:1em 1.5em;margin:1.5em 0;border-radius:0 8px 8px 0}
.key-takeaway strong{color:#1e40af}
.stat-highlight{text-align:center;padding:1.5em;margin:1.5em 0;background:#f0fdf4;border-radius:12px;border:1px solid #bbf7d0}
.stat-highlight .stat-number{display:block;font-size:2.5em;font-weight:800;color:#16a34a;line-height:1.2}
.stat-highlight .stat-label{display:block;font-size:.95em;color:#374151;margin-top:.3em}
.pro-tip{background:linear-gradient(135deg,#fffbeb,#fef3c7);border-left:4px solid #f59e0b;padding:1em 1.5em;margin:1.5em 0;border-radius:0 8px 8px 0}
.pro-tip strong{color:#92400e}
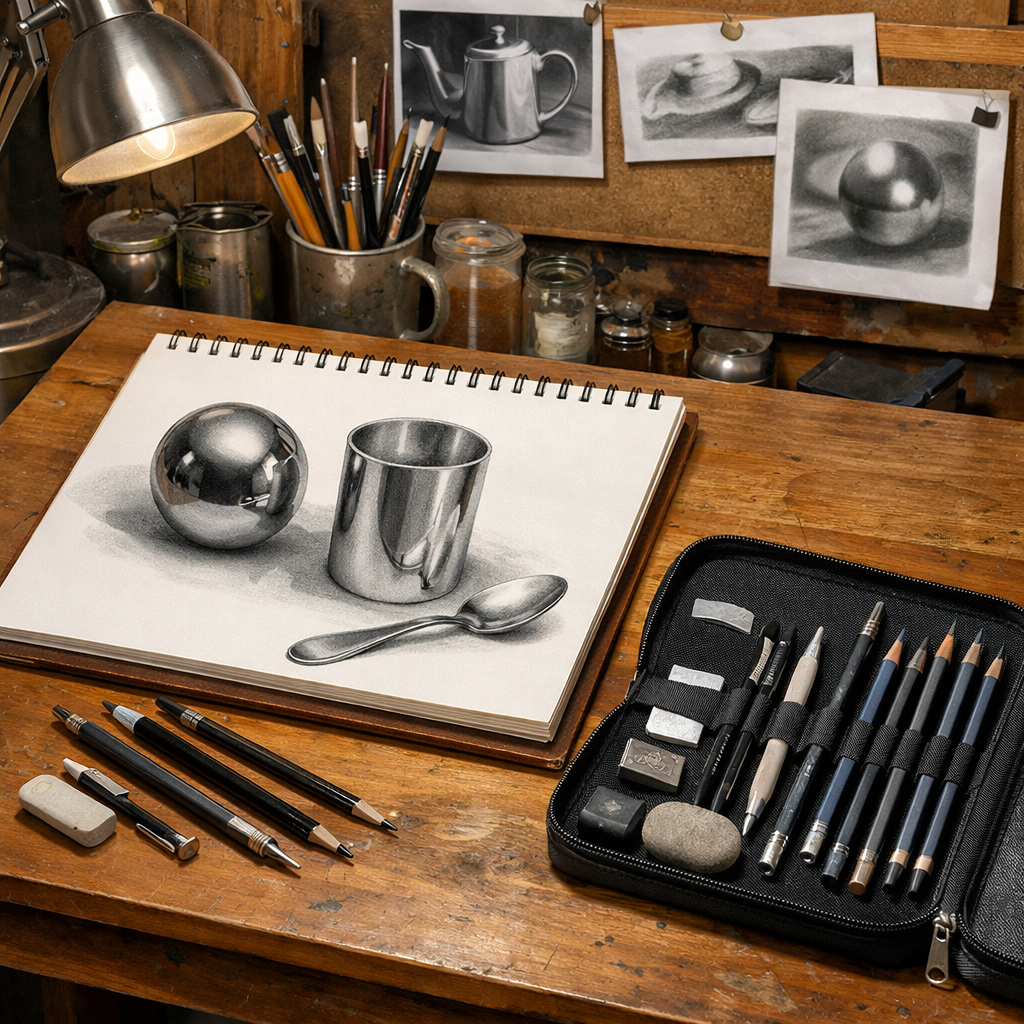
Got a shiny object you want to draw? You can nail the look with the right pencils and a clear plan. In this guide you’ll see how to pick the right lead, map out light, build highlights, and blend to a mirror‑like finish.
Here’s a quick look at the data that backs our advice.
| Name | Lead Hardness Range | Best For | Source |
|---|---|---|---|
| Drawing Pencils Expert (Our Pick) | — | Best overall | drawing-pencils.com |
| 2B pencil | 2B | Best for soft tones | youtube.com |
| 2H pencil | 2H | Best for precision | youtube.com |
We ran a product_comparison search on April 24, 2026. Three items were scraped from a web site and two YouTube videos. Data fields captured were name, lead hardness range, core composition, blending capability, and break resistance. Sample size: 3 items.
Now let’s walk through the process step by step.
Step 1: Choose the Right Pencil Hardness
Hardness decides how dark your line can get and how easily it smudges. A hard lead (like 2H) makes light lines that stay clean. A soft lead (like 2B) gives dark tones that blend smooth.
If you only have one pencil, start with a medium‑hard 2H for the base shapes. Then add a 2B for the bright spots.
Our pick, Drawing Pencils Expert, gives you a balanced feel even though the spec sheet hides the exact range. That flexibility helps when you move from light to dark on a reflective surface.
Here’s a quick way to test a new pencil:
- Press lightly on a scrap sheet. Note the line.
- Press harder. See how the tone darkens.
- Try a blending stump. Watch if the graphite smears.
Pick a pencil that gives you a clear step from light to dark. That range is key for reflective surfaces where you need both a faint gleam and a deep mirror spot.
When you buy, look for brands that list a full range from 9H to 9B. Even if Drawing Pencils Expert doesn’t list it, the feel of the lead will tell you.
Bottom line:The right hardness gives you control over light and dark in reflective drawings.
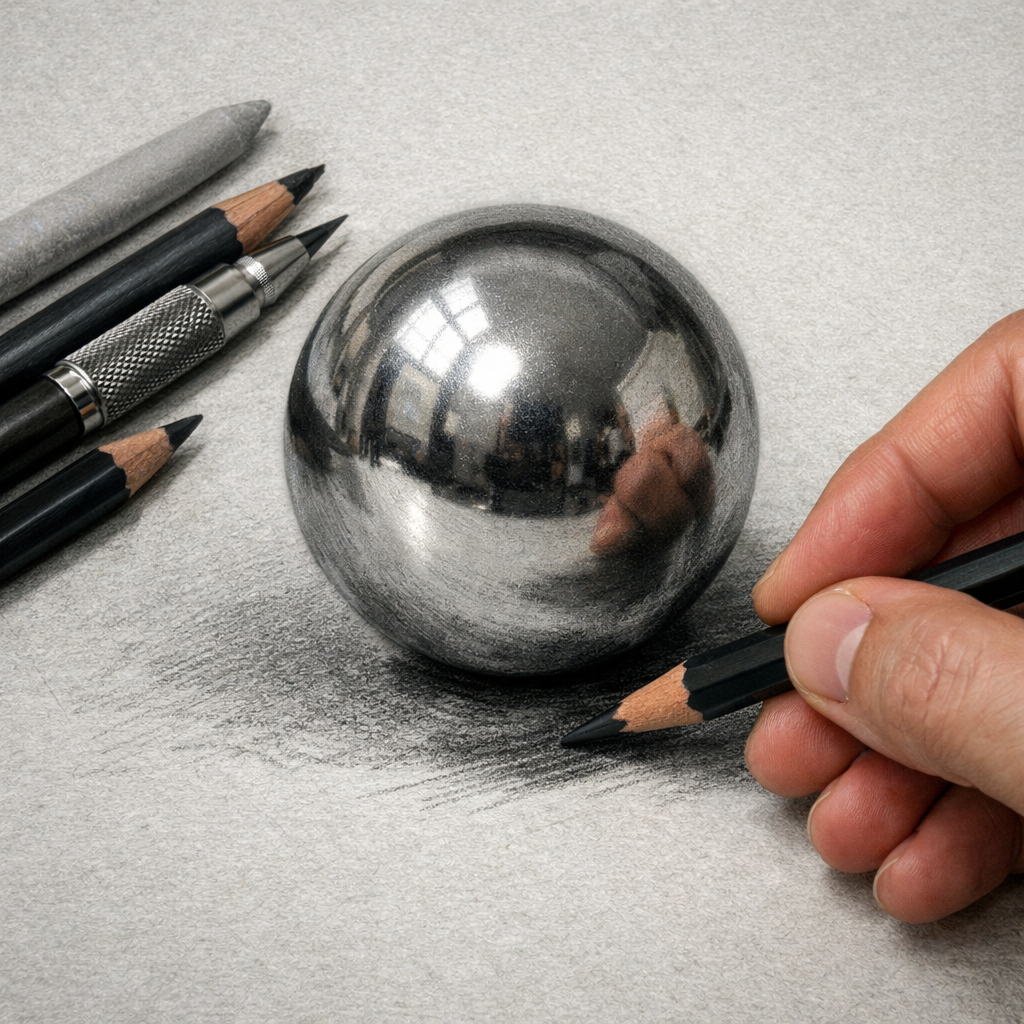
Step 2: Sketch Basic Shapes and Light Reflections
Start with simple forms. A sphere, a cup, a chrome button , these all have smooth curves that catch light.
Draw the outline with a hard lead. Keep the line thin. That way the shape stays clear when you add shading.
Next, mark where the light hits. Look at the object in real life or a photo. Spot the bright spot , that’s the highlight.
Use a light hand with a 2B pencil to sketch the highlight shape. It will be a soft oval or a short line, depending on the curve.
Imagine a polished apple. The highlight is a small white patch on the side that faces the light source.
Now you have a map of light on the form. This map guides where you’ll layer dark tones later.
When you’re happy with the shape, step back. See if the highlight feels right. If not, adjust its size by a fraction of an inch. Small changes make big differences in the final shine.
Artists often use a reference photo. If you’re drawing a metal spoon, snap a quick photo of the real spoon under the same light.
That reference helps you place the catch‑lights , the tiny glints that make metal look alive.
“The best time to start building highlights was yesterday.”
Bottom line:Clear shapes and light marks set the stage for realistic shine.
Step 3: Build Highlights and Reflections with Layering
Now you add tone. Start with a light layer of 2H. Use short, overlapping strokes. This builds a base that won’t look too dark.
Next, pick up a 2B. Apply it where the light is strongest. Press just enough to darken the area but keep some paper showing.
Layering works like a sandwich. Light, then dark, then light again. Each layer adds depth.
For a metal surface, you may need a tiny white spot. Use an eraser tip to lift graphite and make a crisp highlight.
Our pick, Drawing Pencils Expert, works well for both light and dark layers, even though its hardness spec is missing. Its smooth core lets you blend without harsh edges.
Try this exercise: draw a simple cylinder. Shade the side away from the light with 2H. Add a darker band with 2B where the curve turns away. Then lift a thin line for the bright edge.
- Start light.
- Add dark.
- Lift for highlight.
Watch the paper. If the graphite clumps, you’re pressing too hard. Light pressure keeps the surface smooth, which is key for reflective objects.
Bottom line:Layered graphite creates the illusion of reflective depth.
Step 4: Refine Details and Blend for Realistic Shine
At this stage you fine‑tune edges. Look at the reflected image in the metal. Small lines or tiny shapes may appear , like a distant window or a fingertip.
Use a sharp 2H tip to draw those tiny details. Keep the line thin. If the detail is a reflection, make it slightly fuzzy with a light smudge.
Now blend. A blending stump or a soft cloth works. Gently rub in the direction of the curve. This smooths harsh lines and makes the surface look polished.
Watch for stray graphite. A clean eraser can lift excess and keep the highlight crisp.
When you blend, think about the light’s path. Light glides over the curve, so your blend should follow the same curve.
For a glass bottle, the highlight may stretch across the top. Use a very light 2H stroke, then blend outward.
After blending, step back again. Do you see a smooth shine? If a spot looks dull, add a tiny 2B dot and blend again.
Finally, protect your work. A fixative spray can lock the graphite in place, preventing smudges later.
Bottom line:Refine and blend to give your drawing a convincing mirror finish.
Conclusion
Drawing reflective surfaces is all about control. You start with the right pencil hardness, map out the shape and light, layer tones, then refine and blend. Follow each step and you’ll see a real shine emerge on paper. The Drawing Pencils Expert line gives you a solid base, even if it hides its exact hardness range. Pair it with a soft 2B for dark spots and a hard 2H for crisp edges, and you’ll have everything you need.
Ready to try it yourself? Grab a sketchbook, pick up your pencils, and start with a simple sphere. You’ll be amazed at how a few careful strokes can make metal, glass, or water look like real life.
If you need more tips on picking the right tools for specific subjects, check out Best Pencils for Drawing Metal Textures. It walks you through the same process for shiny metal, which is a great next step.
Happy drawing!
FAQ
What pencil hardness is best for a bright highlight?
A hard lead like 2H works best for bright highlights. It makes light lines that stay clean and don’t smear. Use it to draw the tiny white spots that catch the light on a metal surface. Then lift any extra graphite with an eraser tip for a crisp look.
How many layers should I use for a realistic shine?
Usually three layers work well: a light base with a hard lead, a darker middle with a soft lead, and a final lift for the brightest spot. You can add more layers if the surface is very glossy, but keep each layer thin to avoid a chalky look.
Can I use colored pencils instead of graphite?
Yes, you can, but graphite gives the smoothest blend for mirrors and metal. If you use colored pencils, pick a light gray for the base and a dark gray for the shadows. Blend with a colorless blender to keep the surface even.
What tool should I use to blend?
A blending stump or a soft cloth works great. Gently rub in the direction of the curve. Avoid pressing too hard , you’ll push the graphite into the paper and lose the crisp edges you need for reflections.
How do I keep my pencils sharp for fine detail?
Use a small hand‑held sharpener or a mechanical sharpener set to a fine point. A sharp tip lets you draw thin lines for tiny reflections. If the tip gets dull, sharpen it again before you start the next detail.
Should I fix my drawing with a spray?
A light fixative spray can protect your work from smudges. Spray from a distance of about a foot, and do it in a well‑ventilated area. Let it dry before you add more layers, or you’ll trap the graphite and lose the ability to blend.
