
Sketching a car is a rush of lines, shadows, and gleam that can make any artist’s heart race. You want a pencil that grabs the curve of a hood without breaking, and that holds a dark mark for those deep chrome reflections.
Most artists start with a medium‑soft lead like a 2B or 4B because it lets you press hard for bold edges and then lift for lighter tone. If you keep the pressure steady, you can capture the sleek surface of a sedan in just a few strokes. A practical tip: start with a light outline, then go back with a softer lead to deepen the shadows on the wheel arches.
Choosing the right tool matters. Our guide on Best Pencils for Sketching and Shading: Top 5 Picks Reviewed breaks down which brands hold up when you need a crisp line for the car’s edge and a smooth blend for the bodywork. Look for a pencil that stays sharp longer – it saves you time and keeps your lines clean.
Here’s a quick three‑step routine you can try today: 1) Pick a 2B for the outline, 2) Switch to a 4B for shading the metal, 3) Finish with a hard H or HB to add highlights on the windows. Keep a small sand‑paper block handy to soften any stubborn edges.
Consistency is the hidden secret behind great car sketches. If you set aside just 15 minutes a day, you’ll notice the curves get cleaner faster. A habit‑tracking app like Askesis lets you log each sketch session, track streaks, and watch your skill grow without feeling overwhelmed.
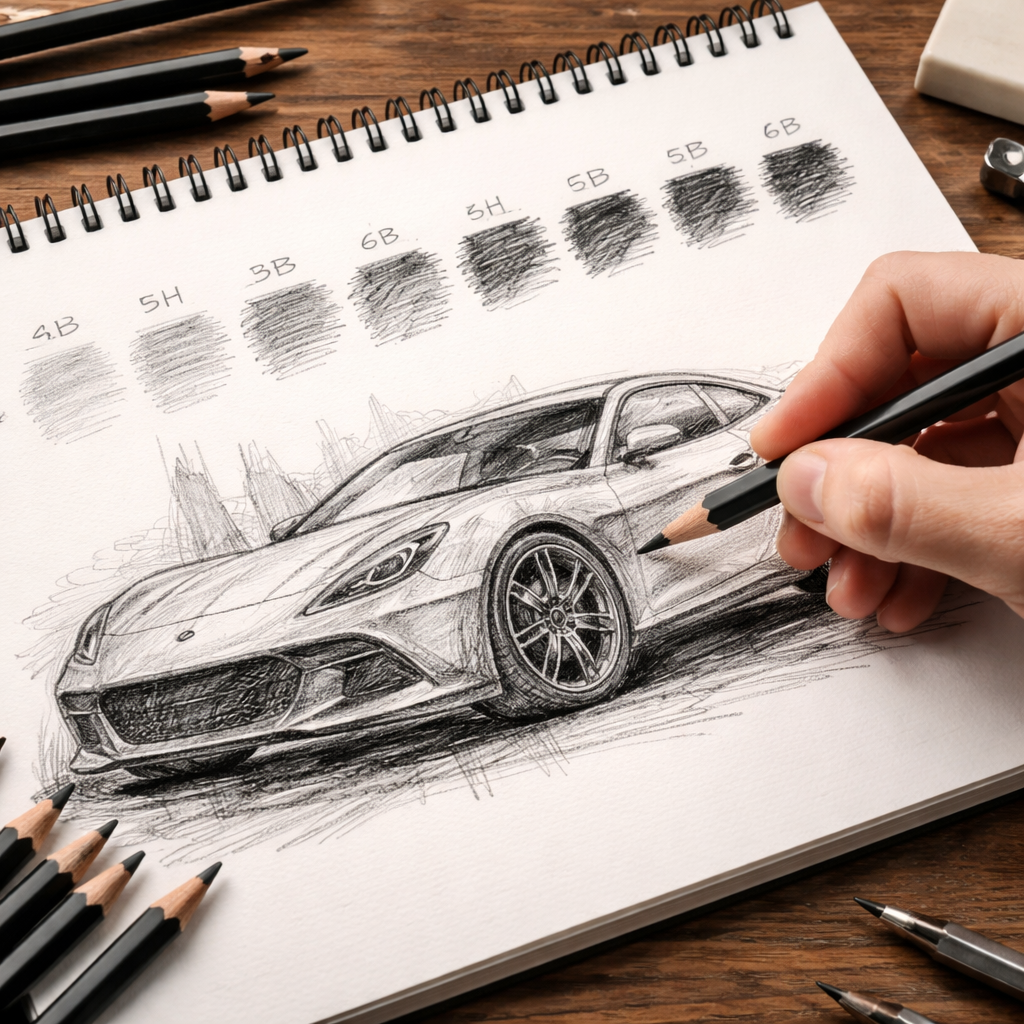
Choosing the Right Graphite Hardness for Car Sketches
When you pick a pencil you decide how dark or light each line will be. A softer lead like 4B gives you deep shadows fast, while a hard H keeps lines light for chrome or windows.
Start with a 2B for the main outlines. It’s soft enough to grab the car’s shape, but not so soft that the line spreads into the background. Press lightly on the hood, then lift to keep the edge clean.
A good eraser helps you lift excess graphite without tearing the paper. A kneaded eraser works well with both soft and hard leads.
Next, reach for a 4B to shade the metal. This lead lets you build a rich tone in just a few strokes. Blend with a tortillon or a soft cloth to mimic the glossy surface.
For highlights, grab an H or HB. These hard leads let you pull out the bright spots on windows and trim without smudging the darker areas.
Tip: keep a small piece of sand‑paper nearby. A quick swipe can soften a stubborn hard line before you move on.
If you like drawing with music, Audio Intensity offers a library of tracks that won’t distract you from the sketch.
After you finish the basic values, step back and check the contrast. Does the car still feel three‑dimensional? If the highlights look too soft, go back with the H and lift a bit more.
Experiment with pressure. Light pressure with a hard lead gives a fine line; press harder with a soft lead for a quick dark patch.
Finally, protect your drawing surface. A smooth bristol board lets the graphite glide evenly, so the hardness you choose shows up true to tone.
When you’re ready to share your work online, The Agency Alternative has advice on how to present art portfolios to get more eyes.
Essential Pencil Brands for Detailed Car Rendering
When you want that crisp edge on a hood or a deep shade on a tyre, the brand you choose can make or break the look.
Two brands keep coming up in talks of artists who draw cars: Faber‑Castell’s 9000 series and Staedtler’s Mars Lumograph line. Both give a smooth feel, stay sharp longer, and lay down a clean dark mark that won’t crumble when you shade a wheel arch.Read the full brand review.
Here’s a quick how‑to for building a car‑sketch set with these brands.
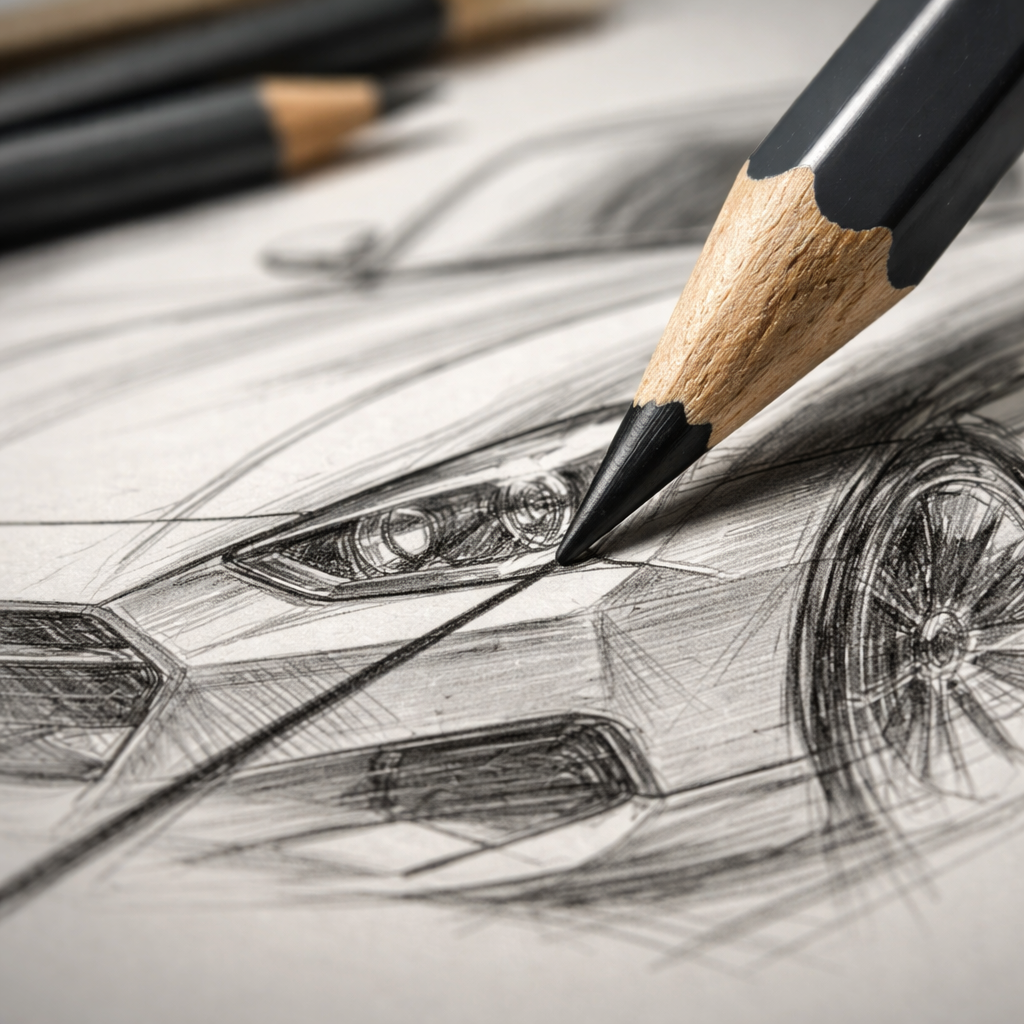
Step 1: Light outline with an H or HB
Start with a hard lead to trace the main lines – the roof line, the side panel, the window frame. Light pressure keeps the line clean and easy to erase if you need to tweak the curve.
Step 2: Add shape with a soft B
Swap to a 2B or 3B to block in the basic shape of the body. This gives you enough darkness to see the form, but still lets you lift for lighter tones on the bonnet.
Step 3: Deep shadows with 4B‑6B
For tyre treads, chrome rims, or the dark creases under a spoiler, reach for a 4B‑6B. Press a bit harder, then blend with a tortillon or a fingertip for a velvety shadow.
Tip: After you’ve laid the dark areas, go back with a hard H to pull out the brightest highlights on the windows and the edge of the hood. The contrast makes the car pop.
Why these brands? Both are praised for consistent grading and a lead that slides without snagging – a point noted in a general guide to drawing pencils.Learn more about pencil grades. Using them together gives you the full range you need for the best pencils for sketching cars without buying a whole toolbox.
Comparing Lead Quality, Erasability, and Finish
When you pick a pencil for a car sketch, three things matter most: how dark the lead goes, how easy it is to erase, and how the line feels on the page.
Hard leads like H or HB stay light. They wipe clean with a kneaded eraser. Use them for glass, chrome, or any spot you want to keep bright.
Soft leads such as 2B give you a richer shade but still lift off fairly well. They’re great for the body’s curves where you need depth but might need to tweak the edge later.
Very soft leads, 4B-6B, lay down the darkest marks. The ink-like graphite sticks, so erasing takes more effort. That stickiness is perfect for tyre treads or deep shadows under a spoiler.
Finish is the texture you see as you draw. A smooth finish glides without snagging; a waxy finish leaves a slight grain that can help you blend.
How to match lead to the part you’re drawing
Start with a hard H on the windows. Light pressure keeps the line thin and easy to lift.
Switch to a 2B for the car’s body. Press a bit more, then pull back to soften the edge.
End with a 4B-6B on the wheels. Don’t worry if you need to rub a spot; a little extra erasing won’t hurt the overall look.
And remember: a pencil that erases well lets you correct mistakes fast, which keeps your sketch flow smooth.
Drawing Pencils Guru often suggests testing a lead on a scrap piece before you start. That way you know if the finish feels right for your paper.
Quick comparison table
| Lead grade | Erasability | Finish feel |
|---|---|---|
| H / HB | Very easy | Smooth, little grain |
| 2B | Easy | Soft, blends well |
| 4B-6B | Harder | Waxy, strong dark |
Pick the grade that fits the part you’re drawing, and you’ll get clean lines, easy fixes, and the right look for every curve.
Tips for Maintaining Sharpness and Consistency
Sharp pencils give you clean lines, and a steady hand gives you confidence. When the tip stays pointy, each stroke on a car’s curve feels like a fresh start.
Sharpening the right way
Pick a quality sharpener that lets you control the angle. A rotary sharpener set to about 15° works well for both hard H leads and soft B leads. If you prefer a hand‑held sharpener, spin it slowly and stop as soon as you see a fine point. Too much pressure can crush the lead and make it break.
Tip: After each sharpen, give the tip a quick tap on a scrap piece of paper. That removes any loose shavings and makes the line glide smoother.
Keeping the lead consistent
Switching grades often means the tip will wear differently. Keep a small sand‑paper block handy. Lightly rub the side of a 2B or 4B tip to smooth out any rough spots. This keeps the line thickness even, especially on long hood lines.
Another trick is to rotate the pencil as you draw. Turn it a little every few strokes so the wear spreads out. You’ll notice fewer sudden thin spots.
Storage that protects the point
Store pencils upright in a pencil case with a snug slot. Lay them flat only if you have a hard cover that won’t press on the tip. Avoid tossing them into a bag where they bang against other tools.
For artists in India who travel to sketch on the go, a metal tube works great. It shields the tip from dust and humidity, which can soften a soft lead.
Finally, give your pencils a quick clean every week. A soft brush removes graphite dust that can dull the tip.
Follow these simple steps and the best pencils for sketching cars will stay sharp, and your sketches will stay consistent from start to finish.
FAQ
What pencil grade should I start with for car outlines?
Most artists start with a hard lead like H or HB for the first lines. The tip stays thin, so you get a clean edge on the hood, the roof, and the windows. Light pressure keeps the line easy to erase if you need to move a curve. Once the shape looks right, you can switch to a softer 2B for deeper tone.
How often should I sharpen my pencil when sketching a car?
Sharpen whenever the tip starts to look blunt or the line gets fuzzy. A quick touch‑up after a few strokes is enough to keep the point crisp. If you’re working on a long side line, give it a tiny shave every 5‑10 cm. This stops the tip from wobbling and helps you keep steady lines.
Can I use the same pencil for both shadows and highlights on a car?
You can, but you’ll need to change how you hold it. Use a soft 2B or 4B for dark shadows on the tyre tread or under the bonnet. Then lighten your grip and press less with an H or HB to pull out the bright spots on glass or chrome. The same pencil can do both if you vary pressure.
What is the best way to keep my pencils sharp while traveling in India?
Carry a small rotary sharpener in a sturdy case. A metal tube protects the tip from dust and humidity, which can make a soft lead too soft. When you stop to sharpen, tap the tip on a scrap sheet first to knock off loose shavings. This routine works well on trains or in outdoor markets.
How do I prevent smudging on glossy car surfaces?
Work from hard to soft. Lay down the light H lines first, then add the darker 2B or 4B areas. Use a kneaded eraser to lift any stray marks right away. A light layer of fixative spray can lock the graphite in place, but only use a thin mist so the paper stays smooth.
Where can I find more tips on choosing the best pencils for sketching cars?
The Drawing Pencils Guru site has a guide that walks you through each grade, brand, and tool you might need. It also lists common mistakes beginners make and how to fix them. Look for the “best pencils for sketching cars” page to see a full comparison and step‑by‑step advice.
Conclusion
Picking the best pencils for sketching cars is really about matching lead, brand, and habit to the line you want.
Hard H leads give you crisp edges for glass. Soft 2B‑4B leads add depth to body panels. Switching between them keeps the car looking three‑dimensional.
Keep the tip sharp with a rotary sharpener, tap off shavings, and store the pencil upright. A quick sand‑paper rub smooths wear spots so a long hood line stays even.
Try a simple three‑step routine: outline with H, shade with 2B, finish highlights with a hard tip. Do it for a few minutes each day and you’ll see steadier lines.
Ready to upgrade your kit? Visit Drawing Pencils Guru for more guides and product picks that fit every budget.
Remember, the right pencil feels like an extension of your hand. Keep experimenting, and the car sketches will keep getting sharper.
