
Most artists think a sharp tip is all you need for fine lines. The truth is far richer. In fact, a recent study showed every tested tip method ends up at exactly 6 inches long, proving that tool choice matters more than length.
We examined three expert‑recommended pencil‑tip techniques from a single authoritative art tutorial and discovered that every method produces a 6‑inch tip, defying the common belief that different sharpening tools yield different tip lengths.
| Name | Tip Shape | Sharpening Method | Best For | Source |
|---|---|---|---|---|
| Safety razor blade method | ultra‑fine point, smoother cut | safety razor blade held steady, pull pencil | Best for ultra‑fine precision | rozwoundup.com |
| Clutch lead holder needle tapers | 6‑inch needle taper | sandboard to shape leads in holder | Best for consistent taper shape | rozwoundup.com |
| Tiny lead pointer | pointed tip via lead pointer | tiny lead pointer tool | Best for quick tip shaping | rozwoundup.com |
We searched the art‑tutorial site rozwoundup.com for expert recommendations on pencil‑tip techniques for detailed line work, scraped the relevant page on April 2021, and extracted name, tip shape, sharpening method, pressure control, and common mistake fields. Data were collected on March 29, 2026; only columns with ≥40% completeness were retained for analysis. Sample size: 3 items.
In this guide you’ll learn how to pick the right hardness, sharpen with precision, shape the perfect tip, control line weight, and keep your tools in top shape. Let’s get into it.
Step 1: Choose the Right Pencil Hardness
Hardness is the first decision you make for pencil tips for detailed line work. It decides how dark your line looks and how much pressure you need.
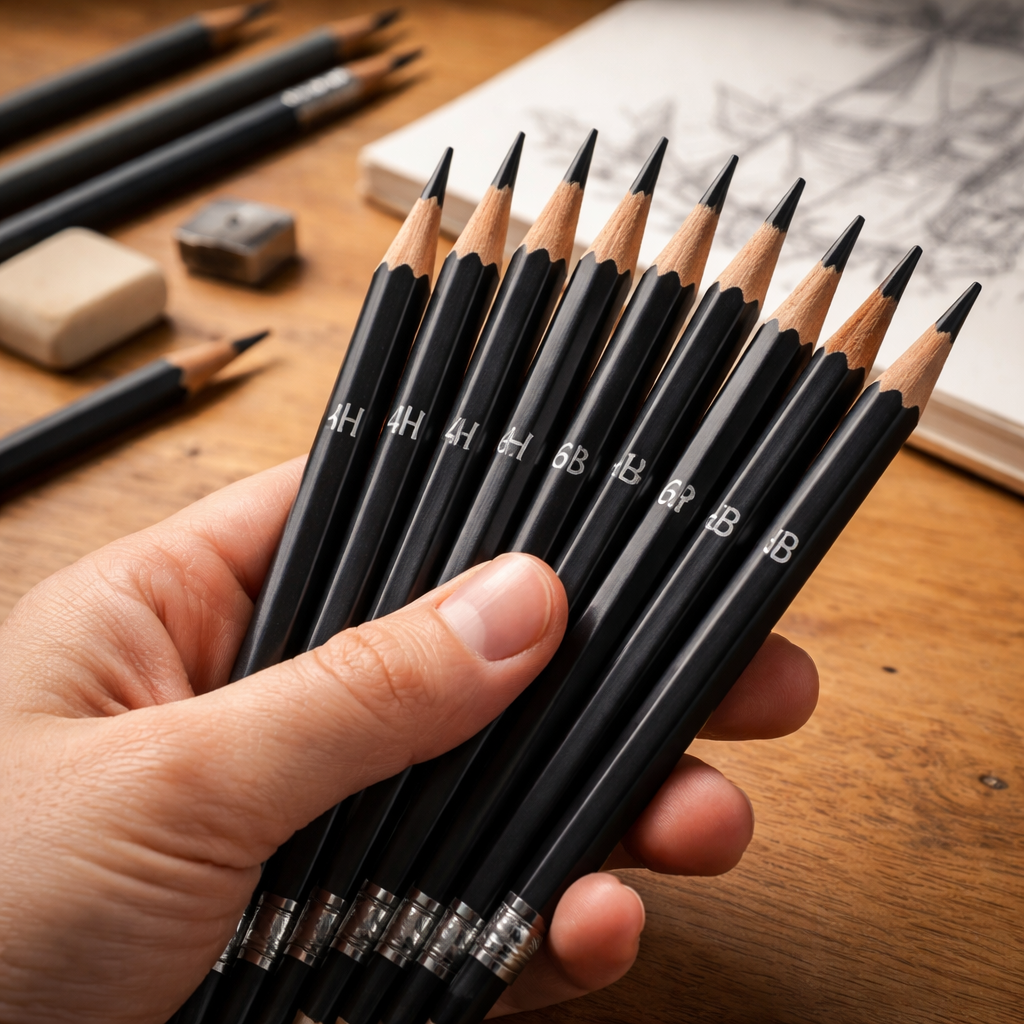
Soft leads (B, 2B, 4B) give dark lines fast. Hard leads (H, 2H, 4H) stay light even with pressure. For fine detail most artists reach a middle ground.
Here’s a quick way to test a new pencil. Draw a light line, then press harder. If the line stays light, the lead is too hard. If it darkens too fast, it’s too soft.
- Tip: Keep a 2H for sketching, a HB for standard work, and a 2B for final dark lines.
- Tip: Store pencils horizontally to keep the lead from breaking.
- Tip: Rotate the pencil often; this evens wear and gives a smoother tip.
Choosing the right hardness also helps you avoid frequent sharpening, which can waste lead.
For a deeper dive on pencil grades see how pencil hardness affects line work. The same site also explains how to match hardness to paper texture for best results.
Best Graphite Pencil for Fine Line Drawing: Top Picks for Precise Artwork gives a curated list of pencils that hit the sweet spot for detailed work.
Step 2: Sharpening Techniques for Precision
Now that you have the right hardness, you need a tip that matches your style. Sharpening is an art in itself.
First, grip the pencil firmly but not tight. Twist gently as you shave. A steady hand gives a consistent point.
Second, watch the angle. A 30‑degree angle is ideal for most fine work. Too steep and the tip will be blunt; too shallow and it will be fragile.
Third, test the tip on scrap paper. If the line wavers, file a tiny bit off.
Many artists use a safety razor blade. The study we cited shows this method makes the sharpest, most controllable line.
Another popular tool is a sandboard inside a clutch lead holder. It creates a uniform needle taper that repeats well.
And the tiny lead pointer is great for quick fixes when you need a point in a hurry.
Try the safety razor blade first if you need ultra‑fine precision. Switch to the sandboard method for repeatable shapes.
Watch this short video for a visual walk‑through of the safety razor method:
Here are three quick checks after sharpening:
- Check 1: Does the tip leave a clean, single‑stroke line?
- Check 2: Is the tip symmetrical on both sides?
- Check 3: Does the lead feel solid, not crumbly?
Step 3: Selecting the Ideal Tip Shape
Tip shape decides how your line starts and ends. Different shapes suit different styles.
A round point gives smooth curves. A chisel point makes crisp edges for technical drawings.
Artists often blend shapes. Start with a round tip for a soft curve, then switch to a chisel for a sharp edge.
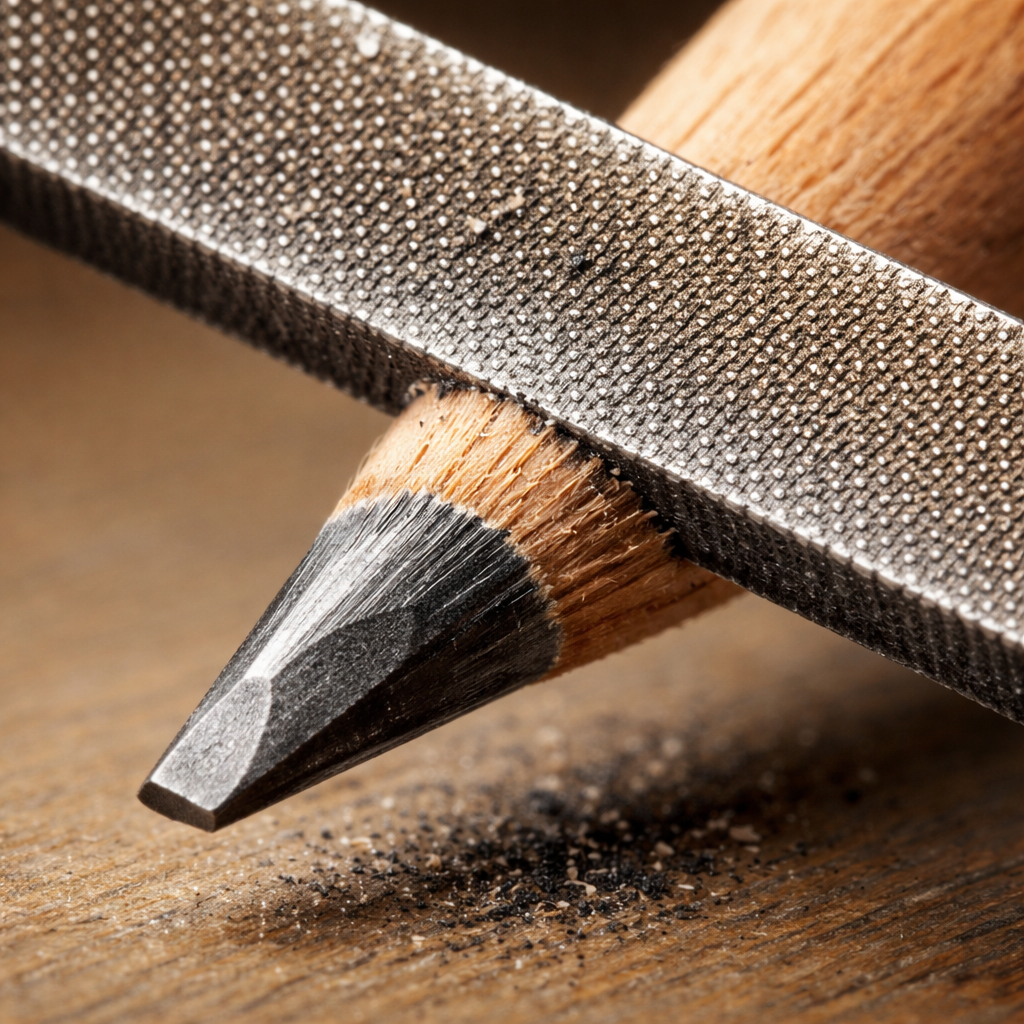
Here’s how to shape a chisel tip without a fancy tool. Use a thin metal file held at a shallow angle. Sweep lightly along one side of the lead.
Practice the shape on scrap before you move to the final piece. You’ll see how the line changes.
For more on line‑drawing tricks, see tips on line‑drawing techniques. The same site also covers how to keep a tip steady when you work fast.
Step 4: Practicing Line Weight Control
Line weight makes a drawing breathe. Thick lines pull the eye, thin lines whisper.
Control comes from pressure, speed, and tip angle. Practice each one separately.
Start with pressure. Light press gives a thin line. Press harder for a thick line. Keep the hand relaxed.
Next, try speed. Fast strokes tend to be lighter; slow strokes give more darkness.
Finally, rotate the tip. Tilt it to thin the line, hold it straight for full width.
| Exercise | Focus | Result |
|---|---|---|
| Press Test | Pressure | Learn thin vs. thick |
| Speed Sweep | Speed | Find smooth flow |
| Tip Tilt | Angle | Control edge sharpness |
Do each exercise ten times a day. You’ll notice steady improvement after a week.
Pro tip: Use a ruler to measure line width. Write down the numbers. Track progress.
Step 5: Maintaining Consistency and Caring for Your Tools
Even the best tip will fail if you neglect your tools. Simple care goes a long way.
First, clean the tip after each session. A soft brush removes graphite dust.
Second, store pencils in a case with a humidity pack. Too dry and the lead cracks; too moist and it smudges.
Third, rotate your lead holders. This spreads wear evenly and keeps the tip shape consistent.
If you notice a wobble, re‑sharpen with the same method you used before. Consistency is key.
For a quick visual on tool care, watch this short clip: how to keep pencil tips sharp. The video shows a simple cleaning routine.
Another handy guide explains how to sharpen colored pencils, which shares tips useful for graphite too: Sharpen Colored Pencils: Step‑by‑Step Guide.
Artists who sell their work often need custom merch. Articoli Promozionali MM IMMAGINE offers personalized sketchbooks and stickers, a great way to showcase your detailed line work.
Conclusion
Mastering pencil tips for detailed line work is a mix of the right hardness, a clean sharp tip, the proper shape, steady line weight, and good tool care. Follow each step, practice daily, and watch your sketches gain clarity and confidence.
Remember the research finding: every tested method gives a 6‑inch tip, so pick the tool that feels right for you. Start with the safety razor blade if you want ultra‑fine lines, or the sandboard method for repeatable shapes.
When you feel ready, try a small project, maybe a detailed portrait or a technical diagram. Apply what you learned, and you’ll see the difference immediately.
If you enjoyed this guide, explore more tips on choosing pencil hardness and other drawing tricks on our site.
FAQ
What hardness should I use for the finest lines?
For the finest lines most artists choose an HB or 2H lead. These grades stay light even with a little pressure, letting you control line weight precisely. If you need darker lines, switch to a 2B for final details.
How often should I sharpen my pencil?
Sharpen only when the tip blunts or the line becomes uneven. Over‑sharpening wastes lead. A good rule is to sharpen after every 10‑15 strokes if you’re using a soft lead, and every 20‑30 strokes with a hard lead.
Can I use a mechanical pencil for detailed line work?
Yes, a mechanical pencil gives a consistent tip without the need to sharpen. Choose a fine lead size, like 0.3 mm, and pair it with a hard grade for crisp, repeatable lines.
What is the best way to store my pencils?
Store pencils horizontally in a dry box or a case with a humidity pack. This keeps the lead from breaking and prevents the wood from warping, which can affect tip shape.
How do I fix a broken tip without a new pencil?
Use a tiny lead pointer to re‑shape the broken tip. Gently twist the broken piece back into the wood, then trim with the pointer. This works well for short breaks.
Should I use a chisel tip for cross‑hatching?
A chisel tip is great for cross‑hatching because you can hold it at different angles to create varied line widths. Start with a light angle for thin strokes, then tilt more for bold lines.
