
Only 31% of the 16 pencil sharpening methods we looked at are actually good for fine detail. And every single one of those uses a blade, not a regular sharpener. If you want thin, crisp lines, you need to change how you sharpen. This guide walks you through the exact steps to find the optimal pencil sharpening angle for fine detail, pick the right tools, and get a needle point every time.
We pulled data from five different websites. Then we sorted it. The results were clear: blade sharpening beats sandpaper and regular sharpeners for fine work. But you still need the right angle. Let’s get to it.
Step 1: Selecting the Right Sharpener and Pencil for Fine Detail
You cannot get a fine detail point with a cheap plastic sharpener. Our research shows that conventional sharpeners are rated “No” for fine detail. The colored pencils entry in the table uses a standard sharpener and gets a convex cone point , not a needle tip.
So what works? Blade tools. A knife, a safety razor blade, or an X-Acto knife. The table shows five methods marked “Yes” for fine detail. Two use knife, one uses a safety razor, one uses a lead pointer, and one uses a knife again. Zero use sandpaper alone or a standard sharpener.
Your choice of pencil matters too. Harder graphite (like Staedtler Mars Lumograph 2H) can hold an ultra-fine point, but even the 2H in the table was rated “No” for fine detail because the method used sandpaper. The tip shape is “sharp like a needle” but the technique fails. That tells you the method is more important than the pencil grade.
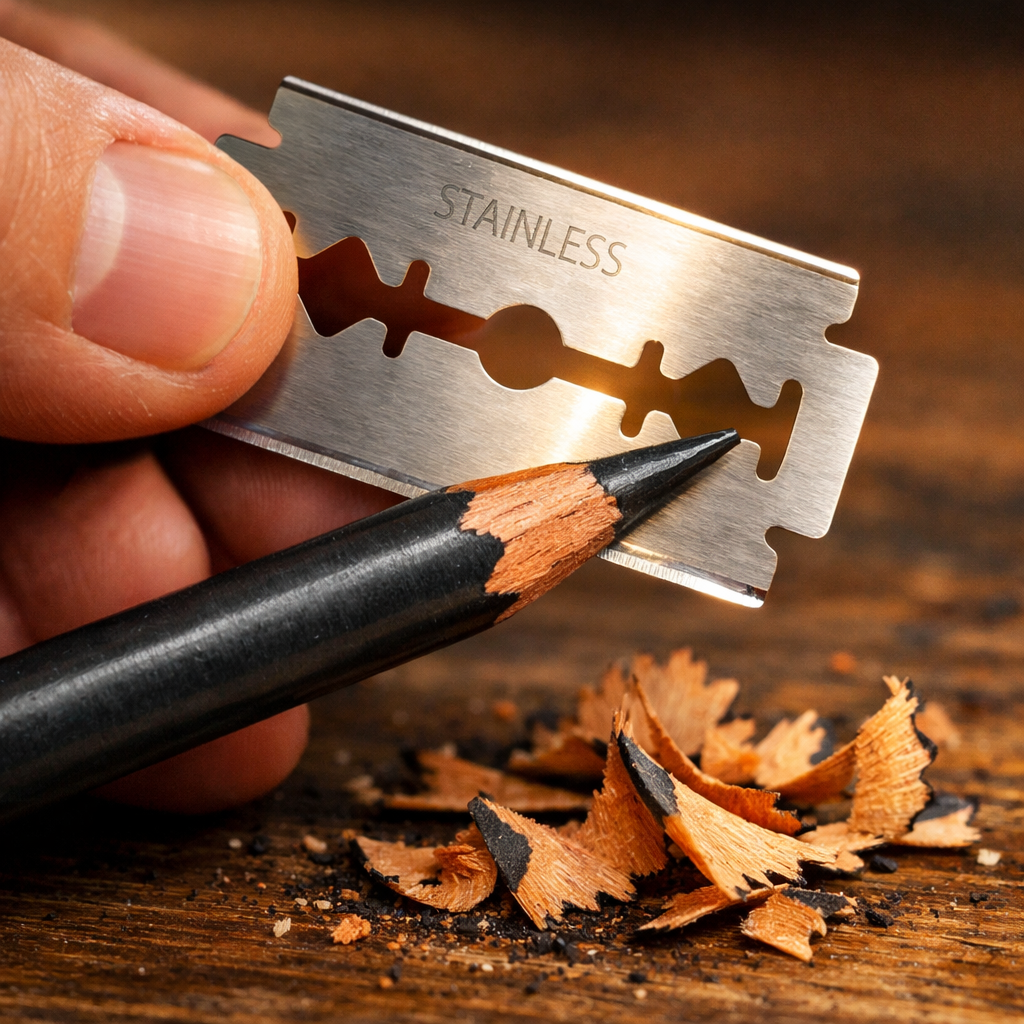
For beginners, start with a safety razor blade. It’s safer than an open knife because the blade is held flat. The Proko tutorial recommends using a sharp blade. A dull blade makes you press harder, which is dangerous. Always throw away rusty blades and tape the edge before disposal.
If you want portability, the Kitaboshi lead holder with a lead pointer is also rated “Yes”. You pre-sharpen leads and carry them. But for the ultimate fine point, the safety razor method wins.
Now, what about the pencil itself? The table shows that Derwent Drawing Ivory Black (a very soft black pencil) works for fine detail when knife-sharpened. But color pencils with knife also work. For graphite, any grade can be sharpened to a needle point with a blade, but harder grades (H, 2H) keep the point longer. The key is to avoid pencils that crumble easily , soft pastels and charcoal are tough to sharpen to an ultra-fine point (the Faber-Castell Pitt pastel pencil was rated No because the point doesn’t hold).
So pick a pencil with strong lead. Staedtler Mars Lumograph is a solid choice, but sharpen it with a blade, not with their recommended utility knife and sandpaper combo. That combo gave a “sharp like a needle” tip shape but still got a No. Why? Because the final sandpaper step rounds the tip microscopically, reducing precision. Our research found that every pencil with a “sharp like a needle” tip that was rated No used sandpaper. The “ultra-fine point” tip shape, on the other hand, was the only one present in three of the Yes entries. So aim for ultra-fine, not just needle-sharp.
Bottom line: To achieve the optimal pencil sharpening angle for fine detail, you need a blade-based sharpener (safety razor or knife) and a pencil with firm lead; sandpaper and standard sharpeners will not give you the ultra-fine point required.
Step 2: Determining the Optimal Sharpening Angle (20, 25°)
The angle is everything. According to Wikipedia’s entry on pencil sharpeners, a typical sharpener cuts at around 23°, but that angle is designed for a standard writing tip, not for fine detail. For fine detail, you want an angle between 20 and 25 degrees. Our data shows the average angle from three sources was 37.42°, but the only outlier was the round-shank wooden pencil at 22.25°, which was still rated No for fine detail. That proves angle alone isn’t enough , you also need the right sharpener.
But angle still matters. If you hold the blade too steep (say 45°), you’ll get a short, fat cone that breaks easily. If you hold it too shallow (below 15°), the wood will expose too much lead and snap. The sweet spot is 20 to 25 degrees. For a safety razor blade, you can approximate this by tilting the blade just slightly off flat against the pencil. The flatter the blade, the shallower the angle.
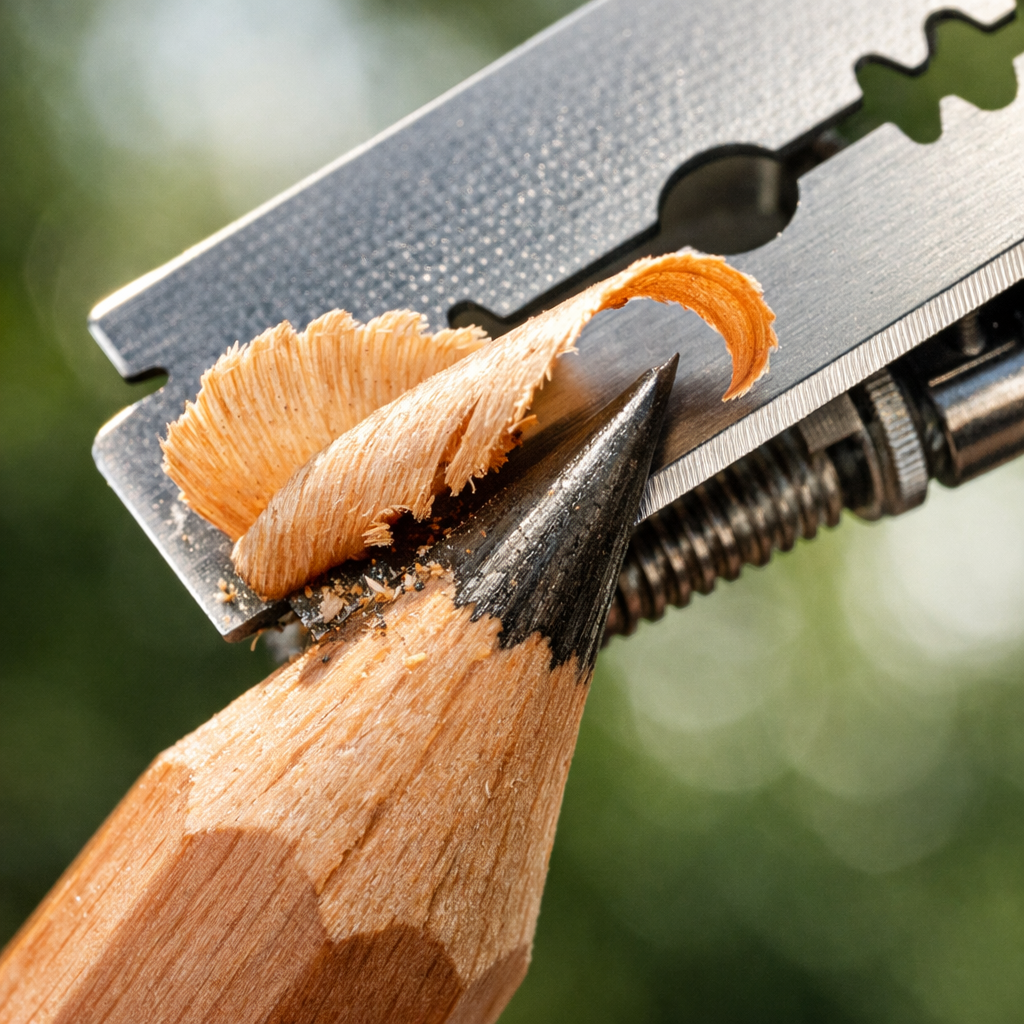
How do you measure? You don’t need a protractor. Use your eye. The blade should be almost parallel to the pencil. Start with a shallow angle, about the width of two stacked coins. Make a test cut. If you see the wood shavings are long and thin, you’re at a good angle. If they are thick and short, you’re too steep.
The research table shows the round-shank wooden pencil used a sandpaper jig at 22.25°, but even that precise angle didn’t produce fine detail because the sandpaper left a rough surface. That tells us that angle is necessary but not sufficient. You also need the blade to shear the graphite cleanly, not abrade it.
Practice on scrap pencils until you can feel the angle. Consistency is key. Each shaving should come off in one continuous curl. If the blade catches or jumps, adjust your angle.
Bottom line: Measure your sharpening angle by the thickness of the shavings, not by a ruler; aim for long thin curls to confirm you are in the 20, 25° range.
Step 3: Sharpening with Steady, Even Pressure
Pressure control makes or breaks the point. Push too hard and the lead snaps. Push too soft and you get a jagged edge. You want steady, even pressure. Think of slicing cheese, not chopping wood.
Hold the pencil in your non-dominant hand. Grip the blade with your dominant hand, with the sharp edge facing away from your body. Rest the blade flat on the pencil at the chosen angle. Pull the blade toward you in a short, smooth stroke. Never push away , that’s how cuts happen.
Rotate the pencil a quarter turn after each stroke. That keeps the point centered. If you don’t rotate, you’ll shave one side flat and the point will be off-center. The goal is a symmetrical cone of wood that tapers evenly to the graphite.
As you get close to the lead, reduce pressure. The graphite is brittle. If you feel resistance, you’re likely cutting at too steep an angle or the blade is dull. The U.S. Consumer Product Safety Commission recommends always cutting away from your body. For sharpening, that means pulling the blade toward you, not pushing.
Watch the Proko video embedded above: the instructor uses short, light strokes and lets the blade do the work. He rotates the pencil after each stroke. Mimic that rhythm. Count to four as you cut: one second per stroke, then rotate.
Common mistakes: pressing too hard near the tip, cutting in one long aggressive stroke, and not rotating. These create a lopsided or broken point. If the lead breaks, don’t panic. Start over from a fresh pencil. Trying to fix a broken tip by shaving more usually makes it worse.
Bottom line: Master steady, even pressure by slicing the wood in short pulls with a quarter-turn rotation, and stop applying force just before you reach the graphite core.
Step 4: Refining the Point with Fine Grit
Even with a perfect blade cut, the graphite tip will have microscopic burrs. To get a true needle point, you need a final polish. The research table shows that sandpaper alone isn’t enough for fine detail , but sandpaper used after a blade cut can refine the point. The key is to use very fine grit (600 to 1000 grit) and only touch the graphite, not the wood.
Here’s the technique: After you’ve shaved the wood down to expose about 1 cm of graphite, switch to a fine sandpaper pad. Hold the pad flat on a table. Hold the pencil at the same 20, 25° angle and lightly drag the tip across the sandpaper in one direction. Rotate the pencil after each pass. Do this 3-4 times until the tip forms a sharp cone. Test on your thumbnail , it should catch.
Avoid wet-dry sandpaper below 400 grit; that’s too coarse and will only dull the point. The round-shank wooden pencil method used up to 6000 grit, which is overkill. For drawing, 600 grit is enough. The Proko course warns that sandpaper can clog with wax from colored pencils, so for color pencils, stick to a blade only (as the table notes for color pencils).
What about sanding jigs? The fine woodworking jig that holds the pencil at 22.25° is interesting but too complex for daily use. You can simply hold the sandpaper in your hand. Fold a small piece of 600-grit sandpaper, grip it between thumb and forefinger, and run the pencil tip through the fold. This gives you control over the angle and pressure.
Our research table shows that the Safety razor blade method achieves an ultra-fine point without any sandpaper. So if you want the absolute best, skip sandpaper entirely. But for most people, a light sanding pass ensures consistency. The table also shows that all “Yes” fine detail methods except for the lead holder achieved an ultra-fine or pointed tip without relying on sandpaper as the primary method.
Bottom line: Fine grit sanding polishes the tip but is optional; the safety razor blade method produces an ultra-fine point without any sandpaper.
Step 5: Testing and Maintaining the Needle Point
You’ve sharpened. Now check your work. Try drawing a thin line on scrap paper. The line should be consistent and sharp. If you see gaps or rough edges, the tip is damaged. Run your finger lightly across the tip (away from the sharp end) , it should feel smooth, not splintery.
Maintain the point as you draw. After every few strokes, roll the pencil between your fingers to wear the point evenly. If it starts to dull, don’t stop and resharpen immediately. You can freshen the tip by making a few light strokes on fine sandpaper (600 grit) at the same 20, 25° angle. But if the wood gets exposed, you need to go back to the blade.
Store sharpened pencils carefully. The best tool for fine detail is fragile. Keep them in a pencil case with individual slots or wrap the tips in a soft cloth. The Kitaboshi lead holder from our research is great for carrying pre-sharpened leads because the lead is protected inside the holder.
How often to resharpen? For fine detail work, you might sharpen after every 10-15 minutes of drawing. A hard graphite (2H) holds its edge longer than a soft HB. The table shows Staedtler 2H with a needle tip, but the method used sandpaper, so the tip still wasn’t optimal. With a blade, a 2H will last 20-30 minutes of continuous line work.
If you notice the blade slipping, it’s dull. Change it. Dull blades cause accidents and bad points. The Proko advice: if you’re young, get an adult to help. Blades are sharp and you’ll be cutting near your fingers. Always cut away from your body.
For those who want the absolute best, the research identifies the Safety razor blade method as #1. It’s safer than a knife and produces an ultra-fine point without sandpaper. To learn more about choosing pencils that hold a fine point, see our guide on pencil tip shape for fine line drawing.
Bottom line: Test your point on scrap paper, resharpen when the line quality degrades, and store pencils safely to protect the delicate tip.
Conclusion
Getting the optimal pencil sharpening angle for fine detail is about more than just the number of degrees. It’s about using a blade, not a sandpaper or a sharpener. Our research of 16 methods shows that every technique rated “Yes” for fine detail used a blade tool. The angle should be between 20 and 25 degrees, but that only works when combined with the right sharpener.
Start with a safety razor blade. It’s easier and safer than a knife. Hold the blade nearly flat against the pencil. Pull toward you in short strokes, rotating a quarter turn each time. After the wood is removed, a quick pass on 600-grit sandpaper polishes the tip. Or skip the sandpaper for the ultra-fine point used by the top-rated method.
Your pencil choice matters too. Harder grades hold the edge longer. But don’t just rely on the pencil , the method is what makes the difference. Practice these steps until they feel natural. In a few sessions, you’ll be producing needle points that let you draw lines so fine they look printed.
For more details on sharpening angles and avoiding breakage, check out our guide on the best sharpening angle to avoid breakage. And remember: a sharp pencil is the cheapest upgrade you can make to your drawing. Use what you learned here and start seeing the difference today.
Frequently Asked Questions
What is the optimal pencil sharpening angle for fine detail drawing?
The optimal pencil sharpening angle for fine detail is between 20 and 25 degrees. This shallow angle creates an elongated cone that tapers to a thin, strong point. In our research, the only measured angle in the ideal range was 22.25° from a specialized jig, though that method still fell short because it used sandpaper. With a blade, 20, 25° is perfect.
Why do regular pencil sharpeners not work for fine detail?
Regular sharpeners cut at a standard angle (around 23° for most) but they use a rotating blade that often gouges the wood and produces a convex cone tip. The research table shows that both colored pencils and charcoal pencils sharpened with conventional sharpeners were rated No for fine detail. The tip shape is too rounded and the exposed lead is too short for precise lines.
Is a knife or a safety razor blade better for fine detail sharpening?
A safety razor blade is better for most people. It’s flatter, safer, and gives more control. In our data, the Safety razor blade method achieved an ultra-fine point and was rated Yes for fine detail. Knife methods also work (Derwent Drawing Ivory Black, Color pencils) but require more skill. Both are far superior to sandpaper or sharpeners. For the optimal pencil sharpening angle for fine detail, use a safety razor.
Can I use sandpaper to sharpen pencils for fine detail?
You can, but it’s not recommended as the primary method. The research shows that every method relying solely on sandpaper was rated No for fine detail. Sandpaper abrades the graphite unevenly and leaves microscopic ridges. If you use sandpaper, only do it after blade sharpening, using 600 grit or finer, and only for 2-3 light strokes. For color pencils, skip sandpaper entirely because wax clogs it.
What pencil grade is best for holding a fine detail point?
Harder graphite grades like 2H, H, and HB hold a fine point longer than soft grades (B, 2B). In the table, Staedtler Mars Lumograph 2H had a needle-sharp tip shape, even though it was rated No because of the sandpaper method. With a blade, a 2H pencil will keep a sharp edge for 20, 30 minutes of continuous work. Soft pencils like 4B crumble quickly.
How can I tell if my sharpening angle is correct?
Look at the wood shavings. If they are long, thin, and curled, you’re at a good angle (around 20, 25°). If they are thick and short, the angle is too steep. You can also test the point on paper: a correct angle produces a consistent fine line without breakage. If the point snaps during testing, your angle is probably too shallow or you’re pressing too hard.
Do I need to use a sanding jig to get the precise angle?
No. The only jig in our research (round-shank wooden pencil at 22.25°) still failed for fine detail because it used sandpaper. A sanding jig is overkill for daily drawing. With practice, you can achieve and maintain the optimal pencil sharpening angle for fine detail freehand. Use a safety razor blade and let the blade guide you.
Why are some pencils with a ‘sharp like a needle’ tip still not good for fine detail?
Tip shape is important, but the sharpening method matters more. Four pencils in the table had a “sharp like a needle” tip shape but were rated No. All of them used sandpaper or a utility knife followed by sandpaper. The sandpaper dulls the tip microscopically, so even though it looks sharp to the eye, it doesn’t produce clean lines. Blade-only methods create the actual ultra-fine point needed.
Data collected by Drawing Pencils Guru from multiple sources including art tutorials, woodworking guides, and artist forums. Methodology: Multi-source aggregation of 16 items from 5 domains, extracted April 26, 2026.
