
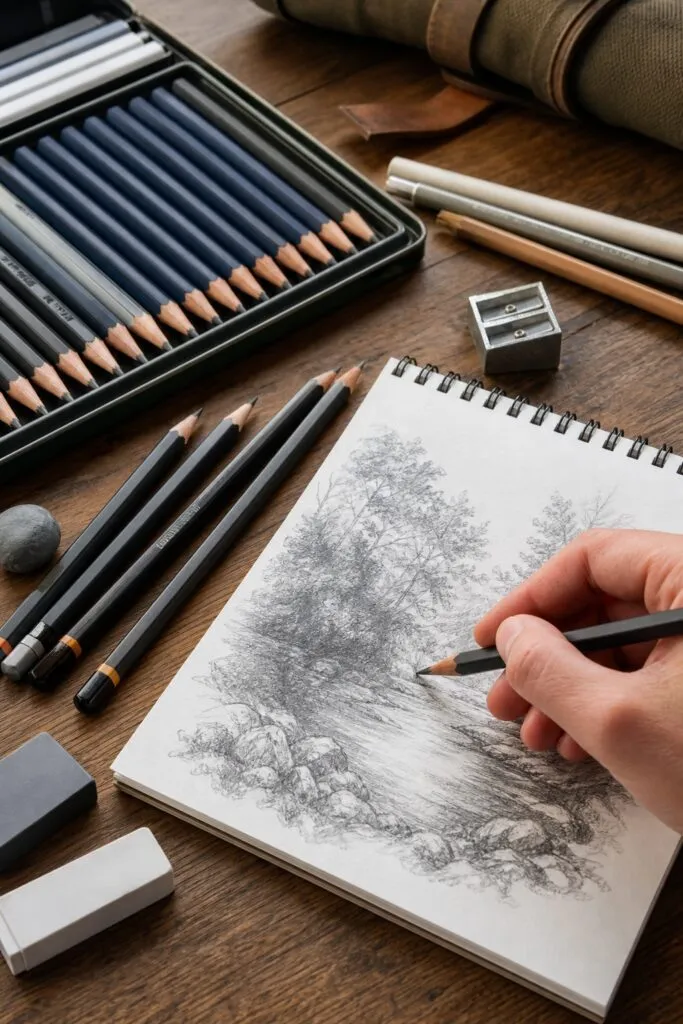
Hey there, fellow sketcher! Ever looked at a pencil with a jumble of letters and numbers and wondered what they mean? You’re not alone. Those tiny stamps , 2H, HB, 4B, 8B , hold the secret to getting the right tone, texture, and control in your drawings. In this guide, you’ll learn how the graphite grading scale works, which pencils to buy first, how to shade smoothly, and how to care for your tools. By the end, you’ll know exactly what to pick up for your next sketch.
Step 1: Understand the Graphite Pencil Grading Scale
Graphite pencils are made from a mix of graphite and clay. More clay means a harder pencil that makes lighter marks. More graphite means a softer, darker pencil. The scale runs from 9H (hardest, lightest) to 9B (softest, darkest). HB sits right in the middle , it’s the classic school pencil.
The letter H stands for hardness. The number tells you how hard. So a 2H is harder than an H, and a 6H is even lighter. These pencils are great for light outlines and technical work because they leave a faint line that’s easy to erase. But press too hard and you can scratch your paper.
The letter B stands for blackness. A 2B is softer and darker than a B, and a 6B is darker still. Soft pencils lay down a thick, dark line that’s perfect for shading and bold strokes. They smudge easily, which can be a pro or a con depending on what you want.
The letter F means fine point. It’s close to HB but can keep a sharper edge. You don’t see F pencils as often, but they’re useful for detail work.
According to Wikipedia’s article on pencil grading, there’s no universal industry standard , one brand’s 2B might be a little different from another’s. That’s why it’s smart to test a few brands.
Step 2: Choose the Right Pencil Hardness for Your Sketching Style
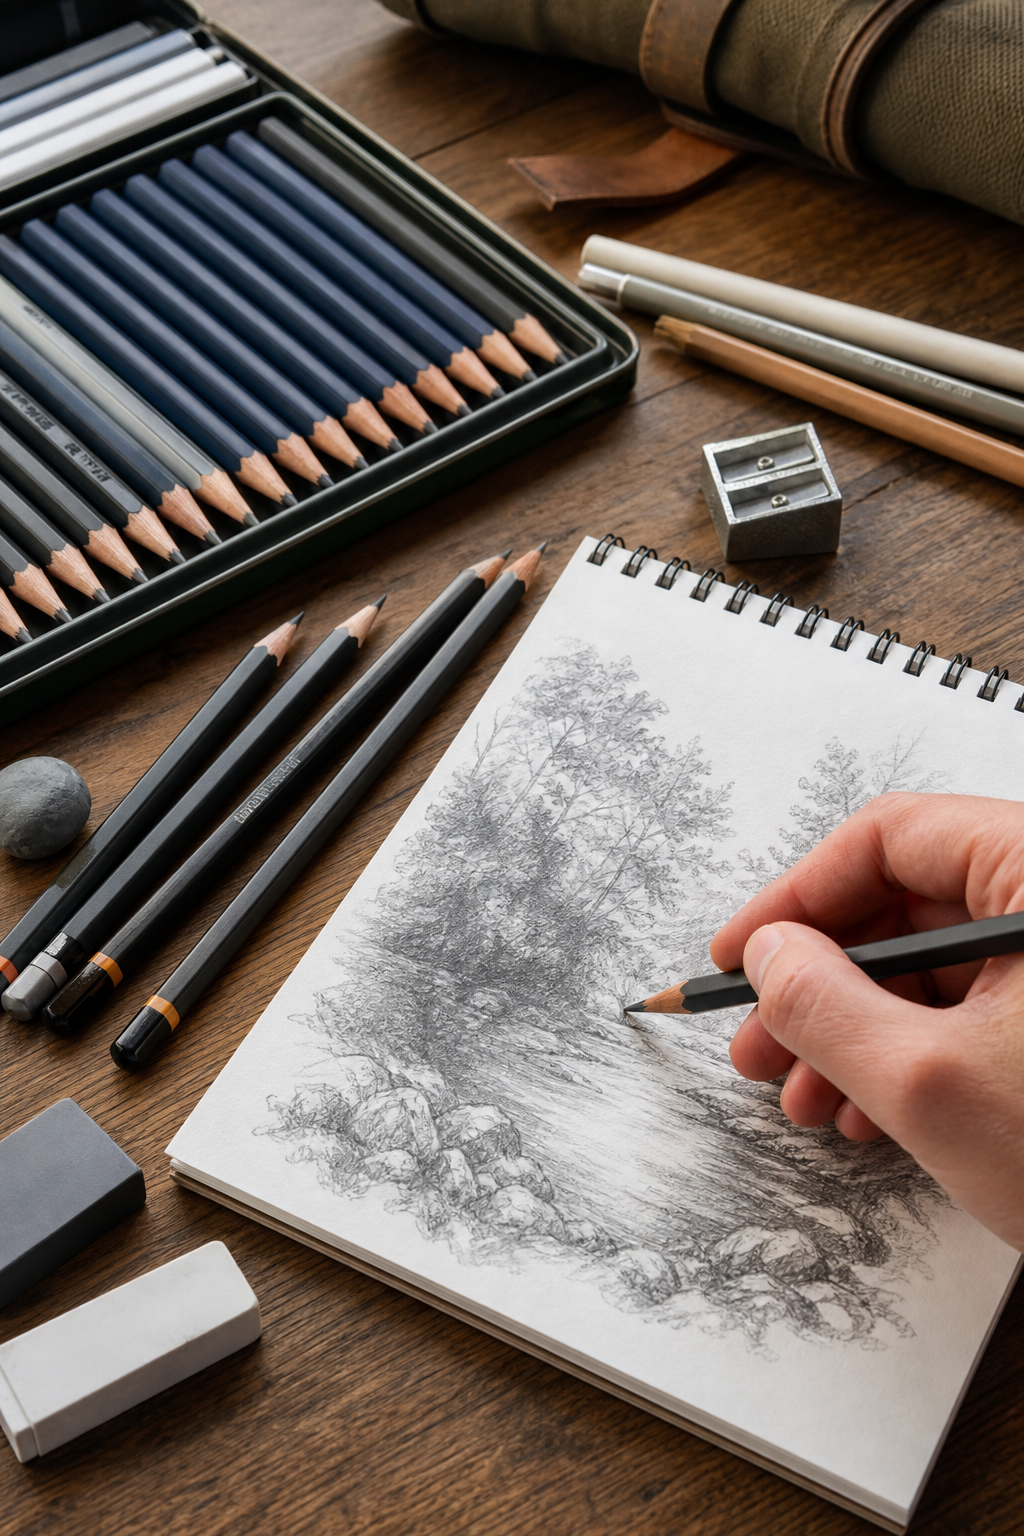
Your sketching style decides which pencils you’ll reach for most. If you like tight, detailed line work, you’ll want harder pencils in the H range. If you love rich shadows and broad strokes, B pencils are your friends.
Most of the time, artists stick to the B side. In the YouTube video by Dan Beardshaw, he shows that a set of 2H to 8B is very common, but he personally uses the darker ones the most. Light pencils are mainly for initial sketches that you’ll later go over.
For portrait drawing, softer pencils (2B to 6B) let you build up skin tones and shadows smoothly. For architectural sketches, harder pencils (H to 2H) give you precise, crisp lines that don’t smudge.
One thing many beginners miss: you don’t need every single grade. As Kevin from Drawing and Coloring points out in his video, just three pencils , an H, a 2B, and a 6B , can cover a full range of values if you vary your pressure. That’s the sweet spot for starting out.
The research from some art supply guides also notes that softer pencils wear down faster and need more sharpening. So if you’re doing a lot of heavy shading, keep a sharpener handy.
A guide on pencil lead hardness explains that the clay-to-graphite ratio is the key variable: more clay, harder and lighter; more graphite, softer and darker.
Step 3: Build Your Starter Pencil Set: Recommendations for Beginners
You don’t need a giant set of 20 pencils. A smart starter set has just four or five grades that let you explore light and dark. Based on expert recommendations, here’s what to buy first.
As for brands, several names come up again and again. One popular brand’s 9000 series is a favorite for its smooth lead and consistent quality. Another brand’s pencils feel a bit harder and stay sharper longer, great for precise work. A third brand offers softer and darker pencils, but that can make light shading tricky for beginners. Yet another brand also makes excellent pencils with a slightly waxy feel.
In a review on The Pencil Room Online, artist Anna Bregman explains that she prefers a leading brand’s 9000 series for students because they’re smooth and offer a good range of values without being too expensive.
Start with a set that includes 2H, HB, 2B, 4B, and 6B. That’s enough to practice shading, blending, and line work. You can always add more grades later.
Step 4: Master Shading and Value Transitions with Different Pencil Grades
Shading isn’t just about pressing harder. It’s about choosing the right pencil for the value you want. A smooth transition from light to dark uses multiple grades to avoid harsh lines.
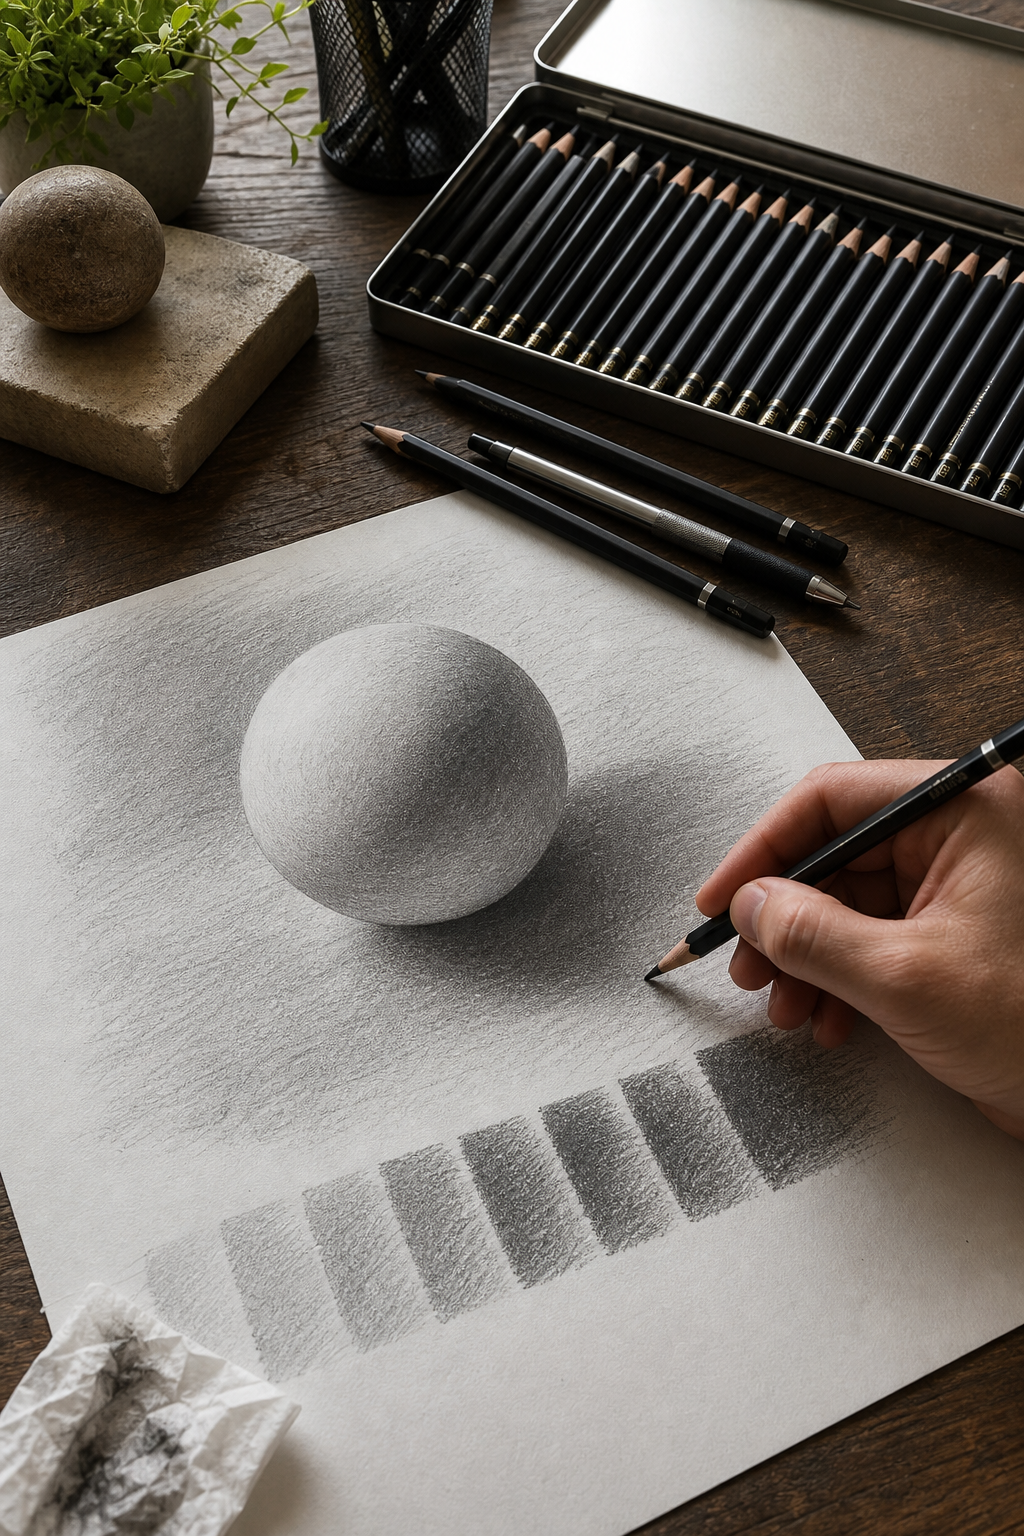
Start with your lightest pencil (2H or HB) for the base shape and light areas. Switch to 2B for midtones, 4B for shadows, and 6B for the deepest darks. Blend with a blending stump or tissue, but don’t overdo it , too much blending makes everything look muddy.
The key is pressure control. In a YouTube tutorial, an expert demonstrates shading a sphere: you need a full range from white to black. They recommend practicing by drawing a long rectangle and filling it with a gradient from dark to light using just one pencil, then trying with three.
Paper texture also matters. On smooth paper, softer pencils create even, dark tones. On rougher paper, the tooth grabs the graphite and can create a grainy effect. Experiment on different sketchbooks.
Another technique is hatching and cross-hatching , using parallel lines to build tone. Harder pencils give finer lines, while softer ones produce thicker, darker strokes. Combining both in one drawing adds depth.
Step 5: Compare Top Pencil Brands: Performance and Value
Not all pencil brands are created equal. Some are harder, some softer, some more waxy. Here’s how some top options stack up.
A Leading Premium Line: The gold standard for many artists. They have a smooth, consistent feel and a broad range of grades. They sharpen well without breaking. A bit pricier than basic student pencils but worth it.
Another Popular Workhorse: Slightly harder than the first. They hold a point longer and smudge less. Many engineers and architects prefer them for crisp lines. The graphite feels less waxy.
A Softer Alternative: Softer and darker. They produce richer blacks, which is great for dramatic portraits. But they wear down faster and smudge more. Not ideal if you need a very light touch.
A Versatile All-Rounder: A solid all-rounder. They have a slight waxiness that some love for blending. They’re widely available and well-priced.
In a blog comparison from 2014 (still relevant today), botanical artist Dianne Sutherland found that while one leading brand and another were similar, she preferred the first for tonal work because the range within each grade was greater. For sketching, she liked the second better.
If you’re on a budget, a budget-friendly series from a premium brand or local brands offer decent quality for learning. The key is to test a few brands to see which match your hand pressure and desired texture.
Step 6: Maintenance Tips, Eraser Choices, and Mechanical vs. Wooden Pencils
Taking care of your pencils keeps them working well. Soft pencils need frequent sharpening. Using a craft knife instead of a plastic sharpener gives you a longer point and less breakage. But be careful , a dull blade can snap the lead.
Keep several pencils sharpened at once. When you’re in the flow, you don’t want to stop and sharpen. Just swap out your blunt pencil for a ready one.
Erasers are tools too, not just for fixing mistakes. Kneaded erasers are perfect for lifting graphite to create highlights. They never wear out , just knead them to a clean spot. Polymer erasers (like the white ones) erase cleanly without damaging paper. For fine detail, a precision eraser with a narrow tip is excellent for creating thin white lines.
Mechanical pencils (0.5mm or 0.7mm) are great for consistent line width and never need sharpening. They’re ideal for technical sketches or when you want a uniform line. But they can’t create the broad strokes of a soft wooden pencil. Many artists use both: a mechanical HB for outlines and a 4B or 6B wooden pencil for shading.
According to a guide on erasers, using a kneaded eraser first to lift excess graphite prevents smearing when you use a polymer eraser afterward.
Store pencils in a box or roll to protect the tips. Don’t let them roll off the table , dropping them breaks the lead inside.
Frequently Asked Questions
What is the best pencil type for sketching for beginners?
For beginners, a set of graphite pencils in HB, 2B, 4B, and 6B is a great start. These cover light outlines, medium shading, and dark shadows. You can add 2H for very light lines later. Many reliable pencil sets include these grades.
Are mechanical pencils good for sketching?
Mechanical pencils are fine for sketching, but they have limits. They give a consistent line width, which is great for technical drawings or fine details. They can’t produce the broad, soft shading of a wooden pencil. Many artists use them for initial lines and then switch to graphite pencils for shading.
How many pencils do I really need for sketching?
You only need three to five pencils to create a full range of values. Start with H, HB, 2B, 4B, and 6B. With practice, you can achieve almost any tone with just an HB, 2B, and 6B by adjusting pressure. More pencils simply give you finer control.
What do the numbers and letters on pencils mean?
H stands for hardness, B for blackness. The higher the number before H, the harder and lighter the pencil. The higher the number before B, the softer and darker. HB is in the middle. F means fine point and is close to HB.
Should I use charcoal pencils instead of graphite for sketching?
Charcoal pencils are softer and more blendable than graphite, making them ideal for large dark areas and dramatic contrasts. However, they’re messier and harder to erase. Graphite is better for precise lines and light values. Many artists use both: graphite for initial outlines and charcoal for deep shadows.
What brand of pencil is best for detailed pencil sketching?
For detailed work, pencils that hold a sharp point well and have a firm, consistent lead are excellent choices. Many professional-grade pencils meet these criteria and are ideal for intricate details.
How do I stop my pencil drawings from smudging?
Use a piece of scrap paper under your drawing hand to avoid contact with the graphite. Apply a fixative spray when the drawing is finished. Harder pencils smudge less, so use H or HB for areas that shouldn’t smear. Alternatively, use a blending stump to intentionally blend and then seal.
Can I use regular school pencils for sketching?
Yes, you can start with a regular HB school pencil. But it limits your range. For darker tones you have to press hard, which can indent the paper. Artist-quality pencils give you softer, darker marks with light pressure, so your drawings look cleaner and more professional.
Conclusion
Choosing the right pencils for sketching is the first step to getting the results you want. Start by understanding the grading scale , H for light, B for dark. Pick a small set of 4-5 pencils (like HB, 2B, 4B, 6B, plus maybe a 2H). Experiment with a few different brands to see what feels best in your hand. Practice shading and pressure control, and don’t forget to keep your pencils sharp and your erasers clean. Mechanical pencils have their place, but wooden pencils give you more variety. As you grow, you’ll develop your own preferences. The most important thing is to start drawing. Grab a pencil and sketch something today. For more help picking the perfect pencil set for your style, check out our Best Pencils for Sketching in 2026 guide.
