
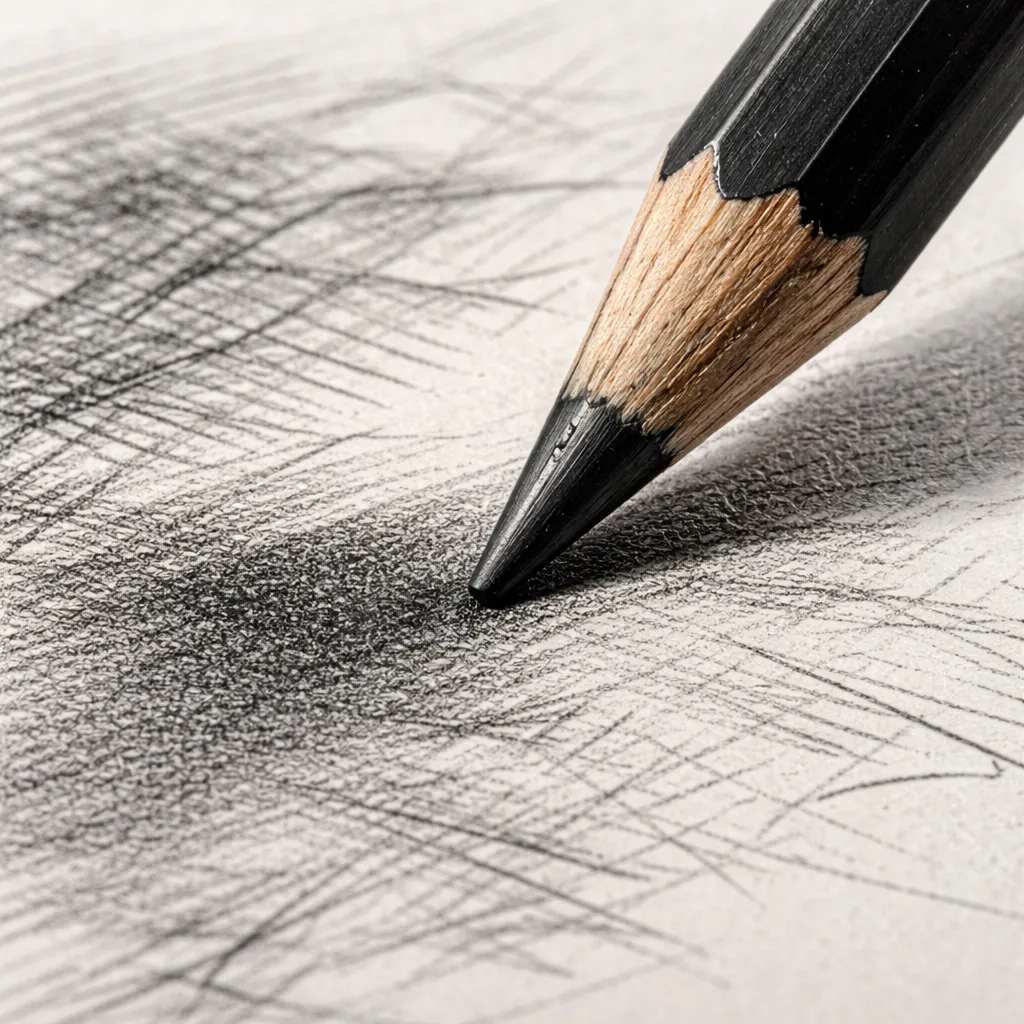
Looking for the perfect pencil to bring your comic panels to life? You’re not alone. Artists chase the right tool for years, only to find that a simple switch can boost confidence and speed.
In this guide you’ll learn which pencils rank highest, how to match lead hardness to your style, and a clear workflow that takes you from sketch to ink without a hitch.
Below is the data that shaped our picks.
Understanding Comic Strip Shading Basics
Shading makes a comic panel feel real. Light hits a shape, dark spots show depth. That simple idea drives the whole look.
When you pick a pencil you’re choosing how easy it is to move from light to dark. The research shows that non‑photo‑blue lead from Prismacolor glides like wax, making it a top pick for loose sketches. That counters the old myth that blue leads are only for light guidelines.
Hardness matters. H‑grades give light lines, B‑grades give dark lines. Most artists start with a 2H for layout, then switch to HB for the main sketch, and finish with a 4B or 6B for deep shadows. This progression lets you build value without smudging your page.
Here’s a quick way to test a pencil for shading:
- Draw a 2‑inch square.
- Apply light pressure on the left side, medium in the middle, heavy on the right.
- Look at the value range. If the transition feels smooth, the pencil blends well.
Why this matters for comic strip drawing is simple: you often have to shade many tiny panels quickly. A pencil that blends without harsh edges saves time.
One tip: use a blending stump after you lay down the darkest values. It softens edges and keeps the line work clean for the inker.
Another tip: keep a soft eraser handy. A kneaded eraser can lift graphite without tearing the paper, letting you adjust values on the fly.
Remember the key finding that only Prismacolor’s non‑photo‑blue lead is praised for waxy blendability while still being marketed for loose sketches. That makes it a solid choice for the first pass of any comic panel.
For more on why artists love non‑photo‑blue, . It explains how the blue stays invisible in scans, letting you keep sketch lines without extra erasing.
Top Pick #1: Staedtler Mars Lumograph 100 , The All‑Rounder
Staedtler’s Mars Lumograph 100 is a wood‑cased pencil that balances hardness and darkness. It sits in the middle of the graphite scale, giving you a smooth line that’s not too soft and not too hard.
Artists love it for layout work because the 2H version stays light on the page, while the HB version offers a reliable mid‑tone for character outlines.
Here’s why it’s great for comic strip drawing:
- Consistent lead density means you won’t get surprise break‑offs.
- Durable wood body survives the rough handling of a busy studio.
- Easy to sharpen to a fine point, which helps with tiny panel details.
Imagine you’re drawing a cityscape panel. You start with a 2H Lumograph to block out buildings, then switch to HB for street details, and finish with a 4B for deep shadows. The same brand gives you all three grades, so you never need to switch pencils mid‑panel.
One practical tip: use a rotary sharpener for a perfectly round tip. That tip lets you create consistent line weight, which is key when you ink later.
Another tip: store your Lumographs in a zip‑top case to keep the wood from drying out. Dry wood can split, ruining the lead.
Pros:
- Wide hardness range in one brand.
- Smooth, even laydown.
- Good for both sketch and shading.
Cons:
- Not as soft as a dedicated 6B for heavy shadows.
- Wood can chip if you press too hard.
For a deeper dive on the versatility of lead holders, check out theBest Pencils for Drawing Metal Textures: A 2026 Guide. While the topic is metal textures, the discussion of lead holder ergonomics applies to comic work too.
Top Pick #2: Faber‑Castell 9000 , For Fine Detail
Faber‑Castell’s 9000 line is made from finely ground graphite and clay, giving a silky feel that never feels scratchy. The 5B grade is especially good for crisp, dark lines that pop in a panel.
The brand’s secure‑all (SV) bonding means the lead resists breaking, even when you push hard for thick strokes. That reliability is a big win for artists who need steady lines over many pages.
Here’s how to get the most out of a 9000 pencil:
- Use a light hand for initial outlines; the lead will stay sharp.
- When you need a bold line, apply a little more pressure , the lead won’t crumble.
- Blend with a soft cloth instead of a stump for a smoother transition in dark areas.
One comic artist shared that the 9000’s 5B grade lets them draw deep shadows in a single pass, saving time during tight deadlines.
Pros:
- Super smooth laydown.
- Break‑resistant.
- Works well with both paper and vellum.
Cons:
- Higher price per pack.
- Limited hardness range in a single pack (mostly soft grades).
You can see the product details on Amazon. The page notes a 4.4‑star rating, confirming many artists trust its performance.
For a visual look at the pencil in action, watch the video below.
Top Pick #3: Derwent Graphic , Dark, Rich Tones
Derwent Graphic pencils are known for their deep, rich blacks. The 6B and 8B grades give you the dark values needed for dramatic comic panels.
These pencils have a slightly oilier core, which means they lay down a thick line with less effort. That can be handy when you want strong contrast without pressing hard.
Here’s a step‑by‑step to use Derwent Graphic for shading:
- Start with an HB for the basic outline.
- Switch to 4B for mid‑tone shading on clothing.
- Finish with 6B or 8B for deep shadows under hats or in night scenes.
Why the oilier lead matters: it sticks to the paper a bit longer, so you can build up tone with fewer strokes. That speeds up the sketch phase.
Pros:
- Very dark tones.
- Smooth, creamy feel.
- Works well on textured paper.
Cons:
- Can be a bit greasy on very smooth paper, causing smearing.
- Higher break‑rate if you try to use it for fine lines.
Many artists pair Derwent Graphic with a hard‑lead HB for initial layouts, then move to the dark grades for final shading.
Choosing the Right Lead Hardness , Quick Reference Table
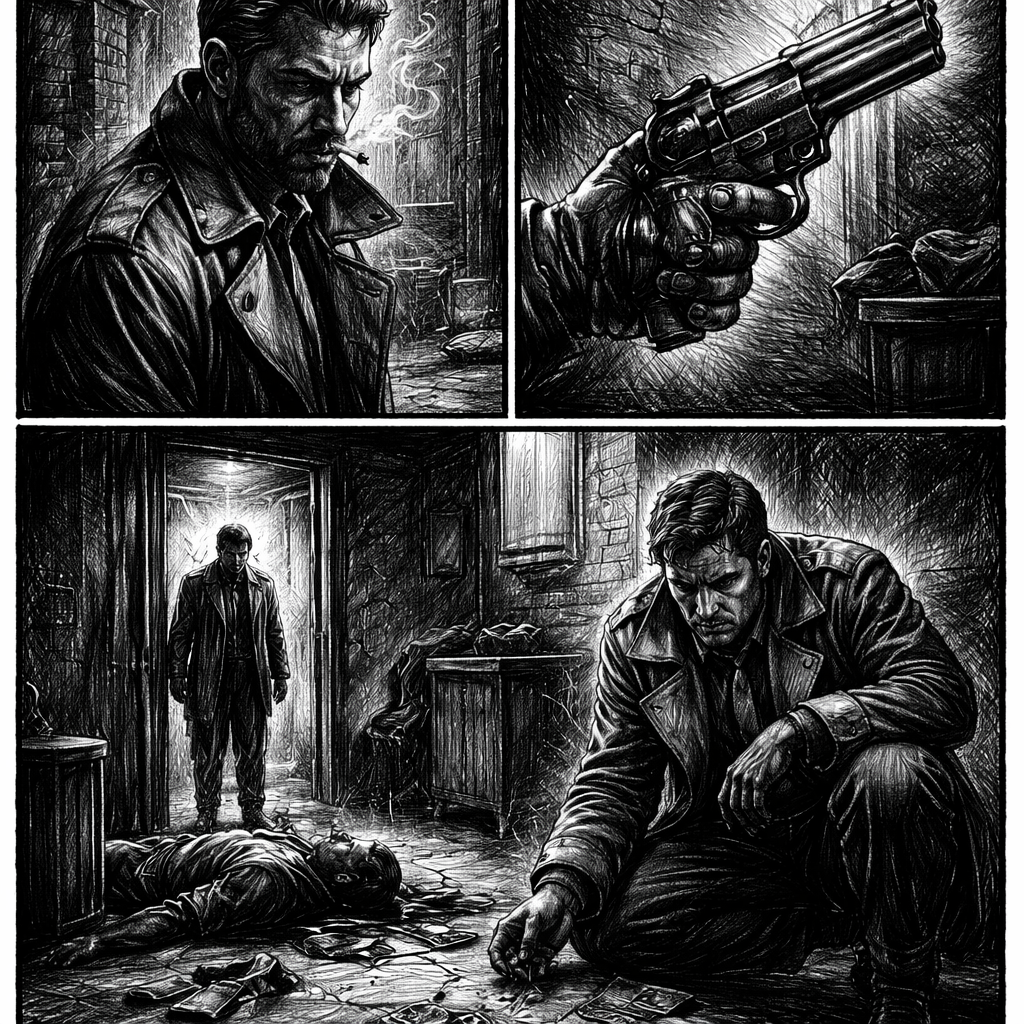
Below is a handy table that shows which hardness works best for common comic tasks. It’s not a product list , it’s a workflow guide.
Remember the key finding that only the non‑photo‑blue lead scored high on blendability while staying invisible in scans. Use that for early drafts when you plan to digitize your work.
For a deeper dive on lead hardness theory, on pencil lead hardness. It breaks down the H and B scale in easy language.
Step‑by‑Step Workflow: From Sketch to Ink
Now that you know which pencils to pick, let’s walk through a full comic panel workflow. Follow each step and you’ll end up with clean lines ready for the inker.
1. Gather your tools
Pick a lead holder (Alvin Ben B3 is a solid choice) if you like swapping leads. Have a 2H, HB, 4B, and a non‑photo‑blue lead ready. Keep a rotary sharpener, a kneaded eraser, and a blending stump close by.
2. Rough layout
Start with a 2H or 3H to block out the composition. Light lines let you move panels around without leaving dark marks.
Tip: draw a quick rectangle for each panel first. That helps you keep the story flow clear.
3. Refine outlines
Switch to HB for the main character outlines. Press a bit harder to get a line that will show up well when you ink.
Use the non‑photo‑blue lead for any construction lines you don’t want to see in the final scan. Those lines stay invisible when you scan in B&W.
4. Add shading
Apply 4B or 6B in shadow areas. Use a blending stump to smooth the transition. If you need a very smooth dark, try the oilier Derwent Graphic 8B.
Remember to lift excess graphite with a kneaded eraser before you go to ink , that prevents smudges.
5. Final clean‑up
Erase any stray marks. Double‑check that the non‑photo‑blue lines are still invisible by doing a quick B&W scan test.
6. Ink preparation
Now you have a crisp pencil drawing. Use a fine‑line pen or brush pen to trace over the HB outlines. The darker shadows can stay as pencil if you want a mixed‑media look.
Why this order works: you start light, build up value, then lock in the final line. It mirrors how professional comic artists work on tight schedules.
For more on using non‑photo‑blue in a digital workflow, on Ryan Reid’s comic pencil tips. He explains how the blue stays invisible in black‑and‑white scans.
Conclusion
Choosing the best pencils for comic strip drawing doesn’t have to be a mystery. Our research shows that Prismacolor Turquoise Non Photo leads lead the pack for blendability and invisible guidelines. Staedtler Mars Lumograph 100 offers a reliable all‑round experience, while Faber‑Castell 9000 gives silky smooth lines for fine detail. Derwent Graphic adds dark, rich tones for dramatic panels.
Pair the right lead hardness with a solid workflow, and you’ll see faster sketching, cleaner inks, and happier readers. Test a few grades, stick with what feels right, and keep practicing. The tools are only as good as the artist behind them.
If you found this guide helpful, explore more pencil tips on our site and keep sharpening your craft.
FAQ
What hardness should I use for initial comic layouts?
Start with a 2H or 3H pencil. These hard leads make light lines that erase cleanly, keeping the page ready for revisions. Light lines also prevent the paper from getting too dark before you add final details.
Can I use non‑photo‑blue lead on a regular wood‑cased pencil?
Yes. Non‑photo‑blue lead works in both wooden pencils and mechanical lead holders. The blue stays invisible in black‑and‑white scans, so you can sketch freely without extra erasing later.
How do I prevent my lead from breaking when I press hard?
Choose a pencil with a strong bond, like Faber‑Castell 9000’s SV bonding, or use a lead holder that supports the lead with a metal grip. A rotary sharpener also gives a consistent point that reduces breakage.
Is a mechanical pencil better than a wooden pencil for comics?
Mechanical pencils give you consistent line width and quick lead changes, which is great for fine details. Wooden pencils often feel more natural for broader strokes and shading. Many artists use both: a mechanical for outlines and a wood‑cased for shading.
How can I blend graphite without smudging the ink later?
Blend with a soft cloth or blending stump, then lift excess graphite with a kneaded eraser before you ink. This removes loose particles that could stick to the pen tip.
What should I look for when buying a new pencil set?
Look for a range that includes at least one hard (2H), one medium (HB), and one soft (4B‑6B) lead. Check that the brand mentions a stable graphite‑clay mix for even laydown. A sturdy case and a reliable sharpener complete the set.
