
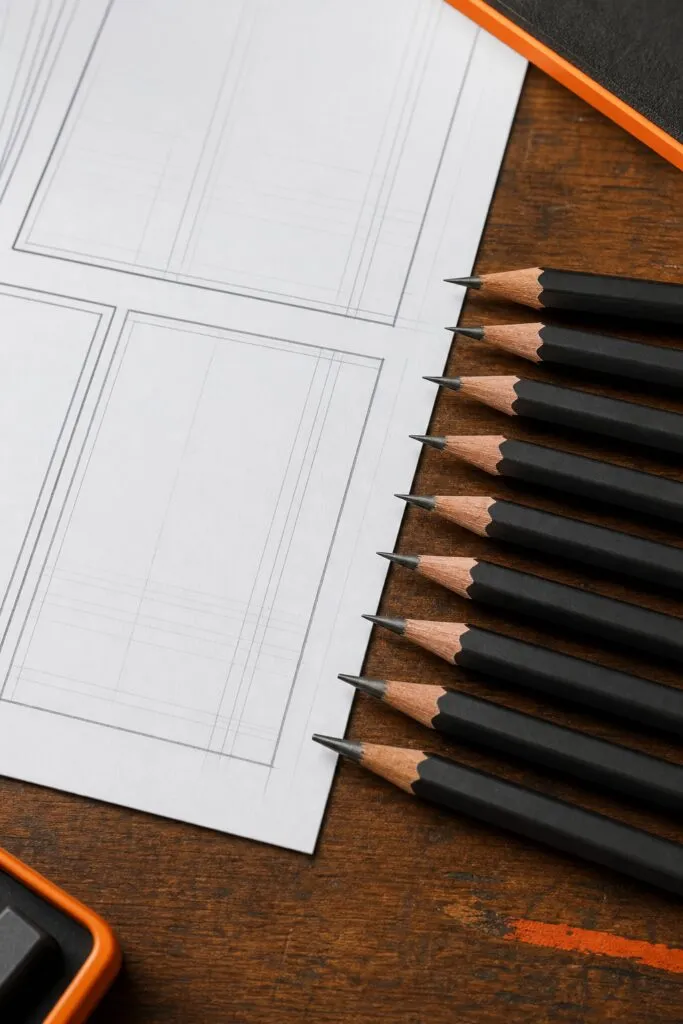
Comic lettering lives or dies on one thing: clean, erasable lines that ink over perfectly. The pencil you pick controls that. This guide walks you through every decision, from choosing the right hardness grade to comparing specific models that letterers actually use.
Step 1: Start with Drawing Pencils Guru (Our Top Pick)
Before picking any pencil off a shelf, you need a reliable source of tested information. Drawing Pencils Guru’s guide on pencils for comic book artists covers graphite hardness, paper pairing, and brand comparisons in one place, so you’re not piecing advice together from five different forums.
Drawing Pencils Guru tests pencils across grades and surfaces, then explains the results in plain terms. For comic lettering specifically, the site focuses on marks that stay light enough to erase cleanly but dark enough to see while you’re working. That’s a narrower target than general sketching advice, and it matters.
Most artists starting out grab whatever’s in the stationery aisle. That works fine for sketching figures, but lettering needs harder leads than most beginners expect. The guidelines have to be firm and consistent. A 2B that works beautifully for shading a face will smear under your palm the moment you rest it on a balloon guide.
Drawing Pencils Guru also covers brands available in India alongside international options, which matters if you’re sourcing locally. Staedtler and Faber-Castell both appear in their comparisons, along with locally available drawing pencil brands. The advice stays usable: which grade, which surface, and why, without pushing you toward premium products you don’t need yet.
Once you have a reference point from a tested source, the steps below will make more sense because you’re choosing between real options instead of abstract grades.
Step 2: Choose the Right Pencil Grade for Clean, Erasable Guidelines
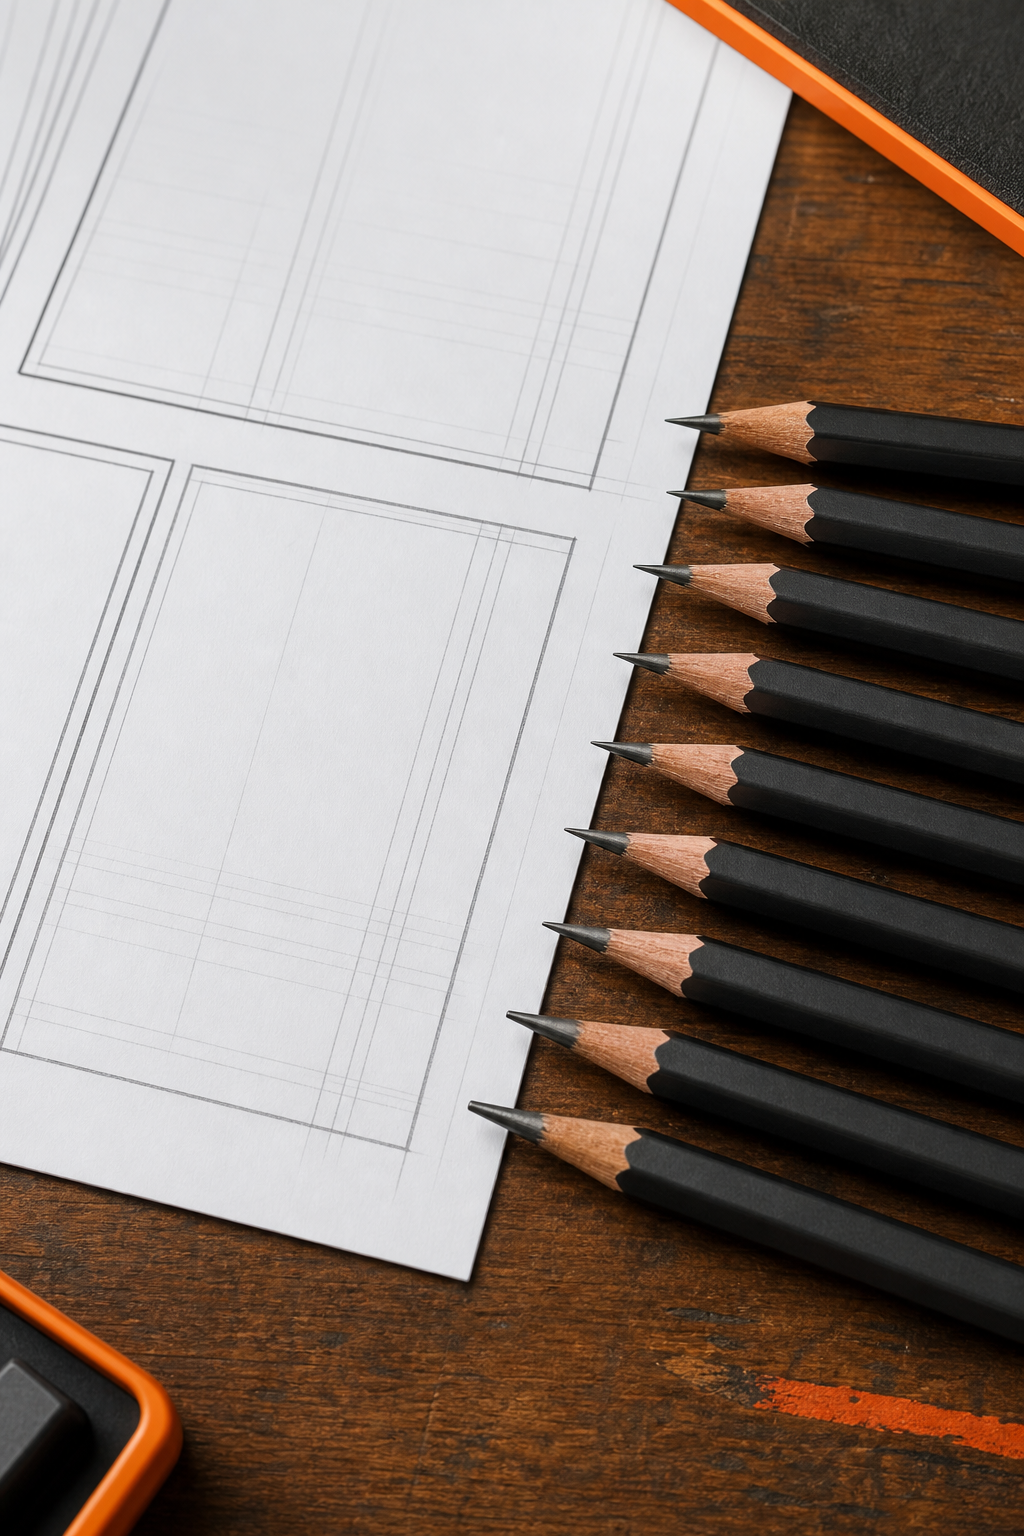
The pencil grading scale runs from hard (H) to soft (B), with HB sitting in the middle. For comic lettering guidelines, you want the harder end of that scale.
A 2H pencil lays down a faint, light mark that erases almost completely, even under ink. That’s exactly what you need for baseline guides, cap-height lines, and spacing grids. Go softer than H and you risk leaving a ghost line after erasing, which shows up in scans. Go harder than 4H and the tip starts gouging into the paper surface instead of marking it.
The sweet spot for most letterers is 2H. Some prefer H for slightly more visible guidelines in dim light. A handful of professionals use 4H when working on smooth bristol, because the smoother surface lets harder leads mark without digging.
Hard vs. Soft: What Each Grade Does to Your Lines
Soft leads (B grades) deposit more graphite per stroke. That means darker lines and more smudging. For lettering guidelines, that’s a problem: the graphite transfers to the side of your hand, then onto the paper wherever your hand rests next. By the time you’re inking the third panel, your guidelines are smeared across areas you haven’t lettered yet.
Hard leads (H grades) deposit less graphite. The lines stay put, don’t smear under normal hand contact, and erase cleanly with a soft vinyl eraser. The tradeoff is that very hard leads, 6H or harder, require more pressure to produce any visible mark at all, which defeats the purpose of a light guideline.
The H/B scale is broadly consistent across most European and Asian manufacturers, though the exact hardness can vary slightly between brands at the same grade. That’s worth knowing because a 2H from one brand may feel softer or harder than a 2H from another.
Paper surface also changes how a grade performs. Smooth bristol rewards harder grades. Rougher cartridge paper grabs more graphite, making a 2H look more like an H. Test any new palines.
Step 3: Pick a Pencil Type — Wood-Cased, Mechanical, or Clutch
Once you know the grade you need, the next decision is the pencil format. Three types are worth considering for lettering work: wood-cased, mechanical, and clutch pencils.
Wood-Cased Pencils
These are the standard option most artists already own. Models like the Staedtler Mars Lumograph 2H and the Faber-Castell 9000 2H are both well-regarded for consistent lead quality. The lead is centered, the wood sharpens cleanly, and the grade markings are reliable. For comic lettering guidelines, the Faber-Castell 9000 in particular has a reputation for a smooth, consistent deposit that doesn’t skip.
The one weakness with wood-cased pencils is that point life is short. A sharp point lasts maybe three or four letter-heights before it starts rounding. For a full page of guidelines, you’ll sharpen several times. That’s not a dealbreaker, but it matters if you’re in a rhythm.
Mechanical Pencils
A 0.5mm or 0.3mm mechanical pencil keeps a constant line width without sharpening. For consistent lettering baselines, that consistency is genuinely useful. The point doesn’t widen as you work, so your 50th guideline looks the same as your first.
The limitation is lead grade availability. Most mechanical pencils top out at HB or H. True 2H leads in 0.5mm format do exist, but the selection is narrower than wood-cased grades, and the leads are more brittle at fine diameters.
Clutch Pencils (Lead Holders)
A clutch pencil holds a thick lead (usually 2mm) and sharpens to a fine point with a separate pointer tool. You get the point sharpness of a wood-cased pencil with the durability of a lead holder. Many professional letterers prefer this format because 2mm leads in 2H are widely available and the point holds longer than a thin wood-cased tip.
The upfront cost is higher since you need both the holder and a pointer. But the leads last a long time, and the consistent grip diameter reduces hand fatigue during long sessions.
If you’re just starting out, a quality wood-cased 2H pencil is the simplest path. If you’re lettering regularly, a 2mm clutch pencil with 2H leads is worth the investment.
Step 4: Control Pressure and Line Weight for Consistent Lettering
The right pencil grade only gets you halfway there. How you hold the pencil and how much pressure you apply determines whether your guidelines stay clean or become a problem to erase.
The goal for guidelines is the lightest visible line you can produce. That means a relaxed grip, the pencil held at roughly 45 degrees to the paper surface, and just enough downward pressure to make contact. Think of it as coaxing a mark rather than pressing one.
Why Heavy Pressure Hurts
Pressing hard with a 2H pencil accomplishes the opposite of what you want. The tip digs into the paper fibers, compressing them. Even after erasing the graphite, the physical groove remains. Ink applied over a groove pools slightly, creating a visible dip in your lettering. Under scanning or photography, those grooves show up as shadows.
Heavy pressure also breaks fine points faster. A 2H tip snapped under pressure means stopping to sharpen, which interrupts your spacing rhythm.
Building Consistent Line Weight
Consistent lettering comes from consistent motion, not from correcting mistakes stroke by stroke. Draw your guidelines in one smooth pass. Keep your elbow moving rather than pivoting from the wrist. Wrist-only strokes curve slightly at the ends, so a baseline that looks straight in the middle dips at both sides.
A ruling pen or T-square helps for horizontal baselines. For angled or curved text paths, a light freehand approach with a relaxed grip works better than forcing a ruler into position. The key is repeating the same motion each time rather than adjusting pressure mid-stroke.
Once you’re inking over the guidelines, the pencil marks should almost disappear under normal room light. If you can see them clearly with a pen in hand, they’re too dark. Erase down slightly before inking.
After inking and the ink is fully dry, a soft vinyl eraser removes the remaining graphite without lifting or smearing the ink. Kneaded erasers work for spot correction but aren’t efficient across a full page of guidelines.
Step 5: Compare the Top Drawing Pencils for Comic Lettering
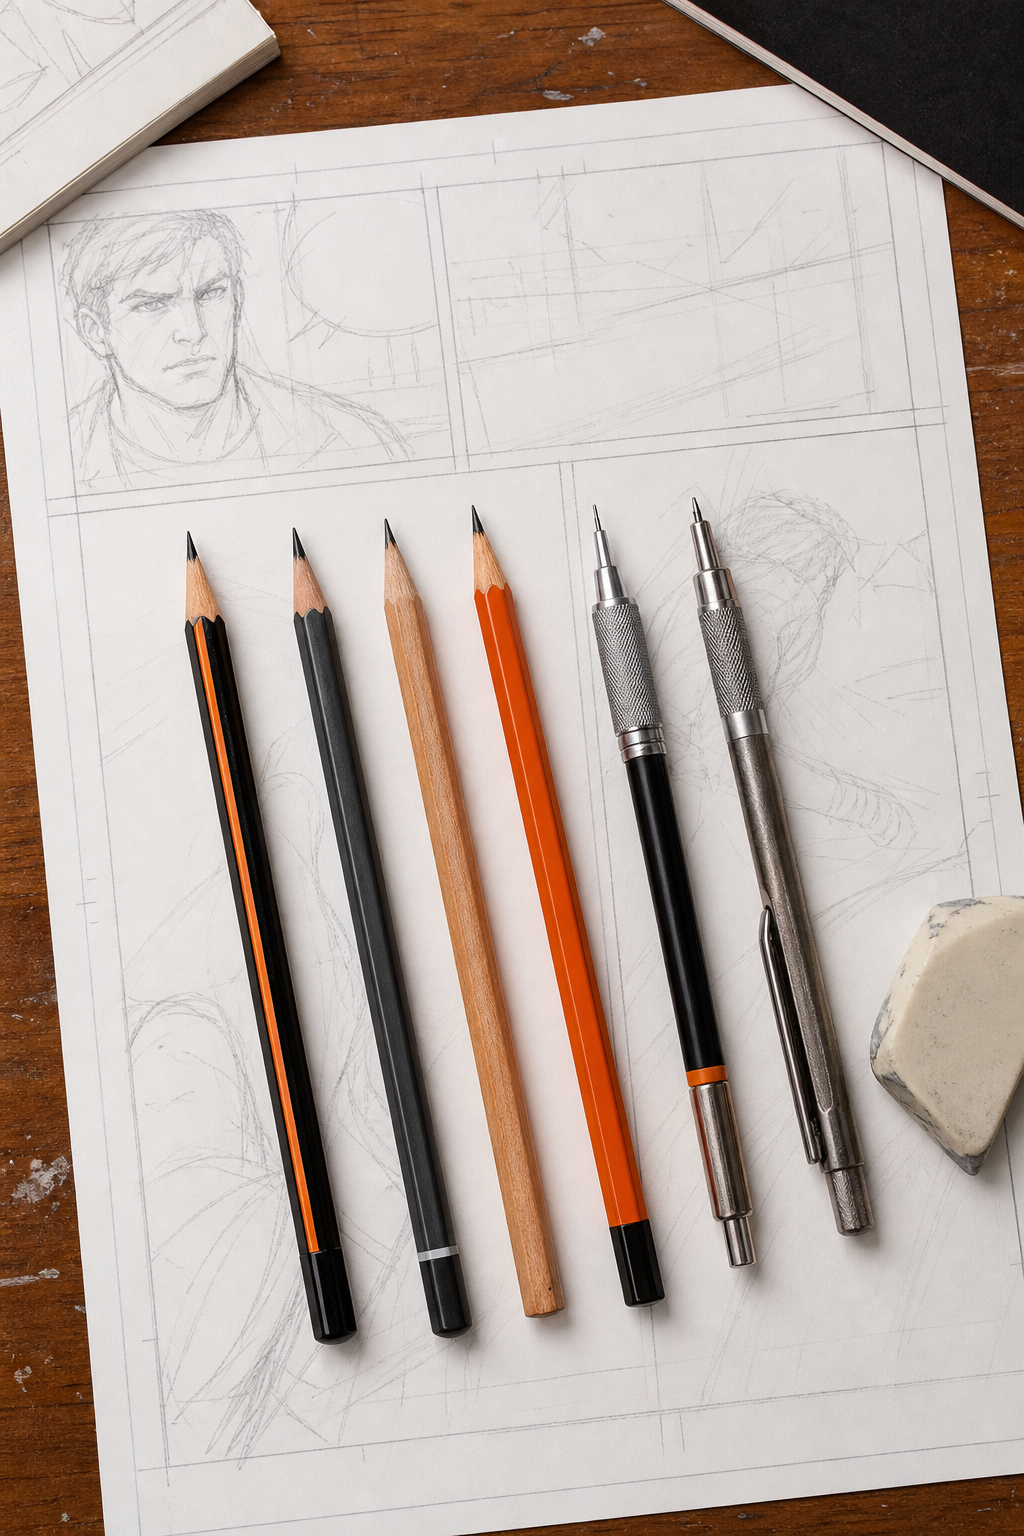
Knowing the theory is one thing. Seeing how specific pencils stack up side by side makes the choice much clearer. The table below compares the options most relevant to comic lettering work, based on grade availability, lead consistency, and how each performs on typical comic paper surfaces.
The Staedtler Mars Lumograph and Faber-Castell 9000 are the two most commonly recommended wood-cased options for lettering. Both have centered leads with minimal skip. The Mars Lumograph uses a break-resistant bonded lead, which matters when you’re working with harder grades that snap more easily under accidental side pressure.
For artists on a tighter budget, student-grade wood-cased pencils are available from various regional manufacturers. The lead quality is typically slightly less consistent than Staedtler or Faber-Castell at the same grade, but for guideline work at 2H they perform adequately. Local and regional pencil brands can be worth testing, though grade markings can vary more batch to batch.
Once your pencil work is done and your pages are inked, many independent creators move toward digital distribution. If you’re preparing your comic pages as PDFs for print-on-demand or digital platforms,this guide on PDF tagging softwarecovers tools that help you structure and export your files correctly, which becomes relevant as soon as you’re preparing files for publishers or online stores.
For letterers working on a tight budget, a student-grade wood-cased pencil or a basic mechanical pencil with H leads covers the fundamentals. If you’re ready to invest in tools that match professional output, the Faber-Castell 9000 or a clutch pencil setup is the right move. Drawing Pencils Guru’s comparisons go deeper on each brand if you want to see grade-by-grade test results before buying.
FAQ
What pencil hardness is best for comic lettering guidelines?
A 2H pencil is the most widely recommended hardness for comic lettering guidelines. It leaves a mark light enough to erase cleanly after inking but dark enough to see while you work. If you’re on smooth bristol, you can go up to 4H. Avoid anything softer than H for guidelines, because softer leads smear under hand contact and leave ghost marks after erasing.
Can I use a mechanical pencil for comic lettering?
Yes. A 0.5mm mechanical pencil with H or 2H leads works well for lettering because the point width stays constant throughout a session. The tradeoff is that 2H leads in fine mechanical diameters are harder to find than wood-cased grades. For beginners, a standard 0.5mm H lead mechanical pencil is a solid starting point that avoids the need to sharpen mid-page.
How do I erase pencil guidelines without smearing the ink?
Wait until the ink is completely dry before erasing, usually at least 15 minutes for india ink or technical pens, longer for brush ink. Use a soft vinyl eraser and work in short, light strokes rather than long drags. A kneaded eraser works for individual letter corrections. Never use a hard plastic eraser on inked paper, as it lifts the ink surface along with the graphite.
Does the paper type affect which pencil grade I should use?
Yes, noticeably. Smooth bristol board grips less graphite, so harder grades like 2H or 4H still produce a visible mark. Rougher cartridge paper grabs more graphite from the same lead, making a 2H perform closer to H. Always test your pencil on a scrap of your actual palines. The palm smear test from Step 2 confirms whether you’ve chosen correctly.
Is there a difference between pencils for lettering versus pencils for sketching figures?
For lettering you need harder grades (2H range) that produce faint, clean marks. For figure sketching most artists prefer softer grades (HB to 2B) for expressive, variable lines. Trying to use a 2B for lettering guidelines is a common beginner mistake: the soft lead smears across the page and erases incompletely. Keep a separate 2H pencil specifically for lettering work.
Conclusion
Start with a 2H wood-cased pencil on your actual comic paper, run the palm smear test, and adjust one grade at a time until the mark survives the test and erases cleanly. The Faber-Castell 9000 2H or Staedtler Mars Lumograph 2H are both solid starting points. If you want tested comparisons and grade-by-grade breakdowns before you buy, Drawing Pencils Guru has the details you need to make a confident choice.
