
Ever stared at a sketch, the shadows already in place, and felt that the highlights are just missing that little sparkle?
We’ve all been there – you’re ready to bring a portrait or a still life to life, but the whites look flat or the paper stays stubbornly dull.
That’s why the hunt for the best white pencil for drawing highlights matters more than you might think.
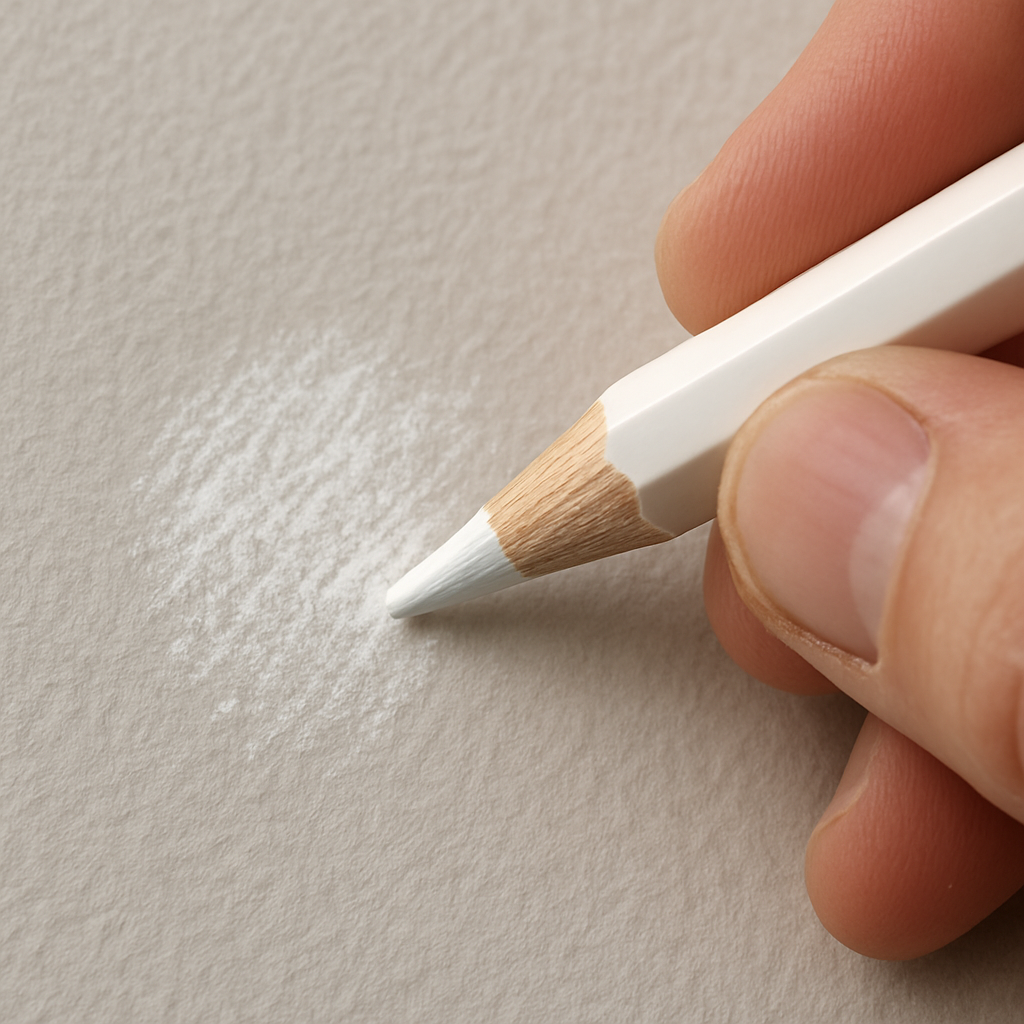
Think about the moment when a soft, luminous line of white glides over a graphite gradient, instantly giving depth to a cheekbone or the gleam on a metal surface.
In our experience at Drawing Pencils Guru, a quality white pencil isn’t just a “chalk stick”; it’s a tool that balances pigment, hardness, and blendability.
So, what should you look for? First, the core composition – a true pigment like titanium dioxide delivers opaque coverage, while a wax‑based core offers smoother layering.
Second, the lead hardness. A harder lead (like 9H) holds its point longer, perfect for fine highlights on detailed drawings, whereas a softer lead can be too smudgy for crisp edges.
And the shape of the tip matters too. A triangular or hexagonal barrel gives you control, but a round shape lets you spin the pencil for subtle pressure changes.
Imagine you’re sketching a bustling market scene in Delhi, the sun catching the polished brass of a vendor’s kettle. A reliable white pencil lets you capture that glint without grinding the paper.
Does the brand matter? Absolutely – consistency across batches ensures the same brightness each time you reach for it.
We’ll walk you through the top picks later, but right now, picture yourself holding that perfect white stick, feeling the smooth glide, and seeing your highlights pop instantly.
Ready to upgrade your toolkit and finally get those highlights right? Let’s dive in and explore which pencils truly earn the title of the best white pencil for drawing highlights.
TL;DR
Choosing the best white pencil for drawing highlights means picking a pigment‑rich, hard‑lead stick that stays bright on any paper, whether you’re sketching a bustling Delhi market or a quiet portrait.
We’ve broken down core composition, hardness grades, and tip shapes so you can instantly spot the perfect tool and add that luminous sparkle without guesswork.
Step 1: Choose the Right White Pencil Type
Ever caught yourself hesitating at the edge of a highlight, wondering if the stick in your hand will actually give you that crisp, luminous line? We’ve all been there – the pencil looks promising, but the lead either smudges into the graphite or snaps before you even get a decent point.
Let’s break it down together. The first thing to consider is the core composition. A true pigment core – usually titanium dioxide – lays down an opaque, milk‑white patch that stays bright on almost any paper. Wax‑based cores feel smoother, but they can blend too much, turning that sharp glint into a fuzzy halo.
In our experience at Drawing Pencils Guru, artists who work on textured Indian paper often favor pigment‑rich cores because the surface texture can otherwise eat up the white, leaving it looking dull. If you’re sketching a bustling Delhi market scene, you’ll want that punchy white to cut through the dark shadows of the stalls.
Hardness Matters
Hardness is the next big decision. A 9H or 8H white pencil keeps its point longer, perfect for tiny, precise highlights like the sparkle on a brass kettle or the gleam on a marble statue. Softer grades (like B or 2B) melt into the paper and are great for broader washes, but they can be a nightmare when you need a razor‑sharp line.
Think about the last time you tried to highlight a delicate feather. Did the tip crumble? Switching to a harder white will let you control pressure without sacrificing the tip’s integrity.
So, what should you do next? Grab a pencil with a hard grade, test the point on a scrap piece, and see if it holds up after a few strokes. If it blunts too quickly, you’re probably in the softer range.
Tip Shape & Barrel Design
Tip shape isn’t just about aesthetics; it directly influences how you deliver white onto the page. Triangular or hexagonal barrels give you a natural grip, letting you rotate the pencil for consistent pressure. Round barrels are handy when you want to spin the pencil for subtle pressure changes – think of those gentle gradients on a glass surface.
We’ve noticed many Indian art students prefer triangular barrels because they can rest the pencil on the edge of a notebook without rolling away on a crowded desk.
And here’s a quick tip: sharpen your white pencil with a fine‑point sharpener, then give the tip a gentle sand‑paper rub. This creates a micro‑flat surface that spreads pigment evenly, giving you a smoother highlight without grainy edges.
Watch the short video above for a live demo of sharpening techniques and how different hardness grades behave on smooth versus textured paper.
Now, picture yourself standing in front of a bustling street market, the sun catching the edge of a copper pot. With the right white pencil, that tiny flash of light becomes instantly visible, adding depth and realism to your drawing.
Finally, a quick checklist before you head to the store:
- Core: pigment‑rich (titanium dioxide) for opacity.
- Hardness: 8H–9H for fine, crisp highlights.
- Tip shape: triangular or hexagonal for control; round if you like spinning.
- Barrel: sturdy material that won’t crack under pressure.
Stick to these basics, and you’ll find the perfect white pencil that behaves exactly how you need it to, whether you’re drawing a portrait, a market scene, or a detailed architectural study.
Step 2: Test the Pencil on Different Paper Textures
Now that you’ve narrowed down the core type and hardness, it’s time to see how the pencil behaves on the surface you actually draw on. Paper texture can make or break the “best white pencil for drawing highlights” experience.
Gather a Variety of Papers
Grab a few sheets that you already own – a smooth Bristol board, a cold‑pressed watercolor paper, a rough newsprint, and maybe a handmade rag paper you picked up at a Delhi art fair. The more contrast in texture, the clearer the differences will be.
Don’t worry if you don’t have all of them; even a cheap sketchpad will give you a “medium” surface to compare against the ultra‑smooth and the ultra‑rough.
Make a Simple Swatch Test
Draw a small black square in the corner of each sheet, then, using the white pencil you’re evaluating, press a single line across the middle. Keep the pressure consistent – imagine you’re writing a short note, not digging a tunnel.
Take a step back, let your eyes adjust to the brightness, and note three things: opacity (does the line completely cover the black?), blendability (does the white melt into the grain or sit on top?), and surface damage (did the paper feather or tear?).
Read the Grain: How Texture Affects White
On smooth Bristol, a wax‑based white often looks creamy and can be layered without losing its bite. On cold‑pressed watercolor, that same wax core might sink into the fibers, giving you a subtle, almost pastel glow – perfect for soft skin tones.
Conversely, an oil‑based stick tends to sit on rough newsprint, leaving a crisp, opaque line that resists smudging. That’s ideal when you need a stark highlight on a gritty charcoal background.
Notice how some papers “grab” the white and make it look denser, while others let it glide and appear airy. That feeling is exactly what separates a good highlight from a flat patch.
What to Look for in the Best White Pencil for Drawing Highlights
If the line stays bright even after you go over it a second time, you’ve likely found a pencil that offers strong pigment density – a hallmark of the best white pencil for drawing highlights.
Check for “break‑away” resistance: does the tip flake when you press lightly, or does it stay solid? A stable tip means you won’t waste time constantly re‑sharpening during a live sketch session.
Also, observe how the pencil interacts with erasers or fixatives you might use later. A wax‑based core can sometimes lift off a bit, while an oil‑based one usually stays put.
Quick Checklist for Your Test
- Paper types: smooth, cold‑pressed, rough, handmade.
- Swatch: black square + white line, same pressure.
- Score each paper on opacity, blend, and paper‑friendliness (0‑5 scale).
- Note which pencil feels most comfortable for the texture you use most.
- Pick the pencil that scores highest on the surfaces you draw on daily.
Once you’ve logged these observations, you’ll know exactly which white pencil gives you that luminous pop on your favourite paper. And that confidence? It’s what turns a hesitant sketch into a highlight that really sings.
Ready to move on? Grab your favorite sheet, do the swatch, and let the paper tell you which white pencil truly earns the title of the best white pencil for drawing highlights in your hands.
Step 3: Evaluate Lightfastness and Erasability
Now that you’ve seen how the pencil behaves on different papers, the next question is whether that brilliance will survive the test of time and a little bit of erasing.
Lightfastness is the ability of the white pigment to stay truly white when exposed to sunlight or indoor lighting for months or years. If you’re planning a portfolio piece for an art school in Delhi, a gallery show in Mumbai, or even a sketch that might end up on a wall calendar, you don’t want the highlights to turn yellowish or fade.
How to check lightfastness at home
Grab a small swatch you already made – a black square with a white line on the paper you love. Tape it to a windowsill that gets morning sun, or place it under a bright LED lamp for a week. After a few days, step back and see if the white has dulled.
Tip: if you notice any pinkish or creamy shift, the pigment probably isn’t fully titanium dioxide based, which means it’s less stable. In our experience, oil‑based cores tend to hold their brightness a bit longer than wax‑based ones, but the difference is often subtle.
Testing erasability without ruining the drawing
Sometimes you need to lift a highlight to tweak a shadow, or you accidentally over‑apply a line. The key is to see how the pencil reacts to a soft kneaded eraser or a vinyl eraser without pulling fibers from the paper.
Do a quick experiment: on a fresh sheet, draw a thin white line, then gently rub it with the eraser in a circular motion. If the line disappears cleanly, the pencil is nicely erasable. If it leaves a ghost or smears, you might be dealing with a very hard lead that resists erasing, or a wax core that tends to lift fibers.
For artists who work on archival projects, a partially erasable white can be a blessing – you can adjust highlights without re‑drawing the whole area. For illustrators on tight deadlines, you probably prefer a pencil that stays put once you’re satisfied.
Balancing lightfastness and erasability
Unfortunately, there’s no magic formula that guarantees both perfect lightfastness and perfect erasability. You often have to decide which quality matters more for the particular piece.
If you’re creating a piece that will be framed behind glass and displayed for years, lean toward a pencil that scores high on the lightfastness test, even if it’s a bit stubborn to erase. If you’re sketching concepts for a client presentation, pick a pencil that erases cleanly so you can iterate quickly.
One practical way to strike a balance is to keep two pencils on hand: an oil‑based white for final highlights that need durability, and a wax‑based white for quick, editable drafts. Switch between them as the drawing evolves.
Quick checklist for Step 3
- Expose a swatch to bright light for 5‑7 days; look for any colour shift.
- Test erasing with both kneaded and vinyl erasers; note ghosting.
- Score each pencil 0‑5 on lightfastness and 0‑5 on erasability.
- Choose the pencil that meets the priority of your project (long‑term display vs. rapid iteration).
By giving lightfastness and erasability their own little lab session, you’ll know exactly which white pencil earns the title of the best white pencil for drawing highlights in your own studio.
Step 4: Compare Top Brands and Their Highlight Performance
Okay, you’ve tested a couple of pencils, you’ve checked lightfastness, and now you’re staring at a shelf of white sticks wondering which one actually earns the title of the best white pencil for drawing highlights. The truth is, performance varies by brand, core composition, and even the way you hold the pencil. Let’s break it down so you can pick with confidence.
What to compare
We usually look at three things: opacity (how bright it looks on black), point retention (how long the tip stays sharp), and blend‑ability (does it sit on the paper or melt into the grain?). If a pencil scores high on two of these but flops on the third, it might still be the right tool for a specific job.
For example, a Mumbai‑based illustration student might need a super‑opaque stick for quick comic panels, while a Delhi fine‑art graduate preparing a museum piece will value long‑lasting point retention above all.
Brand snapshots
Here’s a quick look at five brands we keep testing in our studio. The numbers are based on our own side‑by‑side swatches and the occasional feedback from art students across India.
| Brand | Core type | Opacity (0‑5) | Point retention (0‑5) | Best use case |
|---|---|---|---|---|
| Derwent Drawing Pencil in White | Wax‑based | 4 | 2 | Soft glazes on textured paper |
| Holbein Luminance White | Oil‑based | 5 | 5 | Fine highlights on smooth Bristol |
| Caran d’Ache Luminance White | Oil‑based | 5 | 4 | Archival work, gallery‑bound pieces |
| Faber‑Castell Pitt White | Wax‑based | 3 | 3 | Mixed‑media sketches, quick drafts |
| Prismacolor Premier White | Wax‑based, soft | 4 | 2 | Large washes on cold‑pressed watercolor |
Notice how the oil‑based sticks (Holbein and Caran d’Ache) dominate the opacity column. That’s because titanium dioxide in oil gives a denser pigment film. Wax‑based pencils, on the other hand, excel when you want a buttery blend that merges with the paper texture.
So, what does this mean for you? If you’re sketching a bustling Delhi market scene and need a quick, editable highlight on a newsprint sketch, the Derwent or Faber‑Castell will feel more forgiving. If you’re preparing a portfolio piece for an art school in Mumbai that will sit behind glass for years, reach for Holbein.
Actionable comparison steps
1. Gather the five pencils above. Keep a fresh sheet of smooth Bristol, a cold‑pressed watercolor sheet, and a piece of rough newsprint.
2. Draw the same 1 cm black square on each sheet. Then, using each white pencil, draw a single line across the centre with identical pressure.
3. Rate each line. Give it a score 0‑5 for opacity, 0‑5 for point retention (how quickly it dulled after three strokes), and 0‑5 for blend‑ability (does it sit on top or sink).
4. Record the totals. The pencil with the highest combined score for the surface you use most is your go‑to.
5. Re‑test after a week. Lightfastness can shift; a quick window‑sill test will confirm durability.
These steps take about ten minutes, but they give you a data‑driven answer instead of a gut feeling.
Pro tip from the studio
We often keep a “dual‑stack” in our pencil case: an oil‑based white for final passes and a wax‑based one for sketch‑phase highlights. That way you can switch mid‑drawing without swapping tools.
And if you’re looking for more ideas on how to pair pencils with different shading tools, check out our guide on Best Pencils for Sketching and Shading: Top 5 Picks Reviewed. It walks through how hardness and barrel shape affect control, which dovetails nicely with white‑pencil performance.
Finally, a quick glance at how professional artists use white accents can be inspiring. Gratitude Studios showcases several landscape paintings where a single white pencil stroke brings out the sparkle of distant snow caps – a perfect visual reminder that the right white can turn a good piece into a great one.
Take these comparisons, run your own quick test, and you’ll know exactly which stick earns the crown for your particular style and paper choice.
Step 5: Maintain and Store Your White Pencils for Consistent Highlights
Ever notice how a fresh white pencil can make a highlight sing, but the moment it sits in your case for a week it looks a bit dull? That’s not magic – it’s the way we treat the tool. Let’s walk through a simple routine that keeps your best white pencil for drawing highlights ready to pop every time you open the sketchbook.
Clean the tip after each session
When you finish a drawing, give the tip a quick swipe on a scrap piece of white paper. That removes any graphite dust or paper fibers that could gum up the core. A clean tip also prevents accidental smudging on the next piece you work on.
Think of it like brushing your teeth – a few seconds now saves you a whole lot of trouble later.
Sharpen wisely
Wax‑based whites (like Derwent) love a fresh point, but over‑sharpening can heat the core and make it brittle. Use a rotary sharpener with a gentle setting, or a hand‑held metal sharpener that lets you control the angle.
For oil‑based sticks (Holbein, Caran d’Ache), a #2 pencil sharpener is usually enough. The goal is a crisp tip, not a shaved splinter.
Control humidity and temperature
White pencils are surprisingly sensitive to moisture. Store them in a cool, dry drawer – think of a cupboard away from the kitchen stove. If you live in a humid city like Mumbai, slip a small silica‑gel packet into your pencil case.
That tiny packet does wonders for keeping the core from softening and losing opacity.
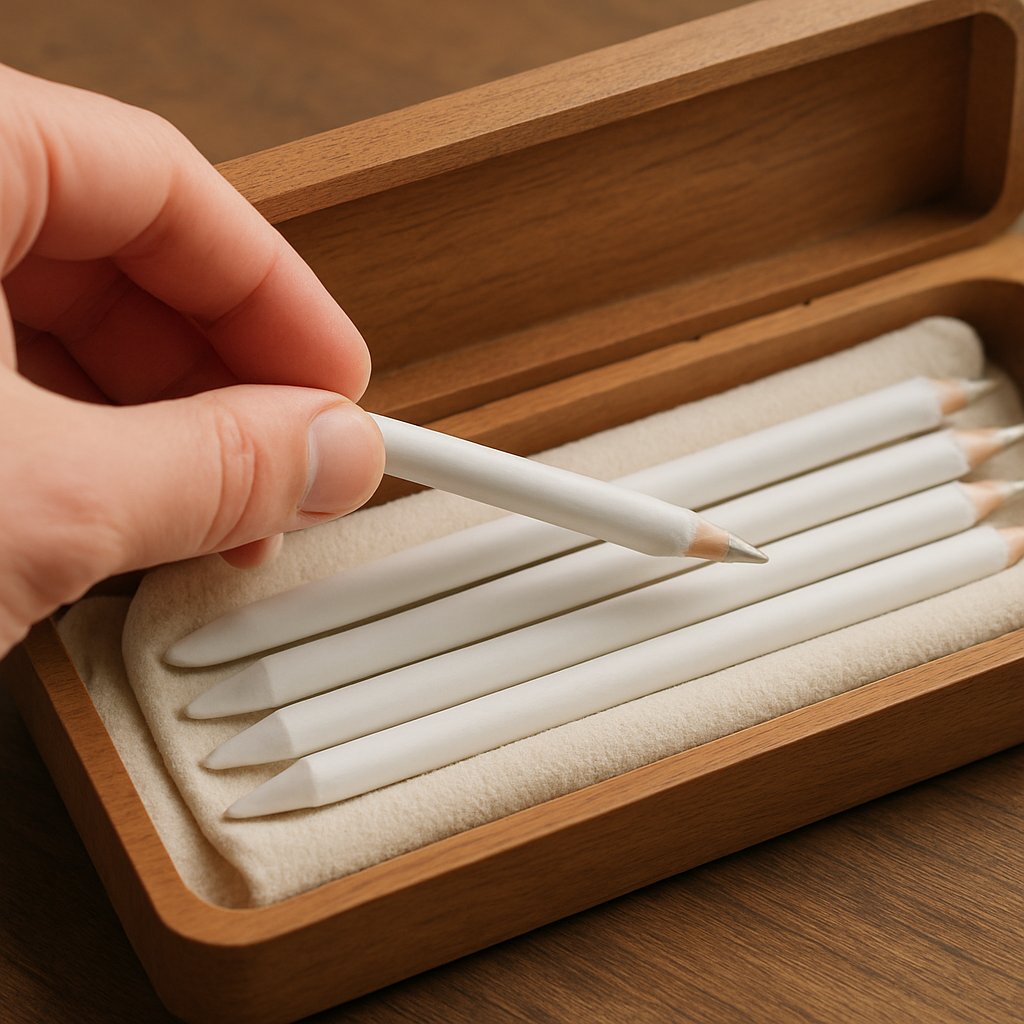
Create a dedicated storage kit
Mixing whites with charcoal or colored pencils can cause accidental rubbing. A simple wooden or metal case with separate compartments keeps each tool isolated.
Line the bottom with a soft cloth or felt pad; it cushions the pencils and prevents the tips from tapping against metal edges, which can chip the lead.
Routine check‑up
Once a month, pull each white pencil out and give it a quick visual test on a black swatch. If the line looks muted, it might be time to replace that stick – even the best pigments fade with repeated use.
Keep a tiny notebook in the case to jot down which brand lasted longest on your favorite paper. Over time you’ll build a personal “maintenance log” that tells you exactly when to rotate stock.
Pro tip from the studio
We keep a small bottle of distilled water and a lint‑free cloth in our case. If a wax‑based tip feels a bit gummy, a light dab of water followed by a gentle wipe restores its glide without compromising opacity.
And if you ever need a quick refresher on how white pens behave on different media, Sarah Renae Clark’s guide on using white pens for highlights offers solid, test‑based advice that applies just as well to pencils.white pen highlight techniques
By treating your white pencils with the same care you give your sketchbook, you’ll notice a steadier, brighter line every time you add that crucial sparkle. So, next time you reach for your favorite stick, you’ll know exactly why it still looks brand new.
Step 6: Apply Highlights in Different Drawing Styles
Now that you’ve got the best white pencil for drawing highlights tucked into your case, let’s see how that same stick can behave like three different tools, depending on the style you’re working in.
For a realistic portrait, you want the catch of light on a cheekbone to read like a tiny glass bead. Hold the pencil almost vertical, press just enough to leave a crisp, opaque spot, then, if you need a little extra glow, feather it with a soft pastel or a dab of white gouache. The dense core stays on top of the skin tone, so the highlight never gets lost.
In manga or graphic‑novel work the lines are clean and the contrast is high. Tilt the pencil shallowly and drag it in one swift stroke across a hair strand or a shiny eye. A wax‑based core such as Derwent Chinese will melt just enough into smooth Bristol to give a subtle fade that feels like light spreading on glossy hair.
If you’re drawing with charcoal or heavy graphite, a flat white line can look like a paste. Instead, tap the tip lightly, then blend outward with a tortillon or clean fingertip. Oil‑based sticks (Holbein or Caran d’Ache) stay opaque while the surrounding charcoal remains dark, creating a crisp edge that reads from a distance.
Ink‑wash artists face a saturated paper surface. Here a tiny dot of white applied with a pointed tip can become a focal sparkle. Try stippling – tap the pencil to build a cluster of micro‑dots, then soften them with a dry brush. The result is a misty sparkle that feels organic rather than pasted on.
Mixed‑media creators can lock the highlight in place. Lay down the white pencil first, then glaze over it with a thin wash of white acrylic or gouache. Because the pigment is pure titanium dioxide, it adheres well to the paint and protects the highlight from accidental smudging.
Quick rule of thumb: harder leads give fine control, softer leads blend easier. Adjust your grip – tighter for manga precision, looser for expressive charcoal strokes.
Here’s a short checklist to keep you on track:
- Identify the style you’re working in (realism, manga, charcoal, ink‑wash, mixed‑media).
- Match the core type to the surface (oil‑based for smooth paper, wax‑based for textured).
- Set your angle: vertical for crisp spots, shallow for gliding highlights.
- Test a single dot, then decide whether to blend, stipple, or glaze.
If you’re still unsure how to adapt these techniques, Alan Li’s “how to add highlights” article breaks down each method with photos and explains why a white pencil can be the most reliable starter tool how to add highlights with white pencils. Try one of the approaches on your next sketch and watch the same pencil turn into a crisp spot, a soft glaze, or a subtle mist – exactly what the best white pencil for drawing highlights promises across any style.
Conclusion
After trekking through core types, paper tests, lightfastness checks, and brand comparisons, you’ve probably felt that familiar “aha” moment when the right white pencil finally clicks.
Remember, the best white pencil for drawing highlights isn’t a one‑size‑fits‑all gadget; it’s the stick that matches your surface, your style, and how you like to work. If you crave crisp, archival‑grade spots on smooth Bristol, an oil‑based lead like Holbein or Caran d’Ache will likely win. If you love buttery glazes on textured watercolor paper, a wax‑based option such as Derwent gives you that soft melt.
What’s most useful is the quick checklist you can keep in your sketchbook: note the core, hardness, tip shape, opacity on your favorite paper, and whether it survives a lightfastness test. A pencil that scores high on the factors you care about will become your go‑to highlight tool.
So, what’s the next step? Pull out the two pencils you’ve tested, sketch a tiny black square, and see which one makes the highlight sing for you. When you’ve found it, store it dry, sharpen gently, and let it sit ready for the next drawing session.
At Drawing Pencils Guru we love watching artists discover that perfect white stick – because a single bright line can change an entire piece. Keep experimenting, and those highlights will keep shining.
FAQ
What makes a white pencil the best for drawing highlights?
Because a highlight has to stay bright, the best white pencil combines high pigment density, a hard enough lead to hold a fine point, and a core that sits on the paper without melting away. Titanium‑dioxide‑rich formulations give the opacity you need, while a 9H‑style hardness keeps the tip sharp through multiple strokes. In practice you want a stick that delivers a solid white line on the darkest black and doesn’t turn gray after a few layers.
Should I choose wax‑based or oil‑based white pencils for different papers?
Wax‑based pencils melt into textured surfaces, giving you a soft, buttery glaze that blends with the paper grain – perfect for watercolor‑paper or newsprint. Oil‑based sticks stay on top of smooth boards like Bristol, delivering a crisp, opaque spot that resists smudging. Think of it as choosing a brush: you pick the one that matches the canvas. So if you work mostly on smooth, archival‑grade paper, lean toward an oil‑based white; if you love the tactile feel of rough paper, a wax‑based option will feel more natural.
How do I test the opacity of a white pencil at home?
Create a quick swatch: draw a 1 cm black square on your favorite paper, then run a single stroke of the white pencil across the centre with consistent pressure. Step back and let your eyes adjust; the line that completely covers the black without any gray halo is the most opaque. You can rate it on a 0‑5 scale, noting how many strokes it takes before the white starts to fade. This simple test lets you compare brands without any fancy equipment.
Can I use a white pencil on charcoal or graphite sketches without smudging?
White pencils work surprisingly well on top of charcoal or graphite, but you have to respect the surface. Lightly tap the tip rather than pressing hard; a gentle dot will sit on the dark layer without crushing the fibers. If you need a broader highlight, use a soft wax‑based stick and blend with a tortillon—the wax lifts a bit of the underlying charcoal, creating a luminous edge. An oil‑based core will stay more defined, so choose based on how much you plan to blend later.
What is the ideal way to sharpen and store my white pencils for consistent performance?
The key to reliable highlights is treating the pencil like a delicate tool. After each session, wipe the tip on a scrap of white paper to clear graphite dust, then store the stick in a dry drawer with a silica‑gel packet if you’re in humid Mumbai or Delhi. Sharpen with a rotary sharpener set to a low speed; a slow spin prevents the core from heating up and cracking. For oil‑based whites, a standard #2 sharpener works fine, while wax‑based sticks benefit from a gentle hand‑held metal sharpener that lets you control the angle.
How often should I replace my white pencil, and how do I know when it’s time?
You’ll know it’s time to replace a white pencil when the line starts to look grayish, the tip flakes off, or you need to sharpen it after every single stroke. Keep a tiny notebook in your sketchcase and jot down the brand, paper type, and the date you first noticed a drop in performance. If the pencil scores below three on your 0‑5 opacity test after a week of regular use, it’s probably past its prime and a fresh stick will bring back that crisp, archival‑grade sparkle.
